 Save to Pinterest
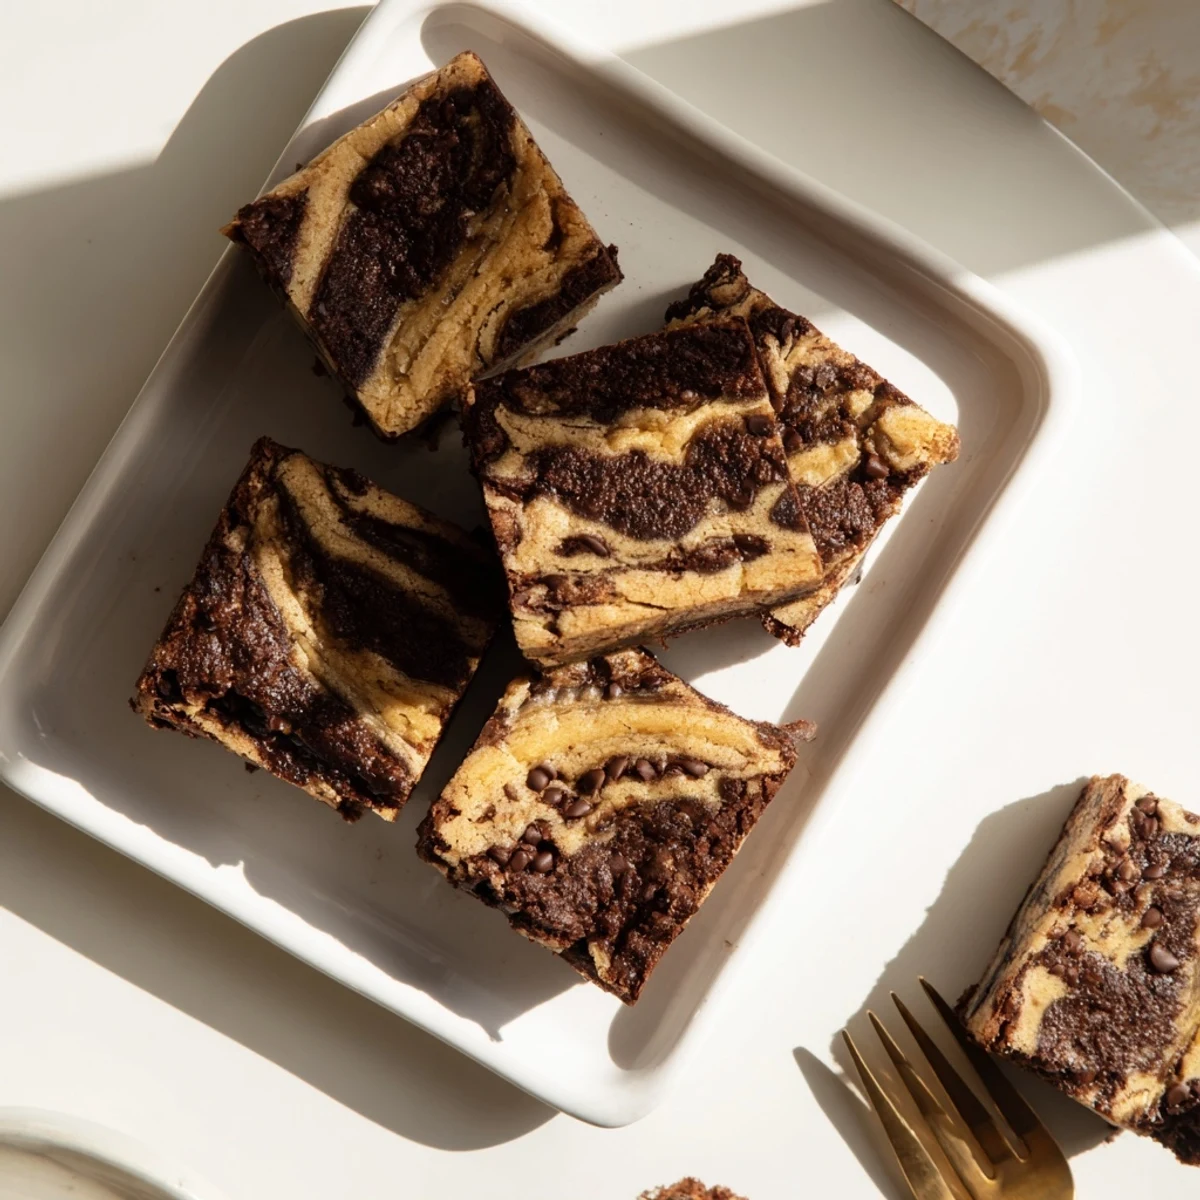
 These irresistible bars combine the best of both worlds—moist banana bread layered with rich, fudgy brownie batter. Swirled together for a stunning marbled effect, they bake up in under 30 minutes for a dessert that's equally impressive served warm with ice cream or packed into lunchboxes.
Last winter my roommate left three bananas on the counter until they were practically black, and instead of complaining, I saw opportunity. Id been craving something chocolatey for days but wanted something more comforting than plain brownies. The smell of these bars baking filled our entire apartment, and we ended up eating half the pan warm from the oven while watching terrible movies.
I brought these to a office potluck when I was still the new person, desperately trying to make friends through baked goods. My coworker Sarah actually took a picture of the cross section to text her sister, and Ive been fielding requests for them ever since. Theres something about the combination that makes people instantly nostalgic.
Ingredients
- Ripe bananas: The blacker the better, they add natural sweetness and moisture that you cannot fake
- Unsalted butter: Melted gently so you can fold everything together without overworking the batter
- Cocoa powder: Sift it first or you will spend five minutes trying to mash out the little lumps
- Chocolate chips: Semi sweet balances the banana sweetness perfectly but dark chocolate works beautifully too
- All purpose flour: Just enough to give structure without making either layer cakey or dry
Instructions
- Get your oven ready:
- Preheat to 350°F and line an 8x8 inch pan with parchment paper, letting the edges hang over like a little sling for easy lifting later.
- Make the banana layer:
- Mash your bananas until smooth, then whisk in sugar, melted butter, egg and vanilla until everything is glossy and combined.
- Finish the banana batter:
- Fold in the flour, baking powder, baking soda and salt just until you no longer see dry streaks, being careful not to overmix.
- Whisk the brownie base:
- In a separate bowl, beat melted butter and sugar until it looks like wet sand, then add eggs and vanilla until the mixture turns glossy.
- Complete the brownie layer:
- Sift in your cocoa powder, flour and salt, folding gently until combined, then stir in those chocolate chips.
- Layer it up:
- Spread half the banana batter in your prepared pan, spoon all the brownie batter on top, then dollop the remaining banana batter over that like polka dots.
- Create the swirl:
- Run a knife through the batters in a figure eight pattern just a few times, do not over swirl or you will lose the beautiful marble effect.
- Bake until perfect:
- Slide into the oven for 28 to 32 minutes, checking that a toothpick comes out with moist crumbs rather than wet batter.
- Patience pays off:
- Let these cool completely in the pan before slicing, warm bars are delicious but they will hold their shape much better at room temperature.
 Save to Pinterest
 My dad called me after trying these at a family gathering, genuinely confused about how they managed to taste like his favorite banana bread and restaurant style brownies simultaneously. Now they are his requested birthday treat every year, which feels like the highest compliment I could possibly receive.
Getting The Right Banana Ripeness
I keep a designated banana ripening bowl on my counter where I let them go completely brown, peeling and freezing any that ripen before I am ready to bake. The extra sweetness and intense banana flavor you get from truly spotted fruit is worth the wait, and you cannot replicate it with less ripe bananas no matter how much sugar you add.
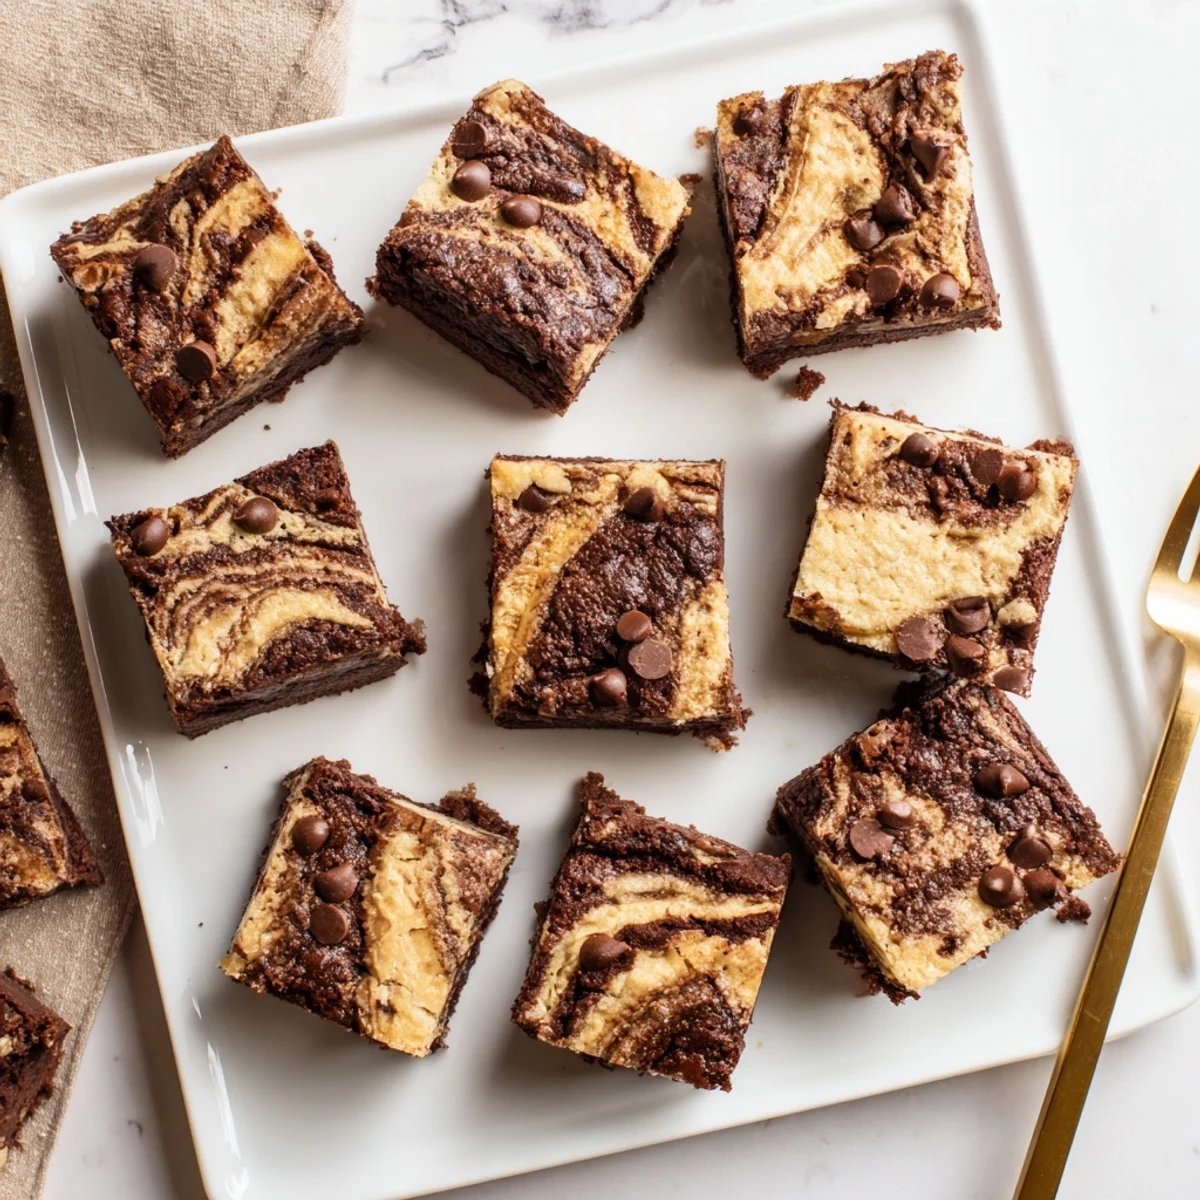
Mastering The Marble Swirl
The first time I made these, I got too enthusiastic with the knife and created a muddy looking batter that tasted great but lacked that stunning swirl. Now I do just three or four figure eight motions through the pan, stepping back to check the pattern before doing any more swirling, and the difference is remarkable.
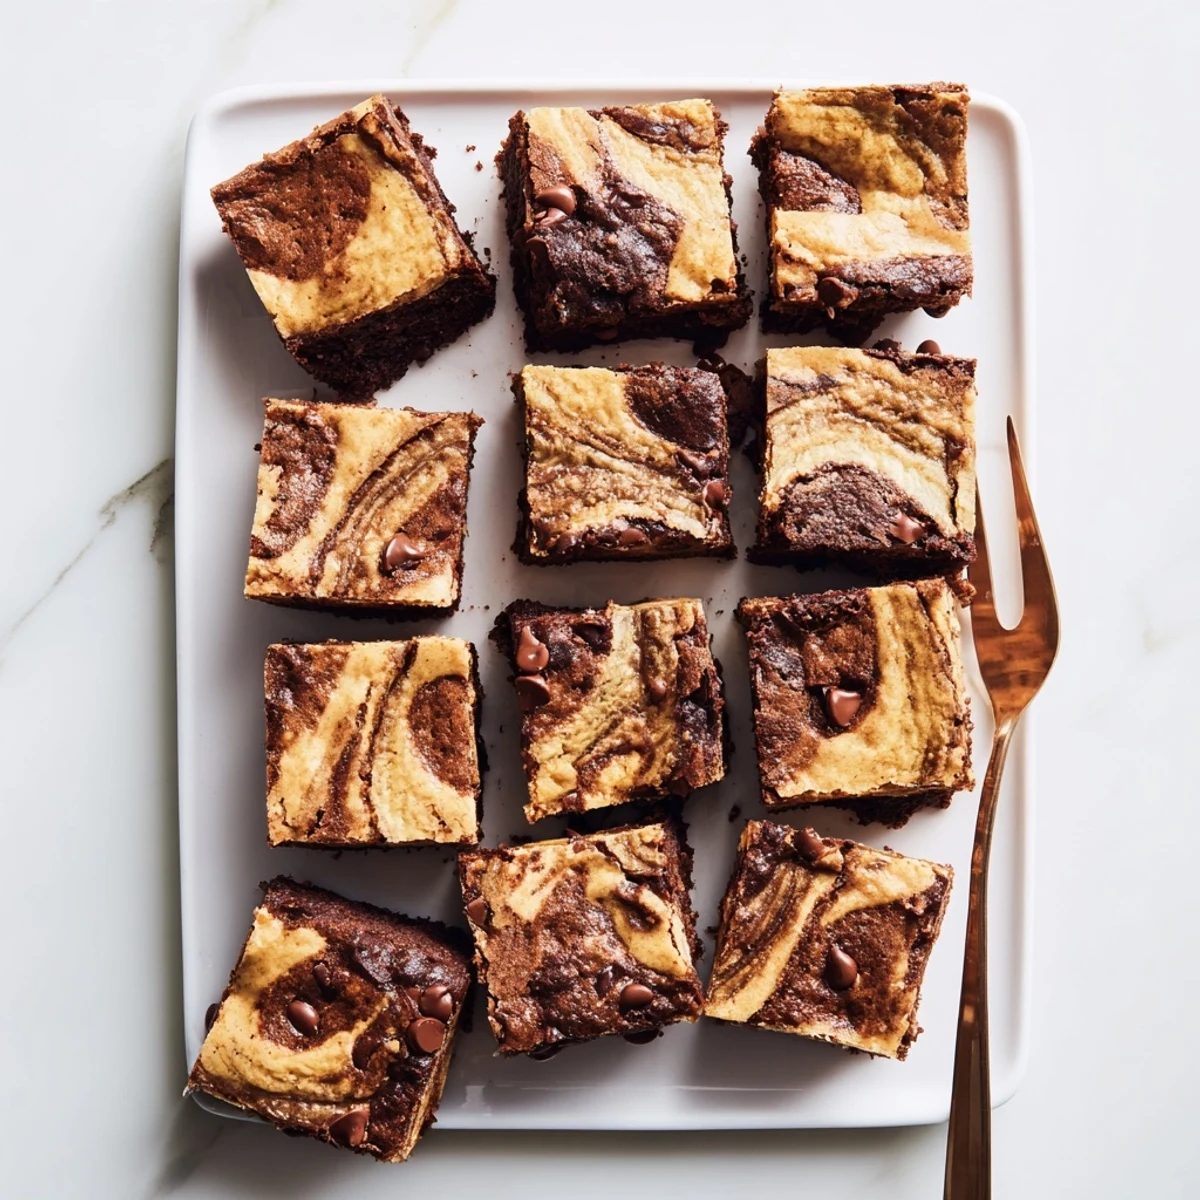
Storage And Serving Suggestions
These bars actually improve after sitting overnight, wrapped tightly at room temperature, as the flavors meld together and both layers become even more fudgy. I have also frozen individually wrapped portions for emergency dessert cravings, letting them thaw on the counter for about an hour before serving.
- Warm individual slices for 15 seconds in the microwave before serving
- Add a scoop of vanilla ice cream on top while the bars are still slightly warm
- Sprinkle flaky sea salt over the top right after baking for a sophisticated finish
 Save to Pinterest
 Every time I pull a batch of these from the oven, that incredible chocolate banana scent reminds me exactly why I started baking in the first place. Hope they bring you as much joy as they have brought to my kitchen.
Recipe FAQs
- → Can I use frozen bananas?
-
Yes, thaw frozen bananas completely and drain excess liquid before mashing. They work perfectly and add extra moisture to the layers.
- → How do I know when they're done baking?
-
Insert a toothpick near the center—it should come out with a few moist crumbs but not wet batter. The edges should be set while the center remains slightly soft.
- → Can I make these ahead of time?
-
Absolutely. Store cooled bars in an airtight container at room temperature for up to 3 days, or refrigerate for up to a week. They also freeze well for up to 3 months.
- → Why did my layers sink in the middle?
-
This usually means they were underbaked. Ensure your oven is properly calibrated and bake until the center is set. A toothpick test helps confirm doneness.
- → Can I reduce the sugar?
-
You can reduce sugar by up to 25% in each layer, though this may affect texture. The ripe bananas provide natural sweetness, so the bars will still taste delicious.
