 Save to Pinterest
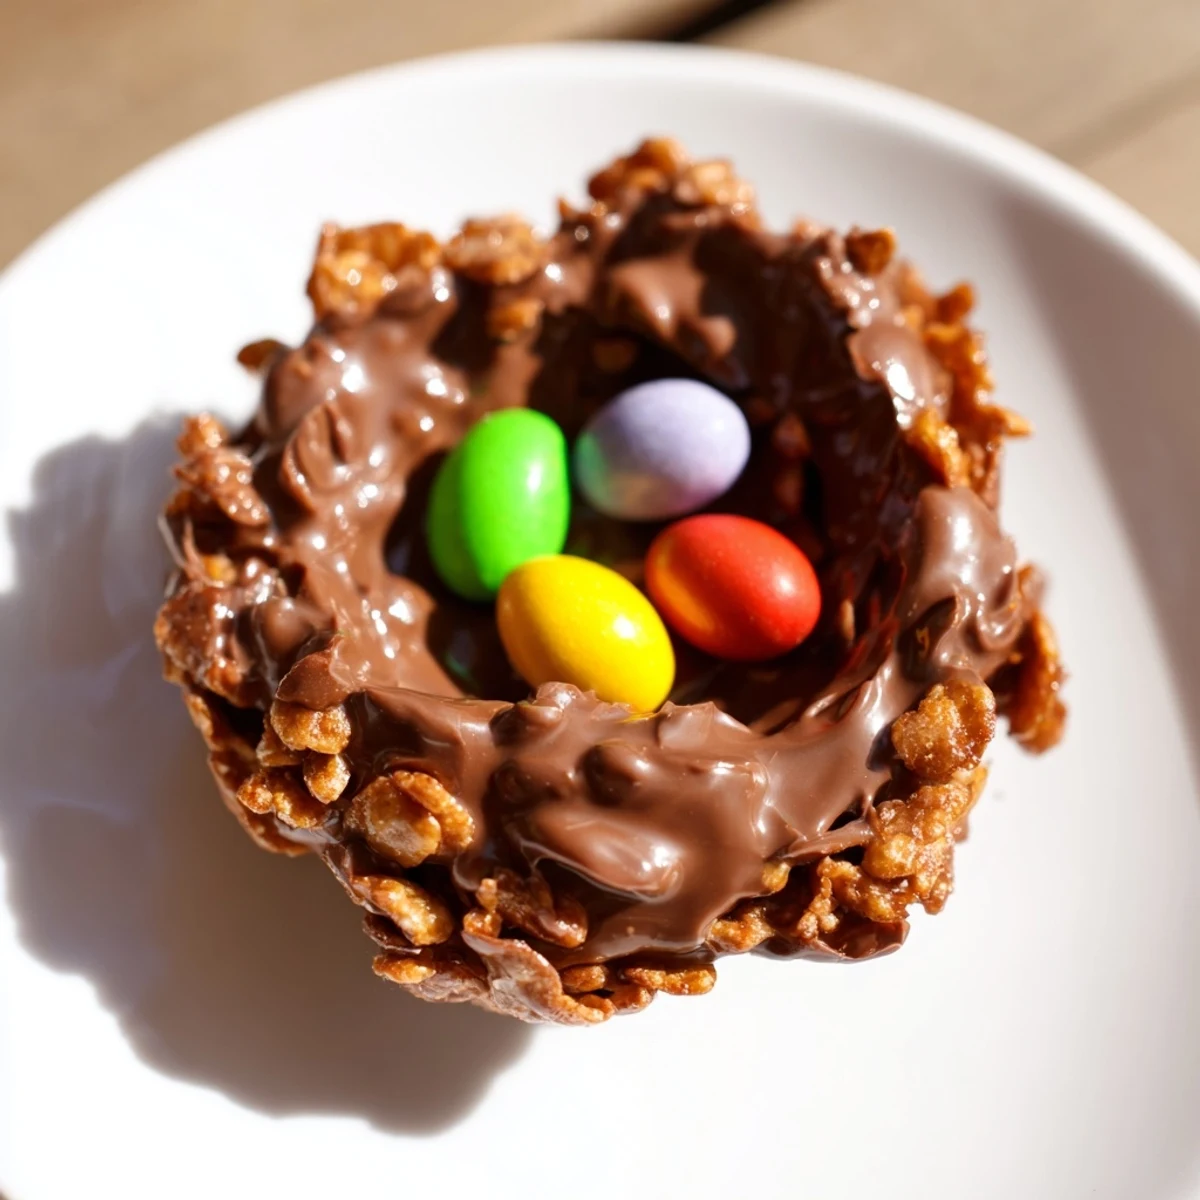
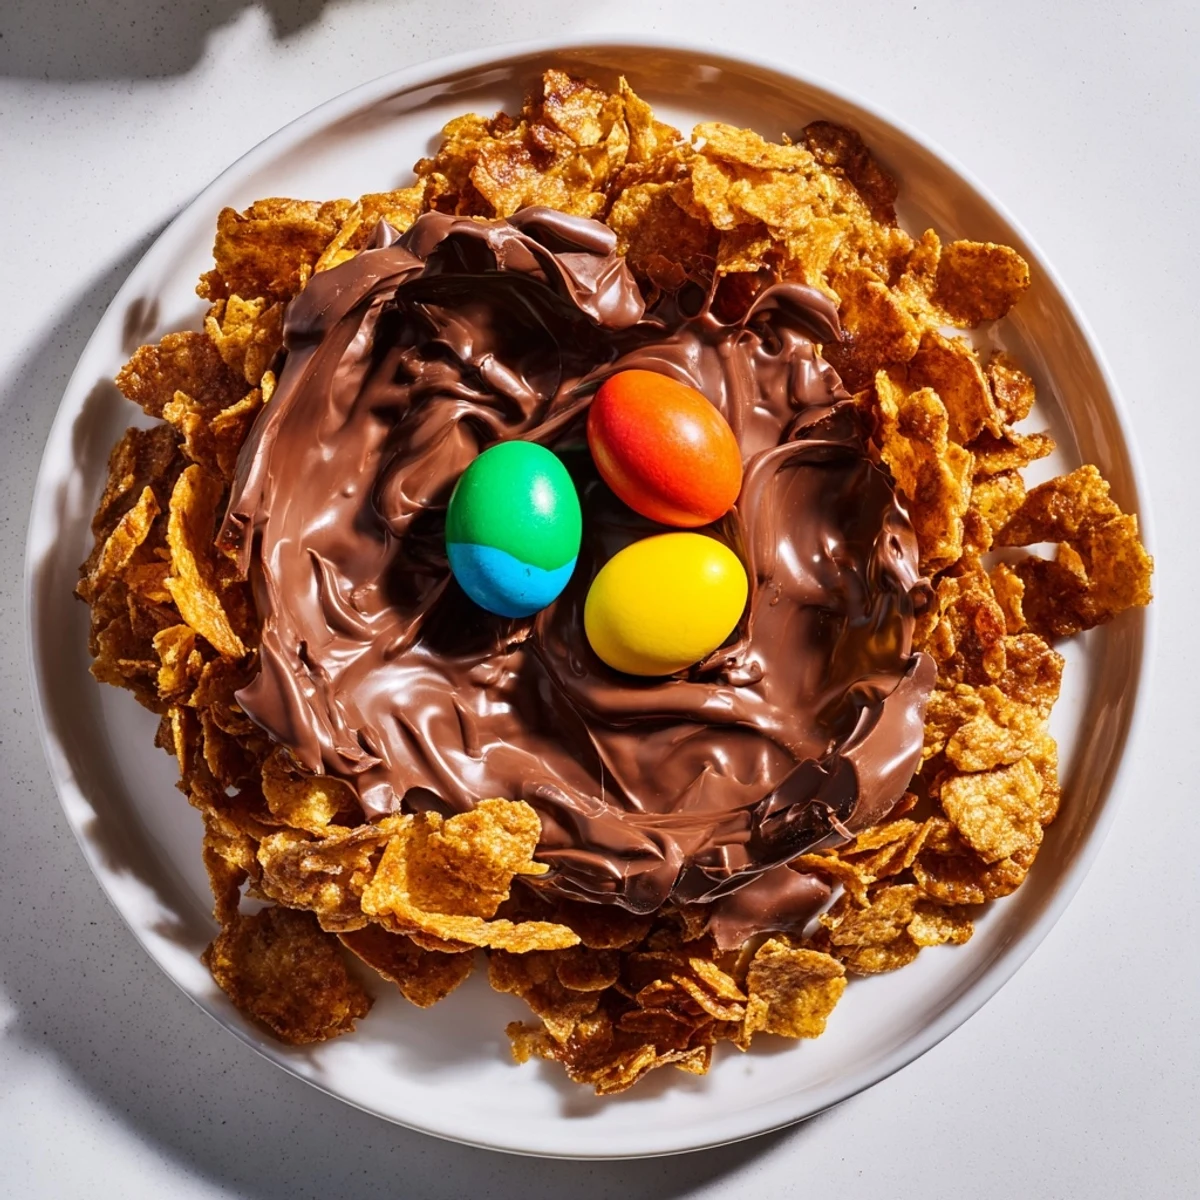
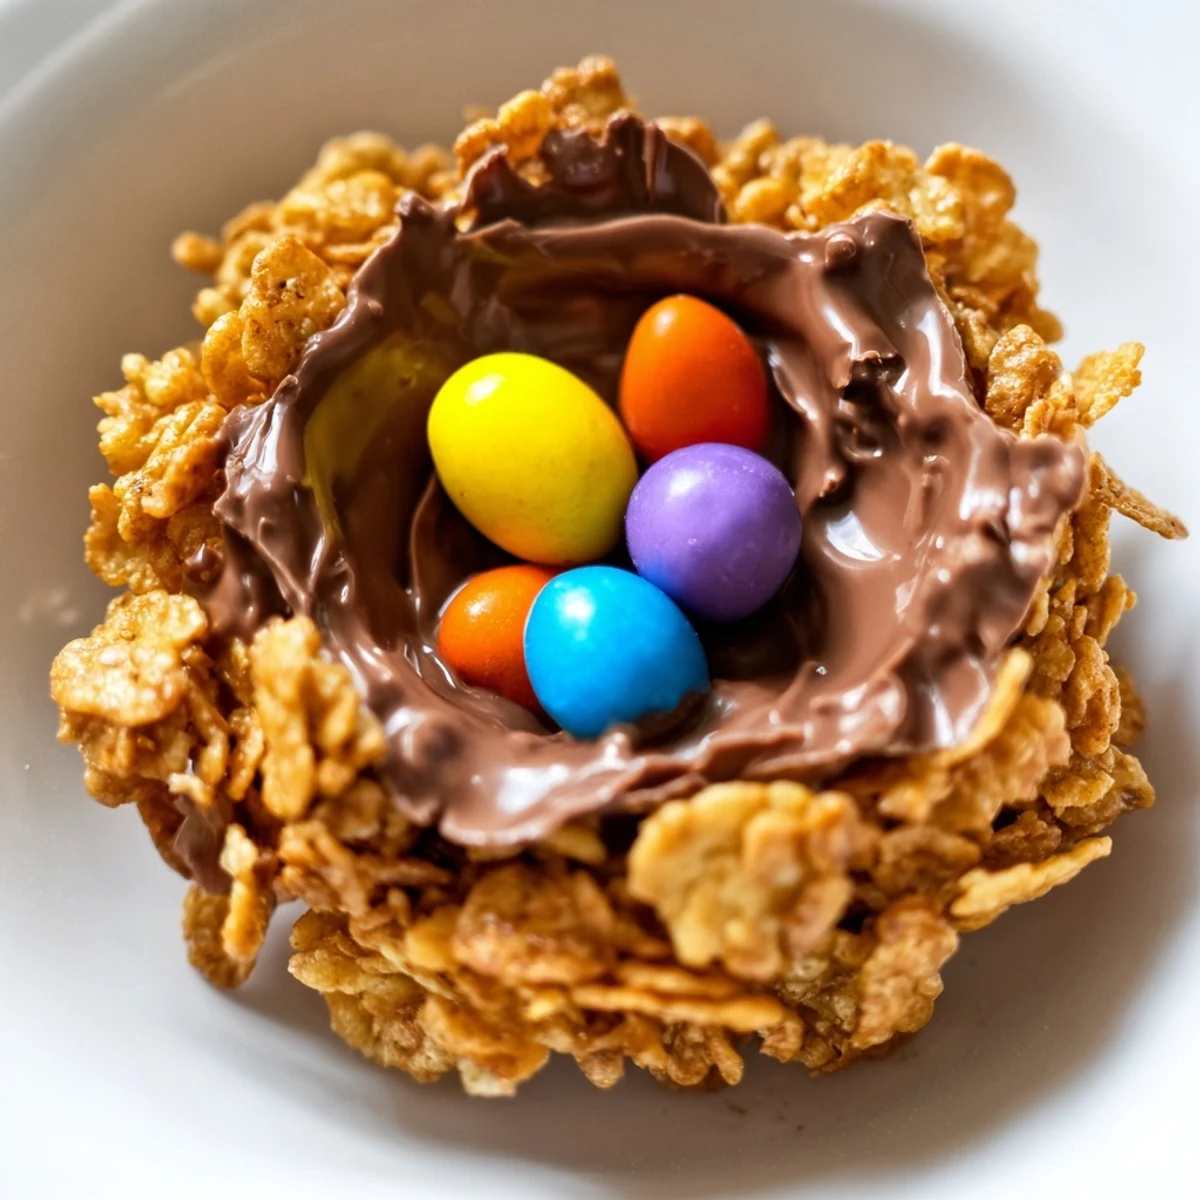
 These chocolate Easter egg nests combine melted milk and dark chocolate with butter and golden syrup, mixed with crunchy cornflakes to create delightful no-bake nests. Each nest is filled with mini candy-coated chocolate eggs, yielding a colorful and festive presentation. The mixture sets in the fridge, making this a quick and easy treat perfect for celebrations. Variations include using shredded wheat for texture or adding nuts for extra flavor.
Preparation requires minimal tools like a heatproof bowl and muffin tin, and the chilled nests store well refrigerated for up to a week.
My daughter came home from school one Easter break insisting we needed to make something chocolatey and messy for her class party. I stumbled upon this recipe during a desperate search for something that wouldn't require turning on the oven in what was already shaping up to be a warm spring afternoon.
Last year I made three batches because my husband kept eating them straight from the fridge before I could pack them away for the Easter gathering. The grandchildren now request them by name and have started suggesting outrageous toppings we should try next year.
Ingredients
- 200 g milk chocolate: The sweetness balances the dark chocolate and creates that familiar childhood flavor everyone craves
- 100 g dark chocolate: Adds depth and prevents the nests from becoming cloyingly sweet
- 100 g unsalted butter: Helps the chocolate set properly while adding a luxurious creaminess
- 3 tbsp golden syrup: This is the secret ingredient that keeps the chocolate glossy and prevents it from seizing
- 100 g cornflakes: Provides the perfect crispy texture that holds its shape even after coating
- 100 g mini candy-coated chocolate eggs: The visual crowning glory that makes these instantly recognizable
Instructions
- Prepare your nest stations:
- Line a 12 hole muffin tin with paper cupcake cases so you are ready to work quickly once the chocolate is melted
- Melt the chocolate mixture:
- Set a heatproof bowl over simmering water and melt the milk chocolate, dark chocolate, butter and golden syrup together until completely smooth, stirring constantly
- Coat the cornflakes:
- Gently fold the cornflakes into the chocolate mixture until every piece is evenly coated but not completely crushed
- Shape the nests:
- Divide the mixture among the paper cases and press lightly with the back of a spoon to create a small hollow in the center of each
- Add the eggs:
- Place 2 to 3 mini chocolate eggs in the center of each nest while the chocolate is still slightly tacky
- Set and serve:
- Chill in the refrigerator for at least 30 minutes until completely firm, then carefully remove from the tin and paper cases before serving
 Save to Pinterest
 These have become such a staple at our Easter table that I cannot imagine the holiday without them. Watching friends and family instinctively reach for one the moment they walk through the door never gets old.
Making Ahead and Storage
I have learned through trial and error that these nests actually taste better after sitting overnight in the refrigerator. The flavors meld together beautifully and the texture becomes perfectly fudgy while still maintaining that satisfying crunch.
Creative Variations
Shredded wheat creates a more authentic nest appearance with extra fiber, though the texture is noticeably denser. Sometimes I swap the candy eggs for jelly beans or even those tiny marshmallow chicks that appear in stores around Easter time.
Troubleshooting Common Issues
If your chocolate seizes and becomes grainy, do not panic. You can rescue it by whisking in a teaspoon of vegetable oil until smooth again.
- Make sure absolutely no water comes into contact with your melting chocolate or it will seize immediately
- If your nests are too sticky to set, you may need more cornflakes to absorb the excess chocolate
- Room temperature ingredients work best for even melting
 Save to Pinterest
 There is something profoundly satisfying about making something that looks so impressive with such humble ingredients. Happy Easter baking, and may your kitchen be covered in chocolate fingerprints.
Recipe FAQs
- → What type of chocolate works best?
-
Combining milk and dark chocolate balances sweetness and richness, making the nests flavorful.
- → Can I substitute cornflakes in the nests?
-
Yes, shredded wheat works well for added texture and a more nest-like appearance.
- → How do I shape the nests?
-
The mixture is pressed into paper cases with a hollow center formed using the back of a spoon to hold the candy eggs.
- → How long should the nests chill?
-
Chill the nests in the refrigerator for at least 30 minutes until fully set.
- → Can nuts be added to the mixture?
-
Adding chopped roasted hazelnuts or almonds gives a nutty twist and extra crunch to the nests.
