 Save to Pinterest
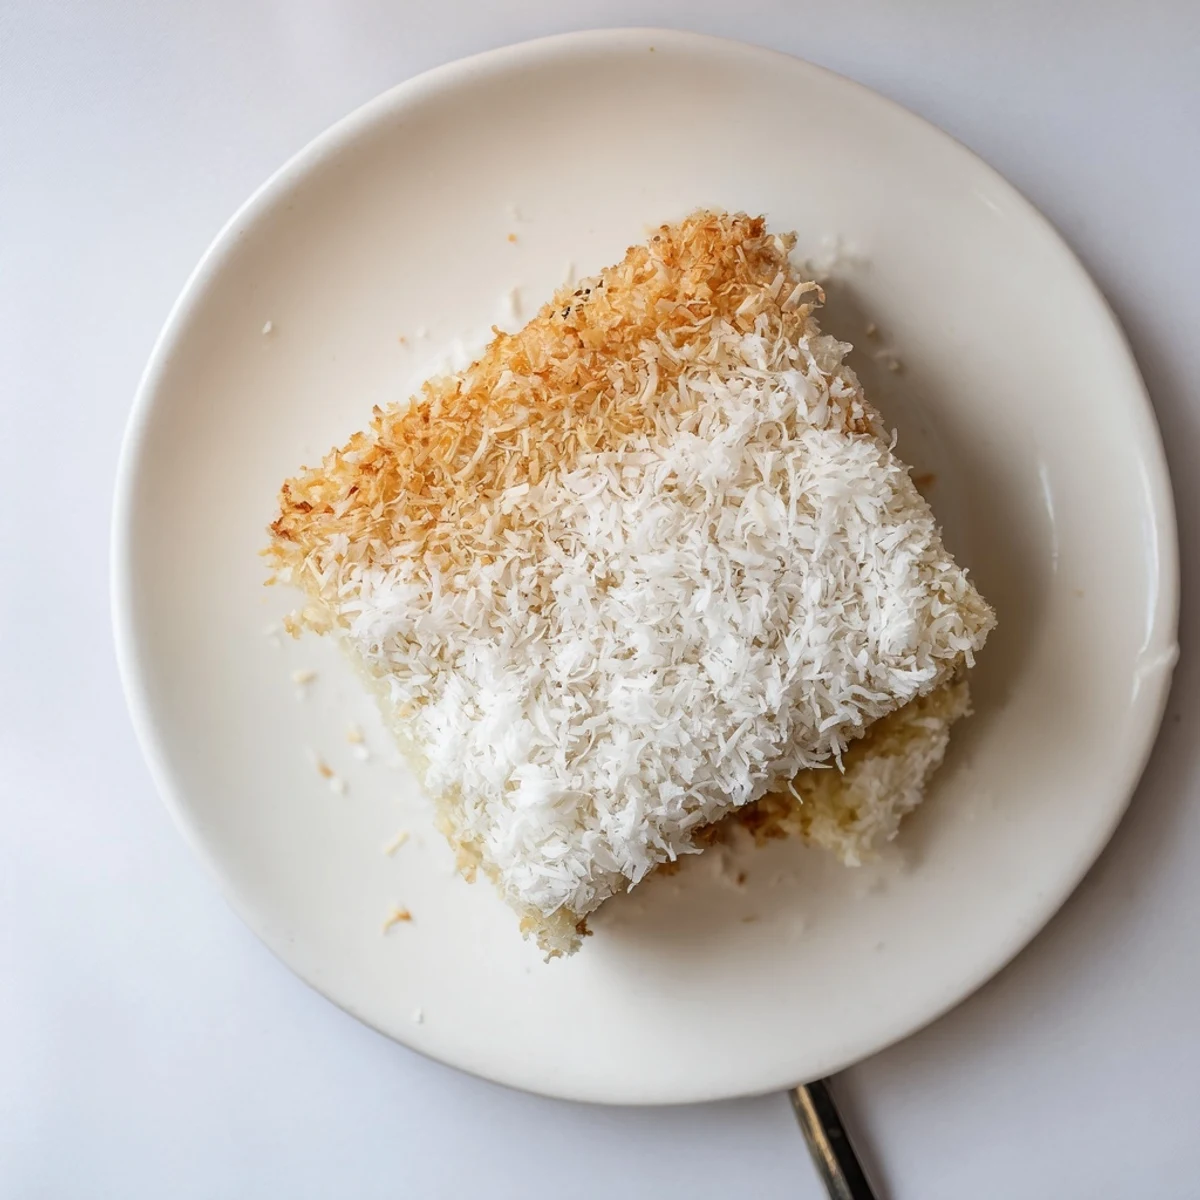
 This coconut mochi cake delivers a wonderfully chewy texture with subtle sweetness. The combination of sweet rice flour creates that signature mochi-like bounce, while full-fat coconut milk provides rich, tropical flavor throughout each bite. Baking takes about an hour, resulting in golden edges and a tender center. The shredded coconut topping adds pleasant texture and visual appeal.
Ideal for gatherings or afternoon tea, this cake slices neatly into squares and stays fresh for days. The naturally gluten-free base makes it accessible for various dietary needs without compromising on taste or texture.
The first time I encountered coconut mochi cake was at a neighborhood potluck where someone's grandmother had brought it. I remember standing there in the kitchen, chatting while I ate, and suddenly realizing I'd gone back for three squares. That chewy, bouncy texture is unlike anything else, and the way it balances sweet coconut with just enough richness keeps you coming back.
I made this for a friend's birthday last summer because she couldn't eat gluten, and honestly, everyone else was just as excited about it. Watching people's expressions when they took that first bite, the surprise at how satisfying something so simple could be, that's what keeps this recipe in my regular rotation.
Ingredients
- Sweet rice flour (mochiko): This is the heart of the chew dont try substituting regular rice flour or the texture wont be the same
- Granulated sugar: Sweetens just enough without overpowering the coconut flavor
- Baking powder: Gives the cake a subtle lift while keeping that dense mochi texture
- Fine salt: Balances the sweetness and enhances the coconut
- Coconut milk: Full-fat is crucial here for richness and authentic flavor
- Whole milk: Adds creaminess but any milk alternative works beautifully
- Eggs: Provide structure and help create that perfect tender crumb
- Unsalted butter: Melted and cooled adds depth and richness
- Pure vanilla extract: Rounds out all the flavors and adds warmth
- Shredded coconut: Creates a lovely toasted crust on top that contrasts with the soft interior
Instructions
- Prep your pan and oven:
- Get your oven to 350F and grease a 9x13 inch pan well, then line it with parchment paper so you can lift the whole cake out easily later
- Mix the dry ingredients:
- Whisk the sweet rice flour, sugar, baking powder, and salt together in a large bowl until well combined
- Combine the wet mixture:
- In another bowl, whisk the coconut milk, whole milk, eggs, melted butter, and vanilla until completely smooth
- Bring it together:
- Pour the wet ingredients into the dry and stir with a spatula until combined and smooth, but be careful not to overmix
- Pan and top it:
- Pour the batter into your prepared pan and tap it gently on the counter to release any air bubbles, then sprinkle the shredded coconut evenly over the top
- Bake to golden perfection:
- Bake for 55 to 60 minutes until the edges are golden brown and a toothpick in the center comes out mostly clean
- Cool completely:
- Let the cake cool completely in the pan on a wire rack before slicing into squares or bars
 Save to Pinterest
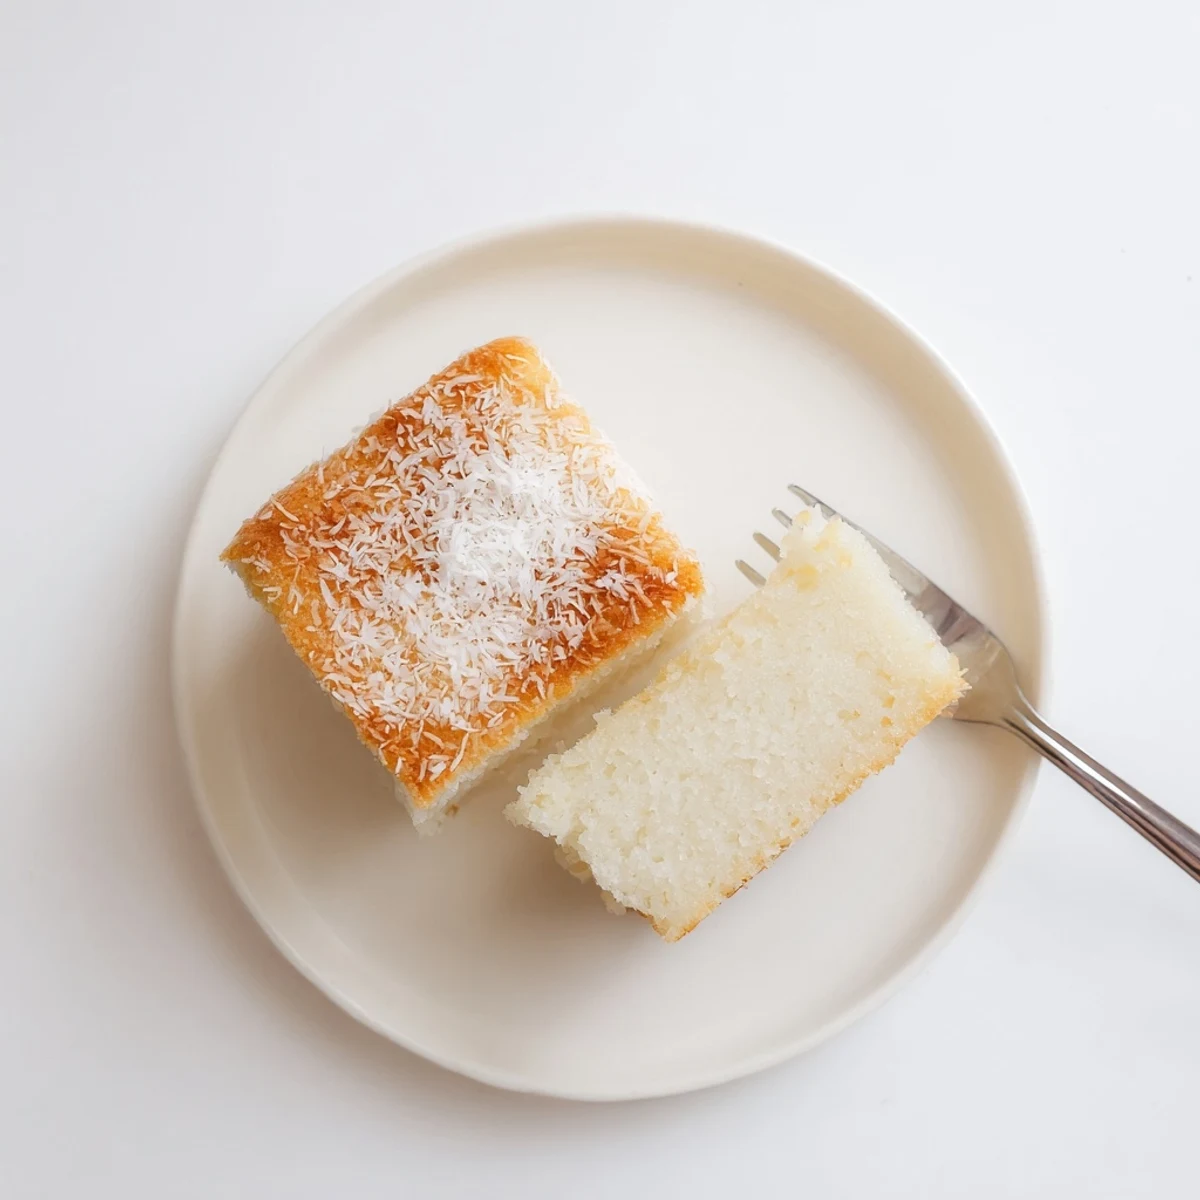
 This cake has become my go-to for bringing to gatherings because it travels so well and appeals to everyone. There's something about sharing food that brings people together, and the way this cake disappears from the plate always makes me smile.
Making It Dairy Free
I've made this dairy-free many times using coconut oil instead of butter and extra coconut milk in place of the whole milk. Honestly, it's just as delicious, maybe even more coconut-forward, which I never mind.
Storage Tips
This cake keeps remarkably well at room temperature for a couple of days, though I've been known to eat it for breakfast straight from the container. The texture actually seems to improve after a day, becoming even more chewy and settled.
Serving Ideas
While it's perfect on its own, I've served this with fresh mango or pineapple when I want something extra special. A scoop of vanilla ice cream melting slightly over a warm square is absolute heaven.
- Try swirling red bean paste through the batter for a Hawaiian inspired twist
- Toasted macadamia nuts on top add wonderful crunch
- A dusting of powdered sugar makes it extra pretty for serving
 Save to Pinterest
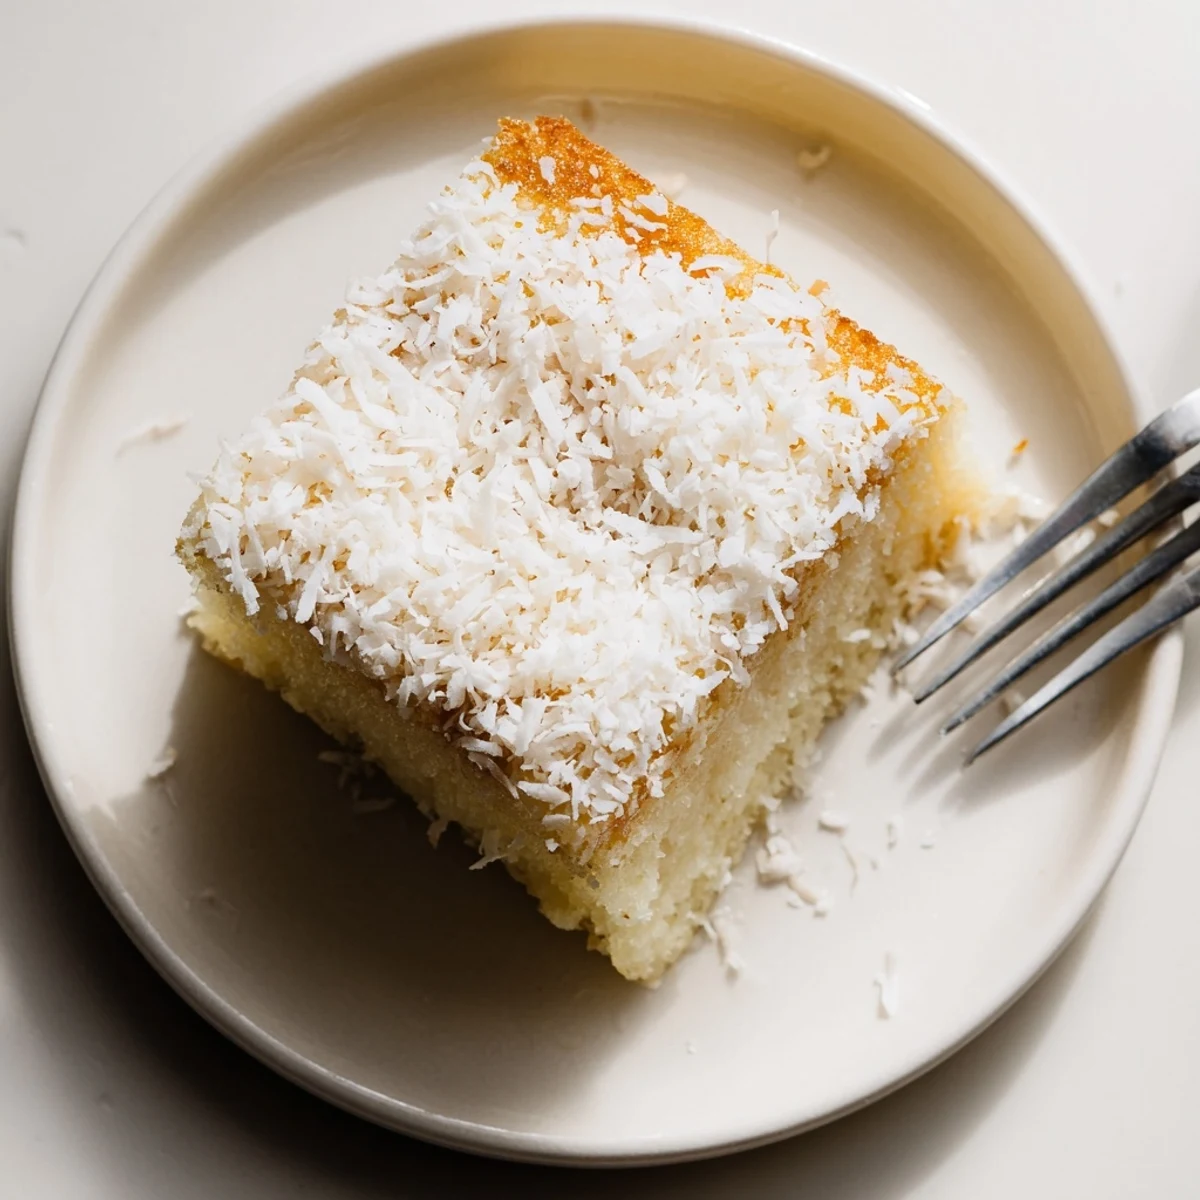
 There's something so comforting about a recipe that comes together simply yet delivers such a unique, memorable experience. I hope this finds its way into your regular baking rotation too.
Recipe FAQs
- → What makes mochi cake chewy?
-
Sweet rice flour, also called mochiko, creates the signature chewy texture. This glutenous rice flour becomes elastic and bouncy when baked, giving the cake its distinctive mochi-like consistency that's different from regular wheat flour cakes.
- → Can I make this dairy-free?
-
Absolutely. Substitute the whole milk with additional coconut milk and replace melted butter with coconut oil. The results remain just as delicious and chewy, with even more pronounced coconut flavor throughout.
- → How do I store leftovers?
-
Keep in an airtight container at room temperature for up to 2 days, or refrigerate for up to 5 days. The texture remains pleasantly chewy, though bringing chilled slices to room temperature before serving enhances the experience.
- → Why is my center still gooey?
-
Mochi cake naturally has a denser, slightly tacky texture compared to sponge cakes. However, if the center seems underbaked, continue baking in 5-minute increments until a toothpick comes out mostly clean with just a few moist crumbs attached.
- → Can I add mix-ins?
-
Yes. Try swirling in sweetened red bean paste for a Hawaiian twist, adding chocolate chips, or incorporating fresh mango cubes. Just keep additions to about ½ cup total to maintain proper baking consistency.
