 Save to Pinterest
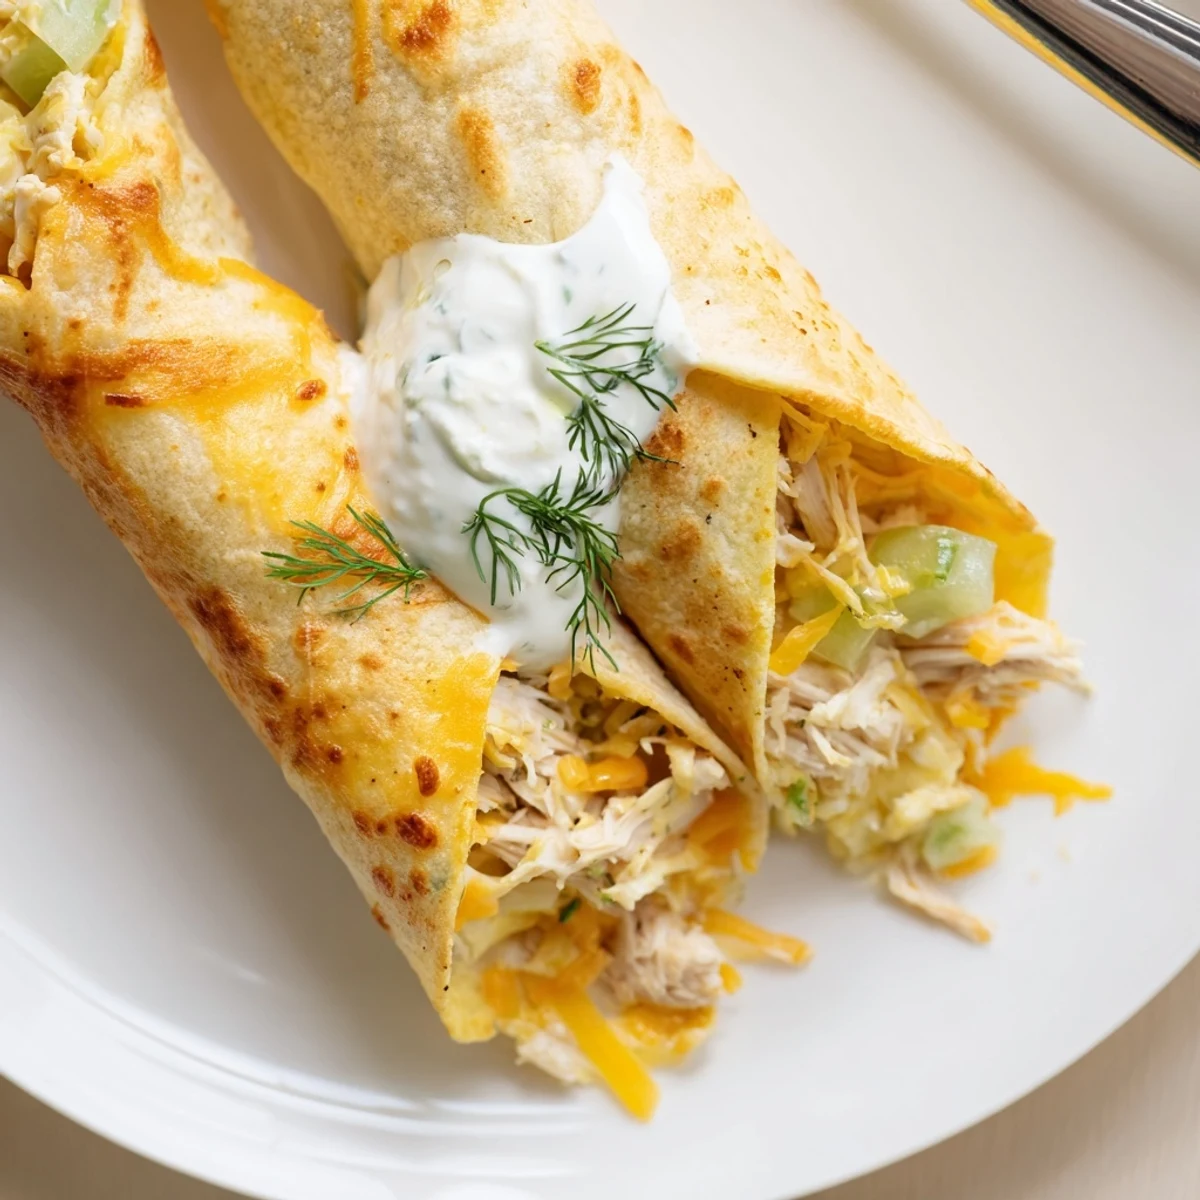
 These crispy taquitos feature shredded chicken mixed with dill pickles, ranch dressing, and cheddar cheese, all wrapped in flour tortillas and baked until golden. The combination of tangy pickles and creamy ranch creates a delicious, addictive flavor profile perfect for parties or casual snacking.
Prepared in under an hour with minimal ingredients, these taquitos offer a fun twist on traditional Mexican flavors with an American comfort food touch. Serve with extra ranch or your favorite dipping sauce for maximum enjoyment.
The first time I made these, my roommate walked in and asked what smelled like a state fair. I'd been experimenting with leftover rotisserie chicken and an abundance of pickles from my canning phase, and somehow the combination of tangy dill with creamy ranch just worked. Now they're the most requested snack whenever friends come over for game nights or casual hangouts. Something about that crispy shell with the cool, zesty filling hits every craving at once.
Last summer I made three batches for my sister's birthday party and watched them disappear faster than I could pull them from the oven. My nephew, who usually picks pickles off everything suspiciously, ate four and asked if I could pack some in his lunchbox. There's something universally satisfying about finger food that's both indulgent and has that surprising pickle brightness cutting through the richness.
Ingredients
- 2 cups cooked chicken breast, shredded: Rotisserie chicken works perfectly here, or poach and shred your own breasts for maximum control over texture
- 1/2 cup dill pickles, finely chopped: The smaller you chop them, the better they distribute throughout the filling without creating big pickle pockets
- 1/2 cup ranch dressing: This binds everything together and adds that familiar herby creaminess that makes the flavors pop
- 1/2 cup shredded cheddar cheese: Sharp cheddar cuts through the richness while adding another layer of savory depth
- 2 tablespoons fresh dill, chopped: Fresh dill makes a huge difference here, though 1 teaspoon dried works in a pinch
- 2 green onions, finely sliced: These add a mild onion bite and beautiful green flecks throughout the filling
- 1/4 teaspoon garlic powder: Just enough to enhance the other flavors without announcing itself too boldly
- 1/4 teaspoon black pepper: Freshly ground adds a nice aromatic warmth that complements the pickles
- 12 small flour tortillas (6-inch): The smaller size rolls more tightly and crisps up better than larger tortillas
- Cooking spray or 2 tablespoons melted butter: Brushing with butter gives superior flavor and browning
Instructions
- Get your oven ready:
- Preheat to 425°F and line a baking sheet with parchment paper for easy cleanup and even browning
- Mix the filling:
- Combine shredded chicken, chopped pickles, ranch dressing, cheddar cheese, dill, green onions, garlic powder, and black pepper in a large bowl until everything is evenly distributed
- Assemble the taquitos:
- Lay out tortillas and place 2 to 3 tablespoons of filling along the lower third of each, then roll up tightly like a cigar
- Prepare for baking:
- Place each taquito seam-side down on the baking sheet and brush with melted butter for that gorgeous golden finish
- Bake until crispy:
- Cook for 18 to 22 minutes, turning halfway through, until they're deeply golden and make that satisfying hollow sound when tapped
- Let them rest slightly:
- Cool for just a few minutes so the filling sets and they're easier to handle, then serve with extra ranch for dipping
 Save to Pinterest
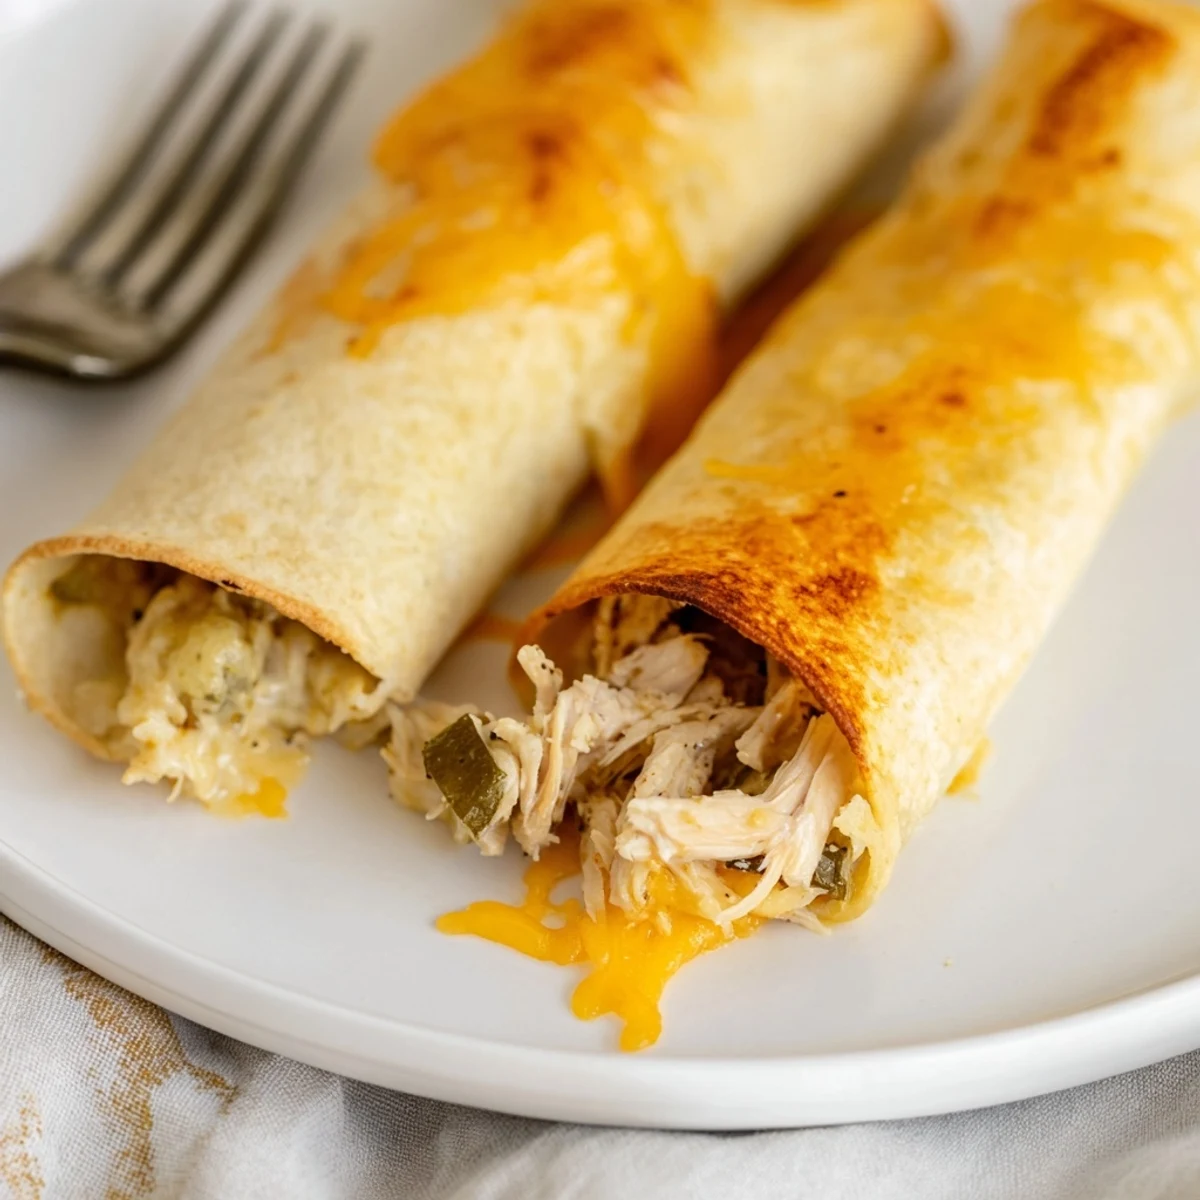
 These have become my go-to when I need something that feels special but doesn't require hours in the kitchen. My husband will eat three straight from the cooling rack, burning his fingers every single time because he can't wait that extra minute. Food should be this simple and this satisfying.
Make Ahead Magic
You can assemble the taquitos up to 24 hours in advance and store them tightly wrapped in the refrigerator. Add a couple extra minutes to the baking time since they'll be cold going into the oven. I've also frozen uncooked taquitos successfully, just thaw in the fridge overnight before baking.
Customization Options
Sometimes I swap in pepper jack for extra heat or add minced jalapeños when I'm feeling adventurous. Corn tortillas work beautifully if you warm them first, though they need a bit more attention to prevent cracking. The filling combination is endlessly adaptable to whatever you have on hand.
Serving Ideas
These taquitos shine alongside simple veggie sticks like celery and carrots that echo the fresh dill flavors. A crisp green salad with a vinaigrette cuts through the richness beautifully. They're substantial enough to serve as a light dinner with soup, or keep them casual with your favorite chips and dip spread.
- Set out a small bowl of extra pickles for the pickle lovers in your group
- Warm up some queso or spin on the side for an extra indulgent dipping option
- These reheat surprisingly well in a 350°F oven for 10 minutes if you somehow have leftovers
 Save to Pinterest
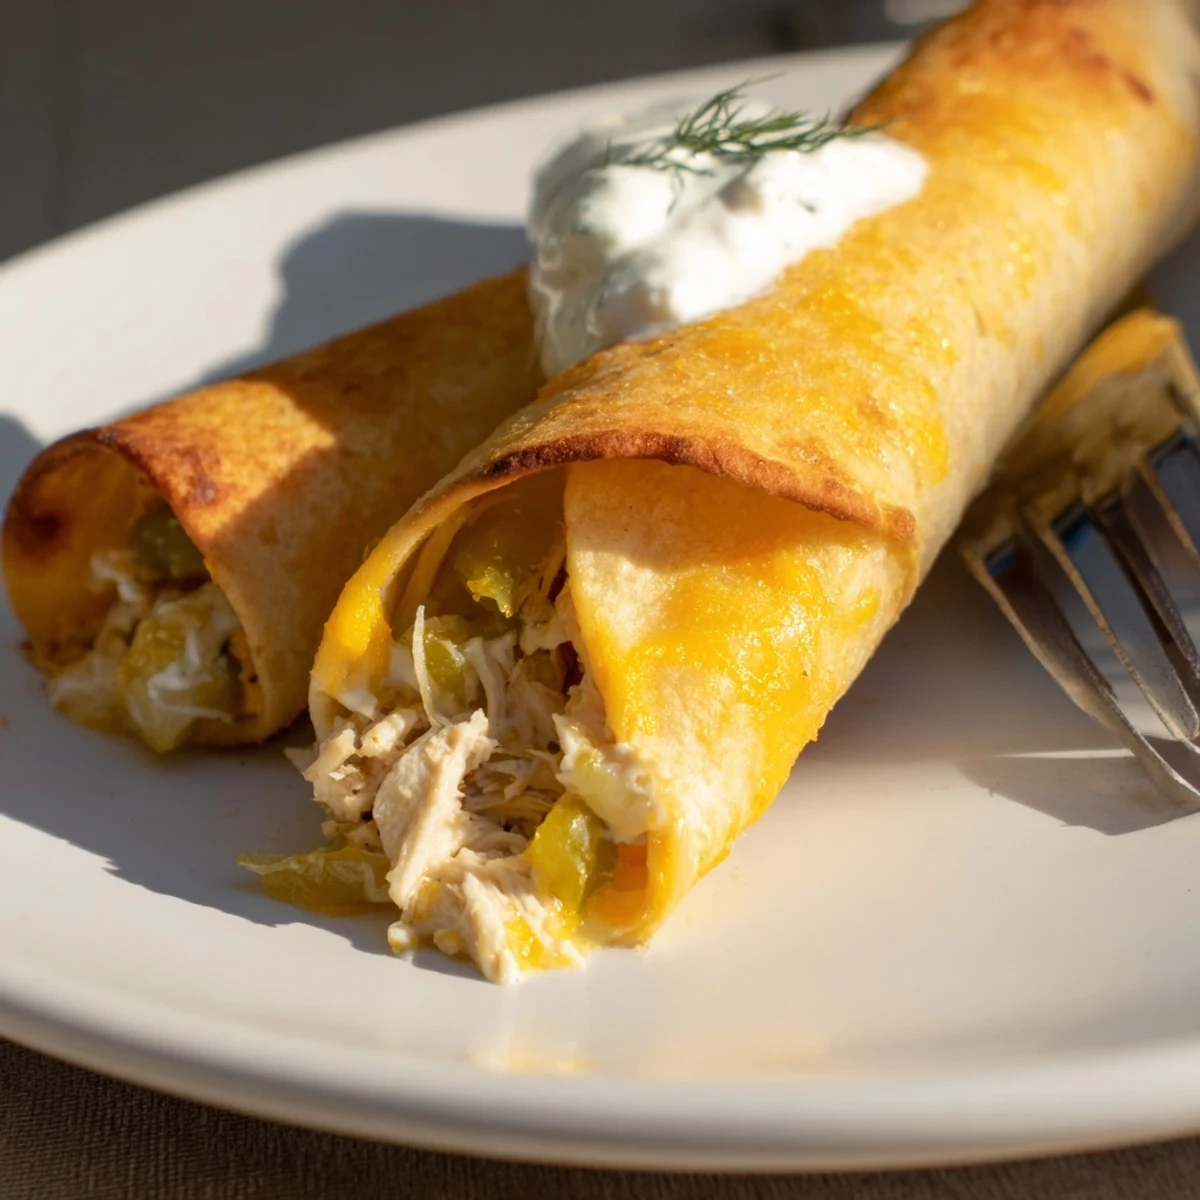
 There's something deeply satisfying about turning simple leftovers into something that feels like a treat. Hope these become a regular in your rotation like they have in mine.
Recipe FAQs
- → Can I use corn tortillas instead of flour?
-
Yes, you can use corn tortillas for a gluten-free option. Just warm them slightly before rolling to prevent cracking, as corn tortillas are more fragile than flour tortillas.
- → How do I keep taquitos from falling apart?
-
Make sure to roll them tightly and place them seam-side down on the baking sheet. Brushing with butter or cooking spray also helps them hold together during baking.
- → What's the best way to reheat leftover taquitos?
-
Reheat in a 350°F oven for 5-7 minutes or until crispy. You can also use an air fryer at 350°F for 3-4 minutes for extra crispiness.
- → Can I make these ahead of time?
-
Yes, you can prepare the filling and assemble the taquitos up to a day in advance. Store unbaked taquitos covered in the refrigerator, then bake when ready to serve.
- → What dipping sauces pair well with these taquitos?
-
They're delicious with extra ranch dressing, salsa, guacamole, or a spicy aioli. Sour cream and hot sauce also work well to complement the flavors.
