 Save to Pinterest
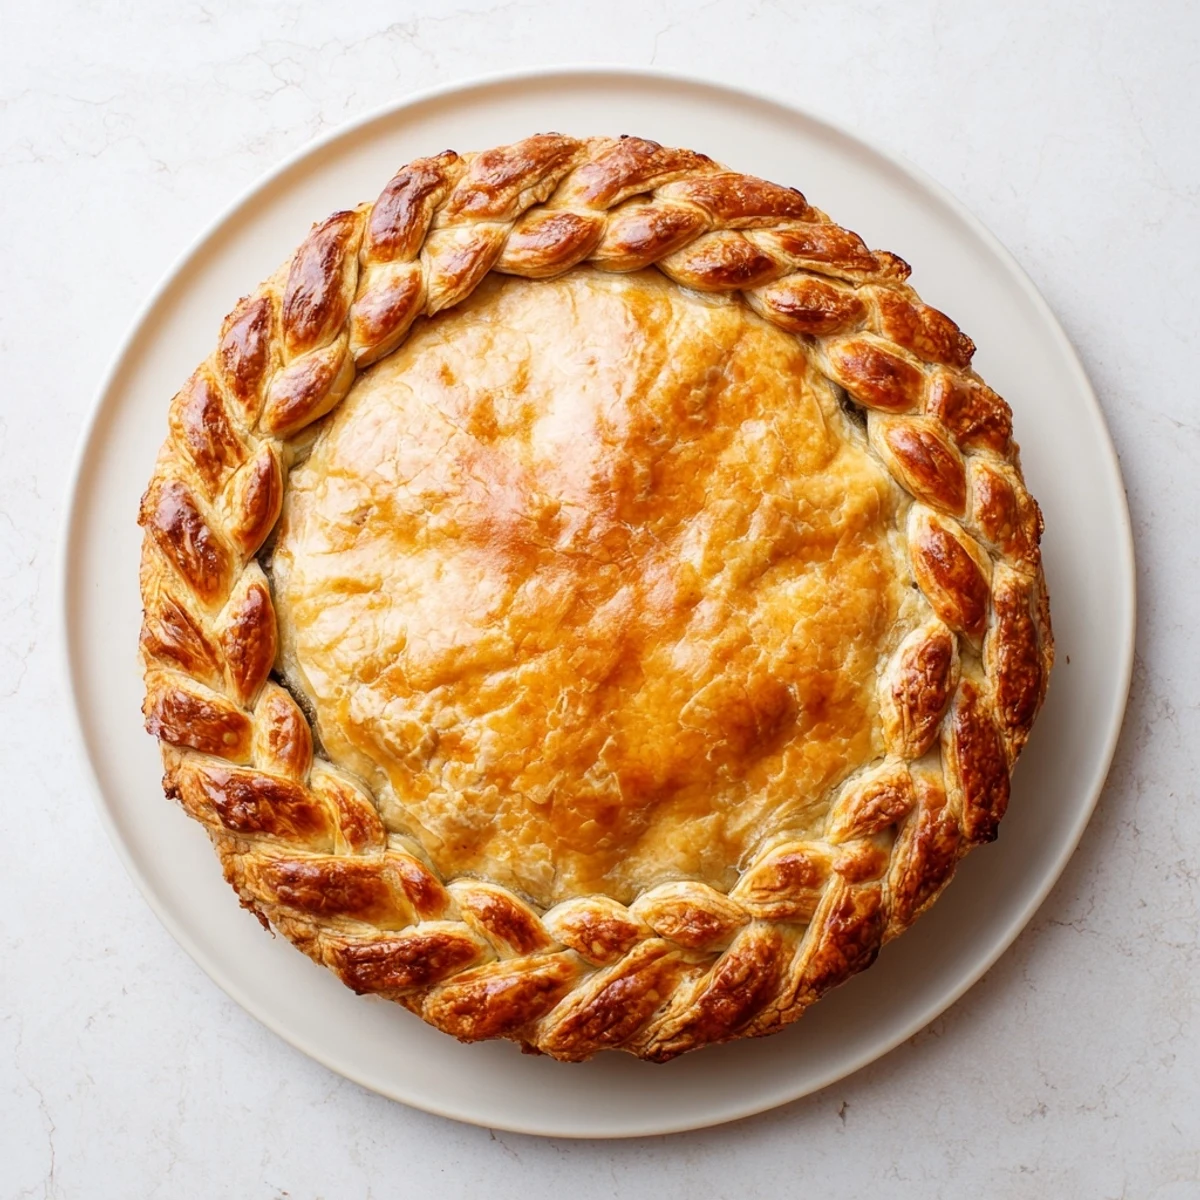
 This decorative crust technique transforms ordinary pies into bakery-quality showstoppers with an intricate woven edge.
The method involves cutting dough strips and fishtail braiding them before wrapping around your pie rim. While it requires patience and practice, the stunning results are worth the effort.
Keep dough cold throughout the process for clean, defined braids that hold their shape during baking.
The bakery window caught my attention first, a lattice-topped apple pie with something unusual woven around its edge. I pressed my nose against the glass like a child, trying to figure out the intricate braid that made the whole thing look like it belonged in a magazine. The owner caught me staring and invited me inside to watch her hands work, flour dusting her apron as she pinched and crossed strips of dough with practiced ease.
My first attempt at home ended with a lopsided braid that kept sliding off the edge, but my sister still took a photo before we devoured the cherry filling beneath it. Turns out the secret lies in cold dough and patience, two things I learned the hard way after that initial kitchen disaster.
Ingredients
- All-purpose flour: The foundation of any good crust, measured by weight for consistency every single time.
- Unsalted butter: Keep it ice cold straight from the refrigerator, those butter chunks create the flaky layers.
- Salt: Balances the richness and wakes up all the flavors hidden in simple dough.
- Sugar: Optional but lovely for fruit pies, it adds just a hint of sweetness to the crust.
- Ice water: Added gradually until the dough holds together without becoming wet or overworked.
- Egg: Beaten with a splash of liquid for an egg wash that turns the braid golden and shiny.
Instructions
- Make the dough:
- Whisk flour with salt and sugar if using, then cut in cold butter until the mixture looks like coarse crumbs with visible pea-sized pieces throughout.
- Add water gradually:
- Drizzle ice water starting with a quarter cup, mixing gently with your hands until the dough just comes together without crumbling.
- Chill the dough:
- Divide into two disks, wrap tightly, and refrigerate for at least an hour so the gluten relaxes and butter firms up.
- Cut even strips:
- Roll chilled dough into a rectangle and use a ruler to cut six uniform strips about half an inch wide and twelve inches long.
- Start the braid:
- Lay three strips side by side, pressing the tops together, then cross right over middle and left over middle to anchor your fishtail foundation.
- Continue the pattern:
- Take the outermost right strip and cross it to center, then outermost left to center, always pulling from the outside edges.
- Attach to pie:
- Brush the pie edge with water, gently press the braid into place, and brush everything with egg wash before baking until deeply golden.
 Save to Pinterest
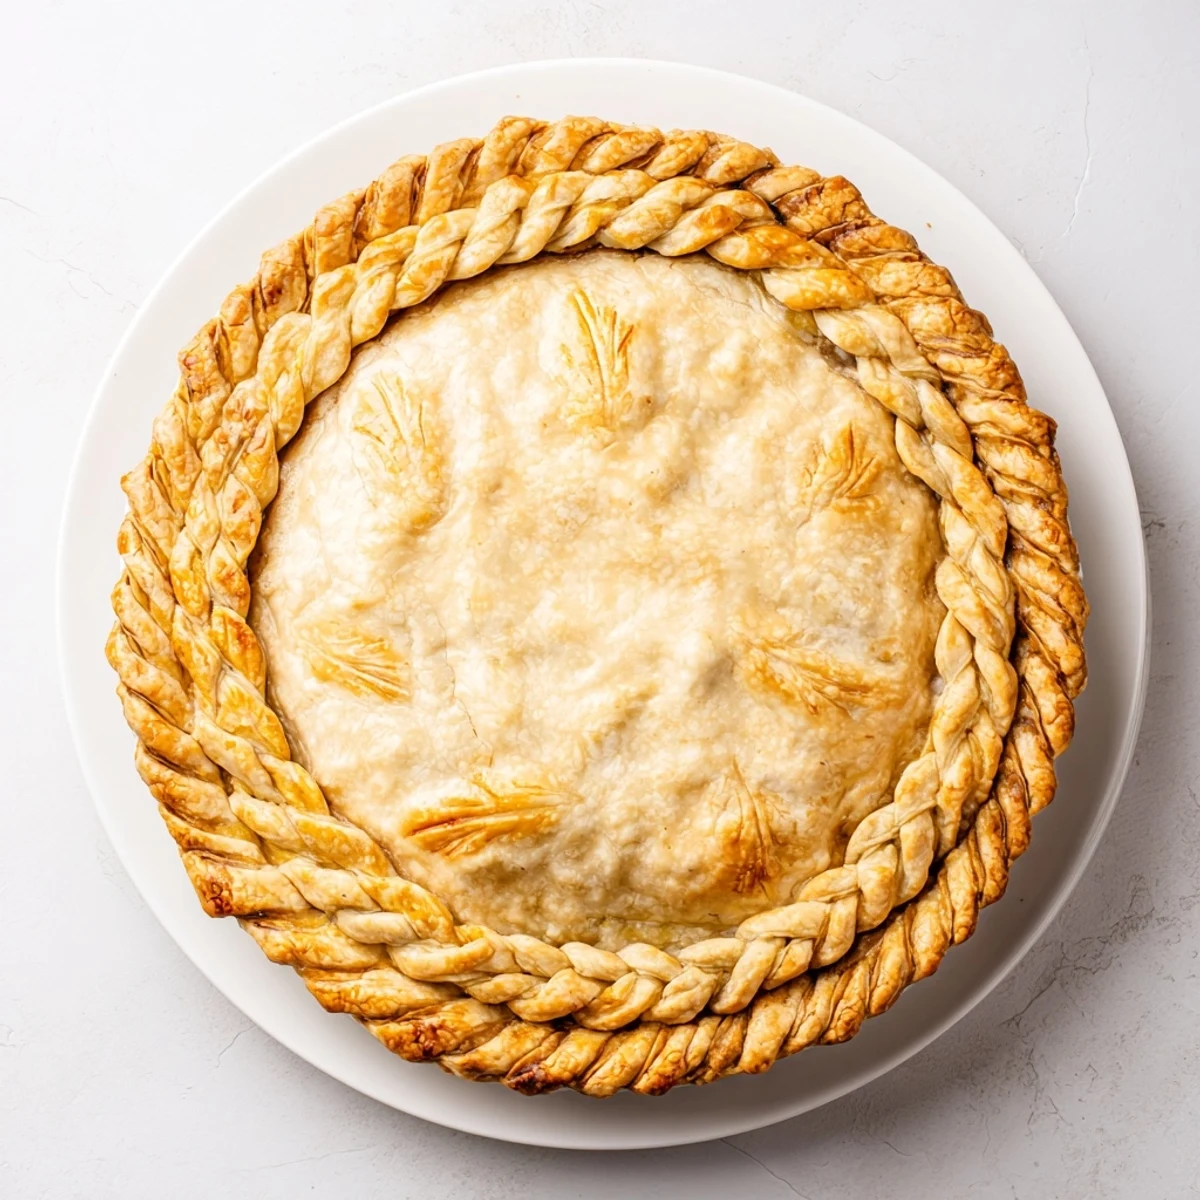
 The silence around the Thanksgiving table when I carried in a pumpkin pie with this braided edge told me everything. Sometimes the most rewarding recipes are the ones that ask us to slow down and work with our hands.
Working with Cold Butter
I learned to cube butter and stash it in the freezer for ten minutes before starting any pie crust. Those solid pieces create steam pockets during baking, which is exactly what makes the layers separate and flutter apart when you take a bite.
Getting Even Strips
A ruler felt fussy the first time I used one for cutting dough strips, but the difference in the finished braid convinced me forever. Uneven strips make the pattern wobble, while uniform ones create that professional bakery appearance.
Ideas and Variations
Savory pies welcome herbs scattered right into the dough, while a touch of turmeric or paprika tints the crust a warm golden hue. The braid technique stays the same, but the flavor possibilities shift depending on what filling waits beneath.
- Sprinkle flaky sea salt over the egg wash for savory applications.
- Try whole wheat flour for a nuttier taste that pairs beautifully with apple fillings.
- Keep a small bowl of flour nearby to dust your fingers if the dough gets sticky.
 Save to Pinterest
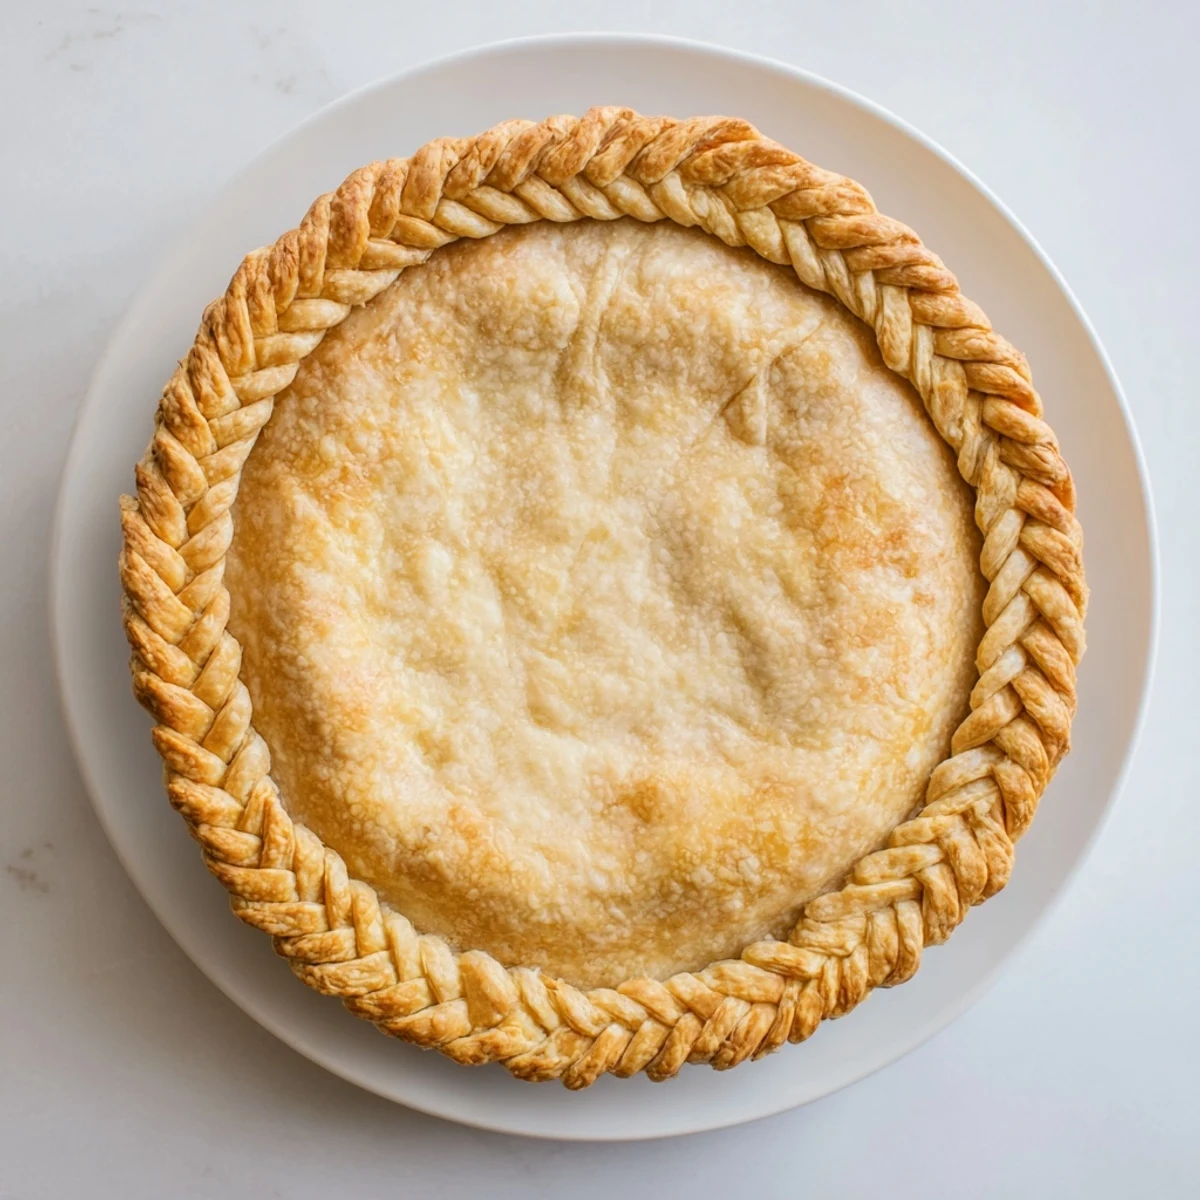
 Once you master this braid, every pie becomes an opportunity to create something beautiful from simple ingredients. The technique transforms ordinary baking into small art.
Recipe FAQs
- → Can I make the braid ahead of time?
-
Yes, you can prepare braided strips up to 24 hours in advance. Store them flat on a parchment-lined baking sheet in the refrigerator, covered with plastic wrap to prevent drying.
- → Why does my braid lose definition during baking?
-
This typically happens when dough becomes too warm. Chill your formed braid for 15-20 minutes before baking, and work quickly when shaping to keep the butter cold.
- → What's the best pie filling to pair with this crust?
-
This decorative edge works beautifully with fruit pies like apple, cherry, or peach, as well as savory options like chicken pot pie or quiche. Avoid overfilled pies that might bubble over the edge.
- → Can I use store-bought dough for the braid?
-
Absolutely. Refrigerated pie dough works well for braiding. Let it warm slightly for easier handling, but keep it cool enough to maintain structure while shaping.
- → How many braids do I need for a standard pie?
-
For a 9-inch pie, you'll typically need 2-3 braids made from 6 strips each. The number depends on your desired braid thickness and how tightly you weave.
