 Save to Pinterest
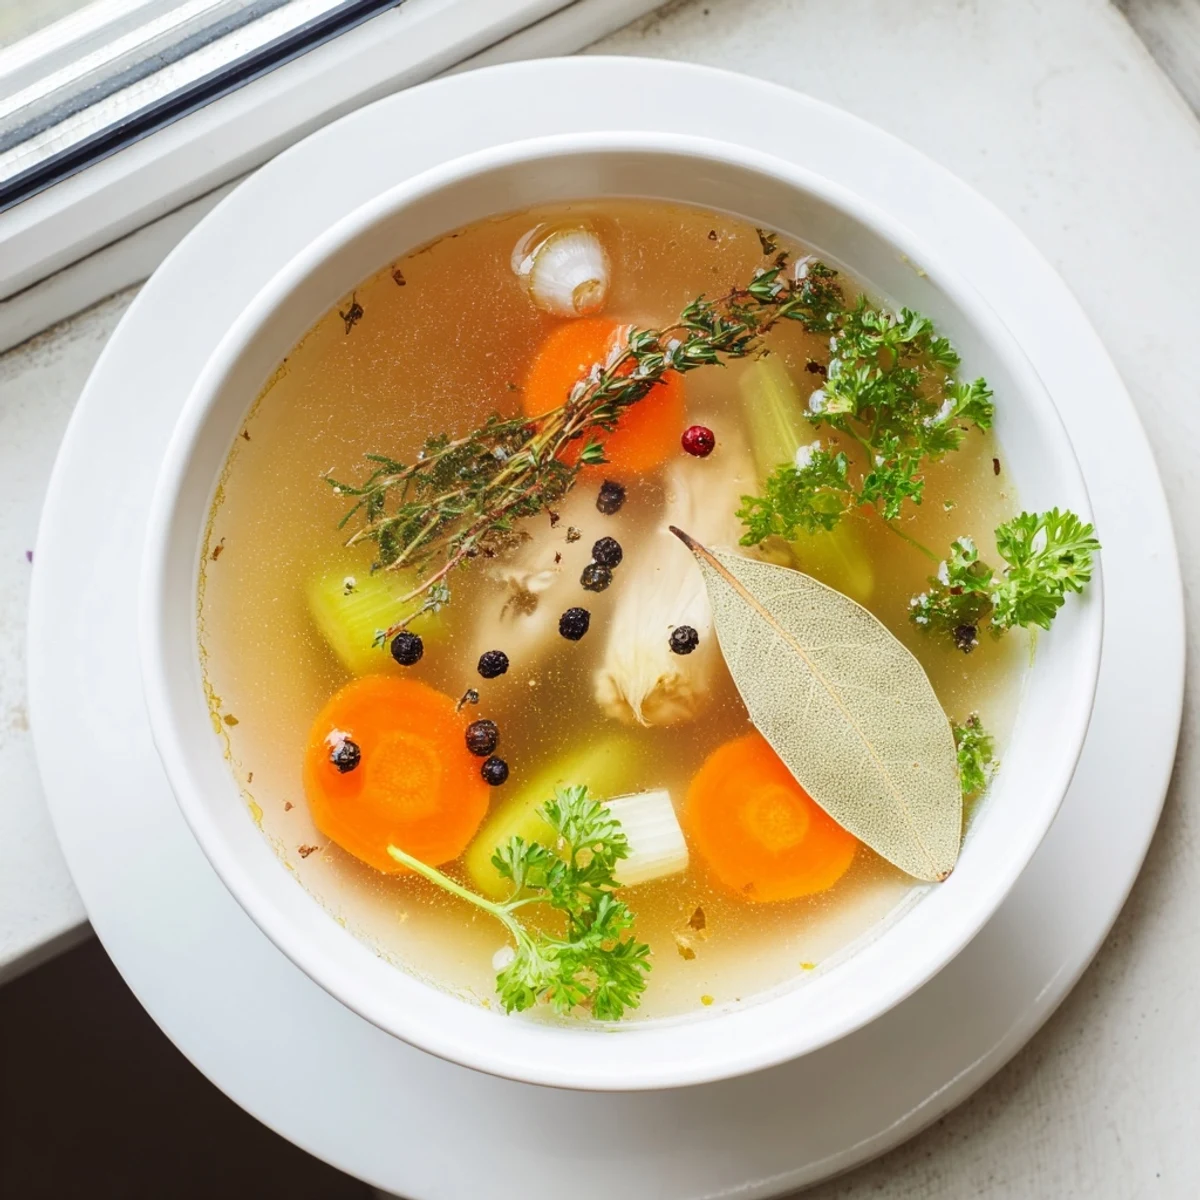
 This nourishing chicken bone broth delivers incredible depth through slow cooking. Simmering raw or roasted bones with vegetables, aromatics, and apple cider vinegar for 12-18 hours extracts maximum collagen, minerals, and flavor. The result is a golden, nutrient-dense liquid that gels when cooled. Use it as a warming drink, soup foundation, or flavorful cooking base. Roasting bones beforehand enhances richness, while straining creates a clear, refined finish.
The smell of bone broth simmering on a cold Sunday morning is the kind of thing that makes you pause at the kitchen doorway and just breathe. My neighbor Clara once walked past my open window and asked what I was cooking because the aroma had drifted three houses down. That is the power of a good slow cooker bone broth. It fills every corner of your home with warmth before you even taste a single spoonful.
I started making bone broth regularly after a winter where everyone in my house seemed to catch every cold going around. There is something deeply satisfying about ladling your own homemade broth into a mug, adding a pinch of salt, and feeling like you are doing something genuinely restorative. My daughter now asks for it by name when she feels even slightly under the weather.
Ingredients
- Chicken bones (1.5 kg, about 3 lbs): Carcass, wings, backs, or a mix work beautifully. Save bones from roast chicken dinners in a bag in the freezer until you have enough for a batch.
- Carrots (2 medium, roughly chopped): These add a gentle sweetness that balances the savory depth. No need to peel them, just give them a good scrub.
- Celery (2 stalks, roughly chopped): Celery brings an earthy base note that you would miss if it were not there. Toss in the leafy tops too if you have them.
- Onion (1 large, quartered): Leave the skin on for a richer color in your finished broth. The papery outer layers add a surprising amount of flavor.
- Garlic (4 cloves, smashed): A quick press with the flat side of a knife releases the oils and gets more flavor into the pot. You do not need to peel them fully.
- Bay leaves (2): These quiet little leaves do heavy lifting in the background. Remember to fish them out before storing, though they always seem to hide.
- Whole black peppercorns (10): Whole peppercorns give a gentle warmth without clouding the broth the way ground pepper would.
- Fresh parsley (1 bunch, optional): Added near the end, parsley lends a fresh brightness that rounds everything out. Stems and all go straight in.
- Fresh thyme (1 to 2 sprigs, optional): Thyme and chicken are a classic pairing for good reason. A little goes a long way here.
- Apple cider vinegar (1 tablespoon): This is the secret that helps draw minerals out of the bones. You will not taste it in the final broth at all.
- Cold water (2.5 liters, about 10 cups): Start with cold water for the clearest, cleanest extraction. Hot water can seal the bones and trap flavor inside.
- Salt (1 teaspoon, or to taste): Add this at the end so you can control the seasoning precisely. Underseason slightly if you plan to reduce the broth later for sauces.
Instructions
- Load the slow cooker:
- Pile the chicken bones into your slow cooker first so they form a sturdy base. Nestle the chopped carrots, celery, onion quarters, and smashed garlic cloves around and between the bones.
- Add the aromatics:
- Tuck in the bay leaves, scatter the peppercorns, and lay the herb sprigs on top. Give everything a gentle press down so nothing is poking above the water line.
- Pour and start:
- Drizzle in the apple cider vinegar, then pour the cold water over everything until the bones are fully submerged. If any pieces float above the surface, press them down gently with a spoon.
- Let time do the work:
- Set your slow cooker to LOW and walk away for 12 to 18 hours. Check once or twice in the first couple of hours and skim off any foamy scum that rises to the top for a cleaner finish.
- Strain and season:
- Set a fine mesh sieve or a colander lined with cheesecloth over a large bowl and carefully pour the broth through. Discard all the solids, season with salt to taste, and let it cool completely before storing.
 Save to Pinterest
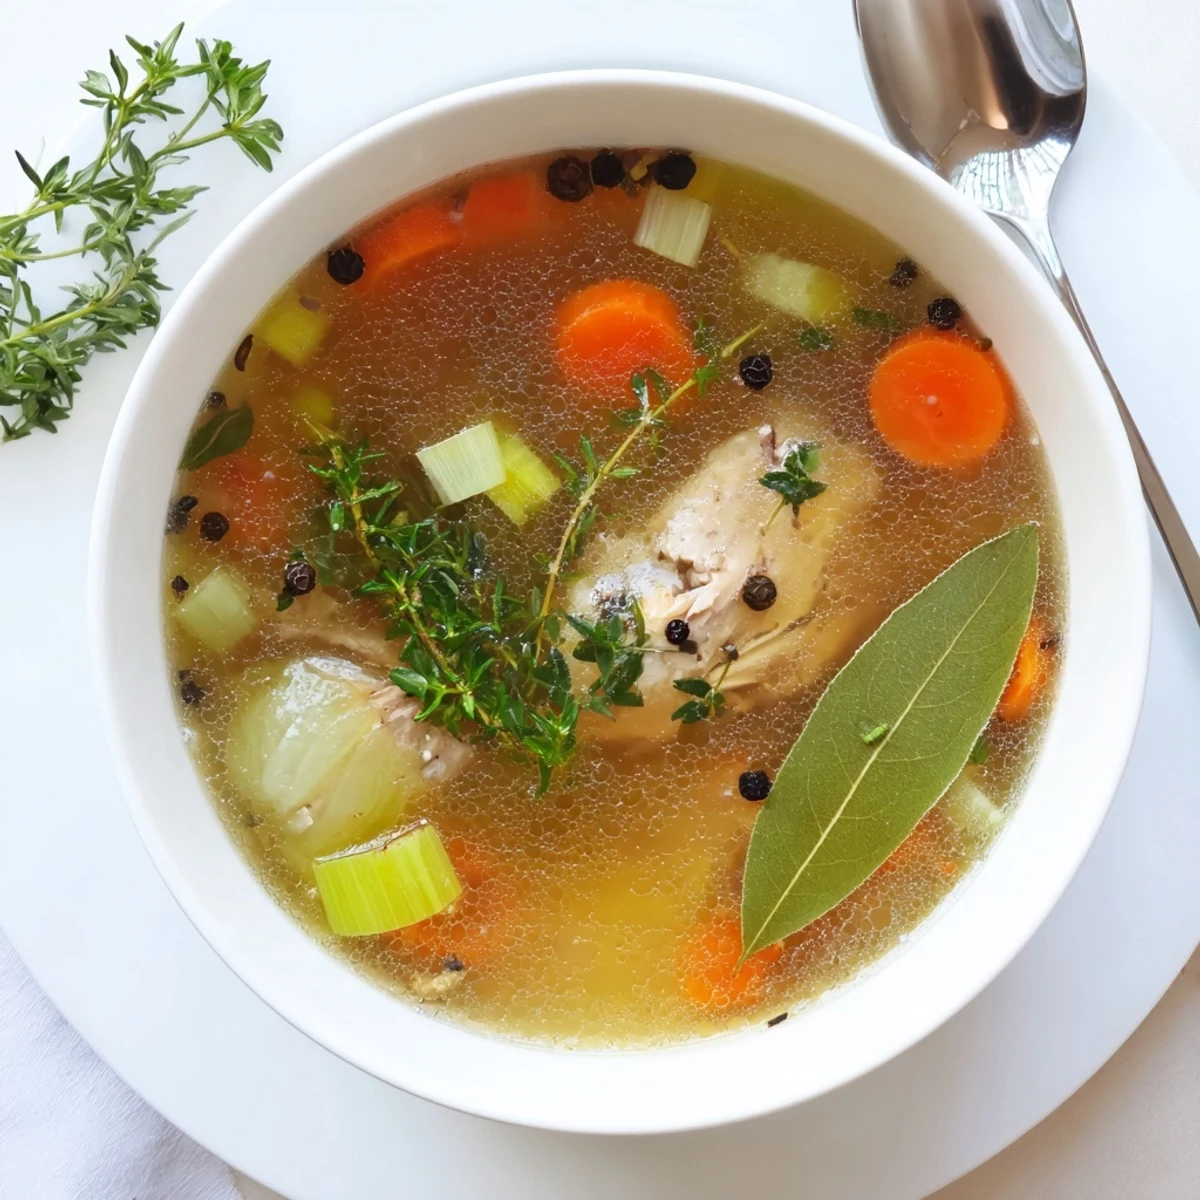
 One evening I reduced a batch of this broth by half in a saucepan, swirled in a knob of butter, and spooned it over a plate of simply roasted vegetables. My dinner guests assumed I had spent hours on some elaborate sauce, and I just smiled and let them believe it.
Roasting Bones for Deeper Flavor
If you have an extra thirty minutes, spread the bones on a baking sheet and roast them at 220 degrees C (425 degrees F) until they are deeply golden. This one simple step transforms the broth from good to restaurant quality by adding caramelized notes you simply cannot get any other way. I do this almost every time now because the difference is that noticeable.
Storage That Actually Works
Let the broth cool completely at room temperature first, then transfer it to glass jars or airtight containers, leaving about an inch of headspace if you plan to freeze. In the fridge it stays good for up to five days, and in the freezer it will hold for three months easily. I always label my jars with the date because three identical jars of amber liquid look remarkably similar when you are rummaging at midnight.
Ways to Use Every Last Drop
Once you have a stash of this broth in your freezer, you will find yourself reaching for it constantly, and that is exactly the point. It elevates everything it touches with barely any extra effort on your part.
- Use it instead of water when cooking rice or quinoa for an instant flavor upgrade.
- Sip a warm mug of it with a squeeze of lemon on mornings when you need something gentle and comforting.
- Freeze small portions in ice cube trays so you always have a quick splash of richness ready for pan sauces.
 Save to Pinterest
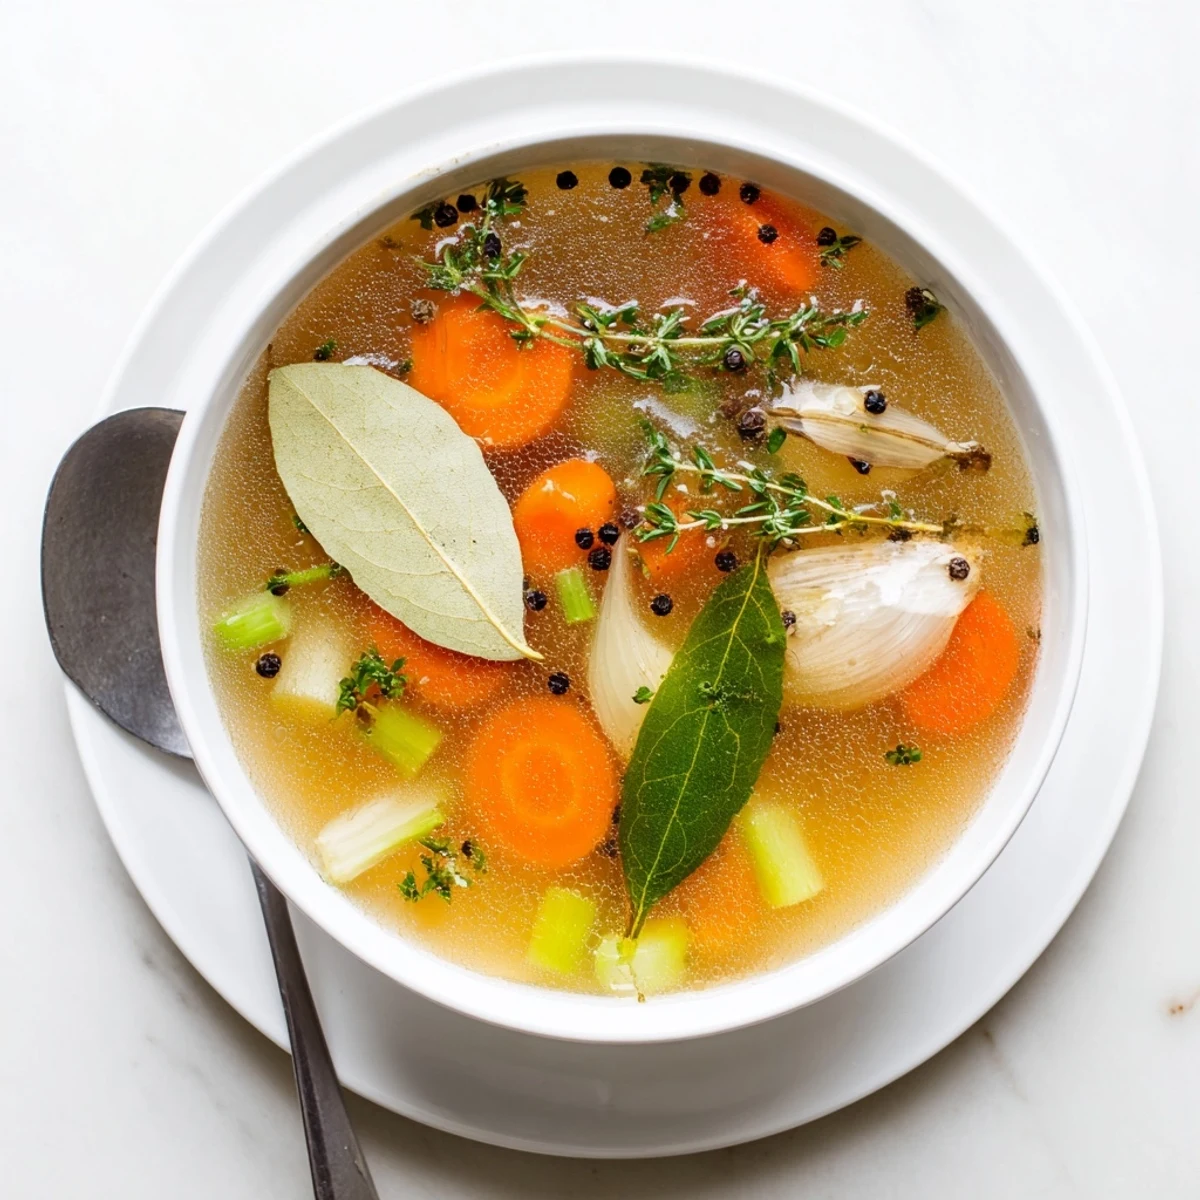
 Homemade bone broth is one of those small kitchen rituals that pays you back far more than you put in. Let the slow cooker do the heavy lifting, and enjoy the quiet satisfaction of having something this nourishing always within reach.
Recipe FAQs
- → Why add apple cider vinegar to bone broth?
-
Apple cider vinegar helps extract minerals and collagen from the bones during the long cooking process. The acidity breaks down bone tissue, releasing nutrients like calcium, magnesium, and gelatin into the broth for maximum nutritional benefit.
- → Should I use raw or roasted chicken bones?
-
Both work beautifully. Roasted bones (220°C for 30 minutes) provide a deeper, richer flavor and darker color. Raw bones yield a lighter, cleaner-tasting broth. Choose based on your preference or use a mix of both for balanced flavor.
- → How do I store homemade bone broth?
-
Refrigerate in airtight containers for up to 5 days. For longer storage, freeze for 3-6 months. Consider freezing in ice cube trays for easy portioning, then transfer cubes to freezer bags. The fat layer on top acts as a natural preservative.
- → Why does my broth sometimes gel when cooled?
-
Gelling indicates successful collagen extraction from the bones. This gelatin transforms back to liquid when reheated. The amount of gelatin depends on cooking time, bone type (joints and feet produce more), and proper slow cooking. It's a sign of a nutrient-dense, well-made broth.
- → Can I add vegetables beyond the basics?
-
Absolutely. Leeks, parsnips, mushroom stems, or tomato pieces add depth. However, avoid strong-flavored vegetables like Brussels sprouts or cruciferous vegetables, which can overpower the delicate chicken flavor. Keep vegetable additions balanced to maintain the broth's versatility.
- → What's the purpose of skimming foam during cooking?
-
Foam consists of impurities, proteins, and blood released from bones as they cook. Skimming creates a clearer, cleaner-tasting final broth. It's optional but recommended for the most refined results, especially if you plan to serve the broth as a sipping drink.
