 Save to Pinterest
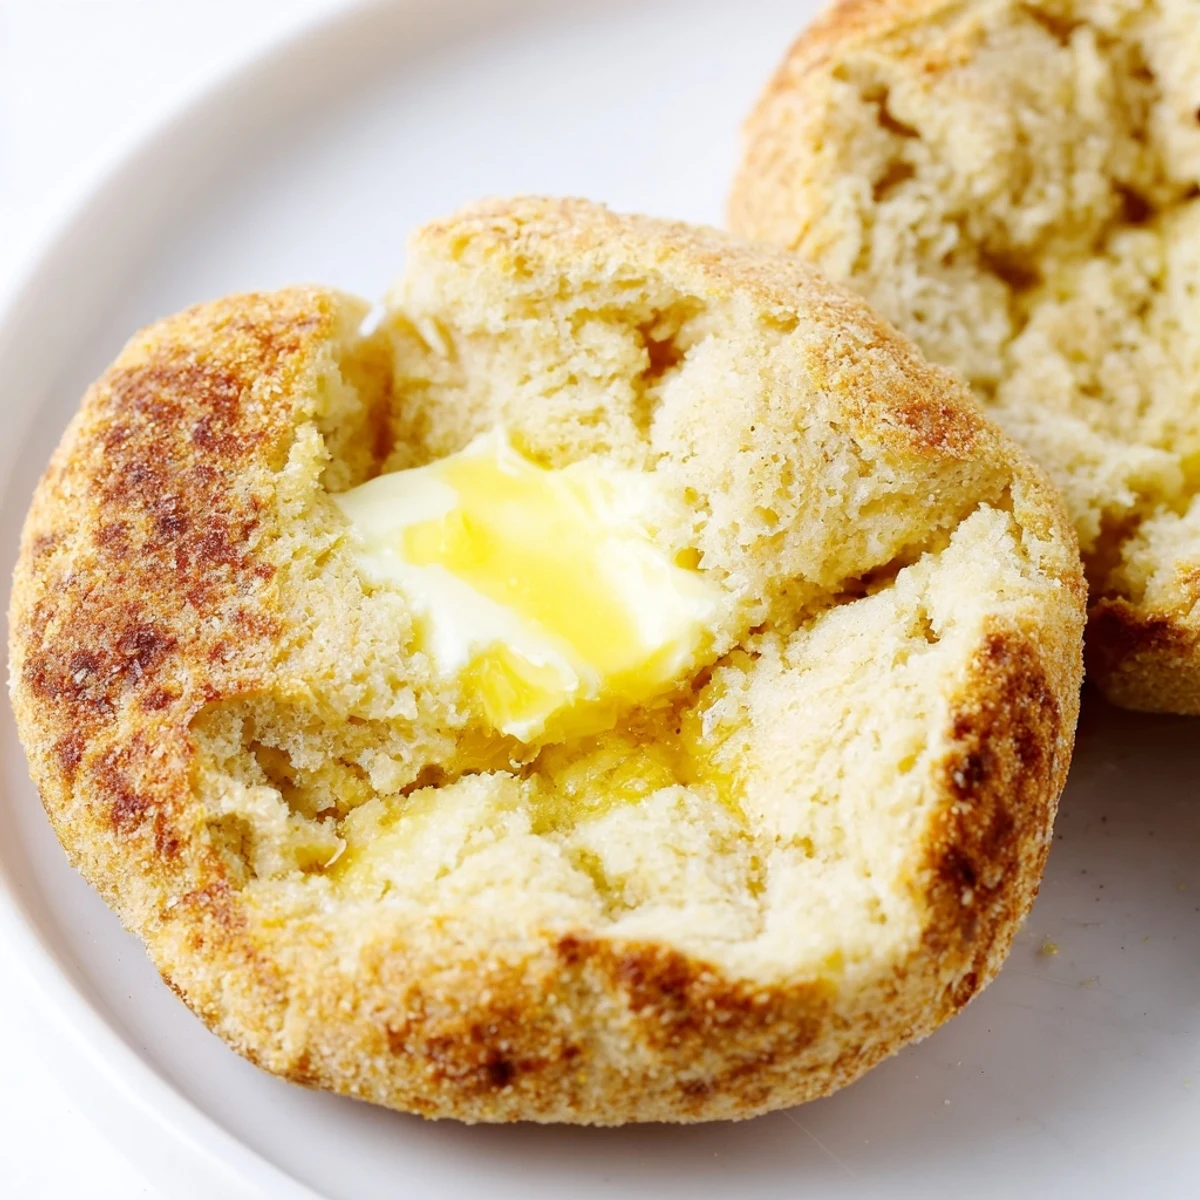
 These classic British breakfast staples deliver everything you love about bakery-style English muffins - lightly crisped exteriors giving way to tender, airy interiors filled with those characteristic nooks and crannies that perfectly capture melted butter and jam. The straightforward dough comes together with basic pantry ingredients, requiring just patience for two rises and stovetop cooking. Split them with a fork for the craggiest texture, toast until golden, and serve at breakfast or tea time.
The smell of warm milk and yeast always pulls me back to my first apartment kitchen where I discovered that English muffins don't actually need to come from a plastic package at the grocery store. I remember standing there with flour on my cheeks, watching these chubby discs rise on the counter like magic little pillows. That first batch wasn't perfect, but when I split one open with a fork and saw the steam rising from those buttery nooks and crannies, I knew store bought would never satisfy me again. Now, on quiet weekend mornings, I still get that same thrill watching them puff up on the griddle.
Last winter, when my sister came to visit during a particularly gray week, I made a double batch of these English muffins. She watched me work the dough, sipping coffee and teasing me about how particular I was being with the rolling pin thickness. When we finally sat down with warm muffins slathered in salted butter and bitter orange marmalade, she went quiet for a moment and then asked if I could teach her the technique before she left. Now she texts me photos of her own attempts, and there is something deeply satisfying about passing down a recipe that feels like a tiny act of domestic magic.
Ingredients
- Bread flour: The higher protein content creates that signature chewy texture and structure that all purpose flour just cannot match
- Whole milk: Warming the milk first helps the yeast bloom beautifully while adding a subtle richness that water alone cannot provide
- Active dry yeast: This humble organism does all the heavy lifting, creating those airy pockets inside every muffin
- Granulated sugar: Just enough to feed the yeast without making the muffins sweet, helping them achieve proper rise
- Fine sea salt: Balances the flavors and strengthens the gluten structure for better texture
- Unsalted butter: Melted into the dough, it adds tenderness and that irresistible buttery flavor throughout
- Cornmeal or semolina: Dusting the surface prevents sticking while adding that classic English muffin crunch
Instructions
- Wake up the yeast:
- Dissolve the yeast and sugar in lukewarm milk, then let it sit for 5 to 10 minutes until a layer of creamy foam forms on top
- Build the dough foundation:
- Mix the bread flour and salt in a large bowl, create a well in the center, then pour in the activated yeast mixture and melted butter, stirring until a shaggy, sticky dough forms
- Knead with patience:
- Turn the dough onto a floured surface and knead for 8 to 10 minutes until it feels smooth and elastic, or save your arms and let a stand mixer with dough hook do the work for 5 to 6 minutes
- Let the dough rise:
- Place the dough in a lightly oiled bowl, cover it with a clean towel or plastic wrap, then let it rest in a warm spot for about 1 to 1.5 hours until it has doubled in size
- Shape the muffins:
- Punch down the risen dough, roll it out to about 3/4 inch thickness, then cut rounds with a 3 inch cutter, rerolling the scraps gently to get about 8 muffins total
- Add the signature crunch:
- Dust a baking sheet with cornmeal or semolina, arrange the muffins on top with space between them, then sprinkle another light layer of cornmeal over their tops
- Proof once more:
- Cover the muffins loosely and let them rest for 25 to 30 minutes until they look slightly puffy and feel delicate to the touch
- Cook to golden perfection:
- Heat a skillet or griddle over low to medium heat, grease it lightly, then cook the muffins for 7 to 9 minutes per side until deeply golden and they reach an internal temperature of 200 degrees Fahrenheit
- Cool and split properly:
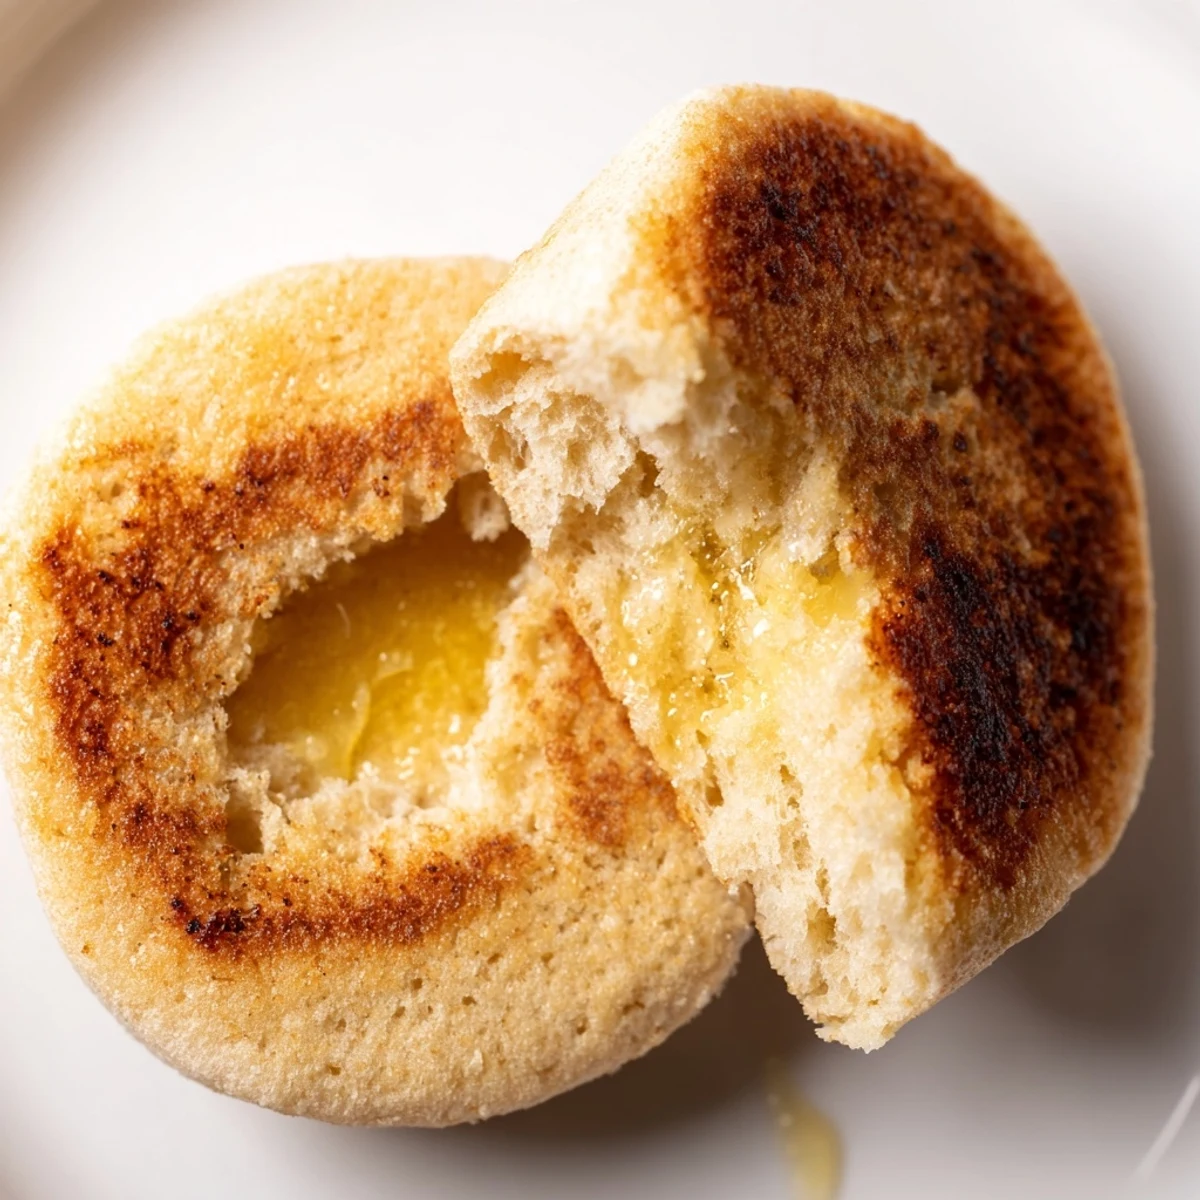
- Let the muffins cool on a rack, then use a fork to split them open horizontally to create those characteristic rough interior surfaces perfect for catching toppings
 Save to Pinterest
 There is something almost meditative about standing at the stove, flipping these muffins one by one while the kitchen fills with that comforting smell of baking bread. My roommate used to wander in whenever I made these, drawn by the aroma like a cartoon character floating toward a pie on a windowsill. We would stand at the counter together, splitting warm muffins and experimenting with different toppings, from classic butter and honey to cream cheese and cucumber slices.
Making Them Your Own
I have found that English muffins are remarkably forgiving once you understand the basics. Try swapping whole wheat flour for half of the bread flour if you want a nuttier, more substantial muffin that still has plenty of lift. A handful of raisins or a pinch of cinnamon stirred into the dough before the first rise transforms them into something that feels like a cross between a breakfast bread and a treat.
Storage Wisdom
After years of making these, I have learned that proper storage makes all the difference between a sad, stale muffin and one that tastes freshly baked. Once they are completely cool, store them in an airtight container at room temperature for up to three days. For longer storage, wrap each muffin individually in plastic wrap, then freeze them in a freezer bag where they will keep beautifully for two months.
Serving Ideas
While butter and jam are timeless companions for English muffins, I have discovered some combinations that might surprise you. A warm split muffin topped with smashed avocado, red pepper flakes, and a poached egg makes for a breakfast that feels restaurant worthy but comes together in minutes. My grandmother used to serve them with cream cheese and thinly sliced radishes for a tea time snack that looked as beautiful as it tasted.
- Toast them until they are golden and crisp before adding any toppings
- Use the fork splitting method even after toasting to maximize surface area for spreads
- Serve warm rather than piping hot for the best texture experience
 Save to Pinterest
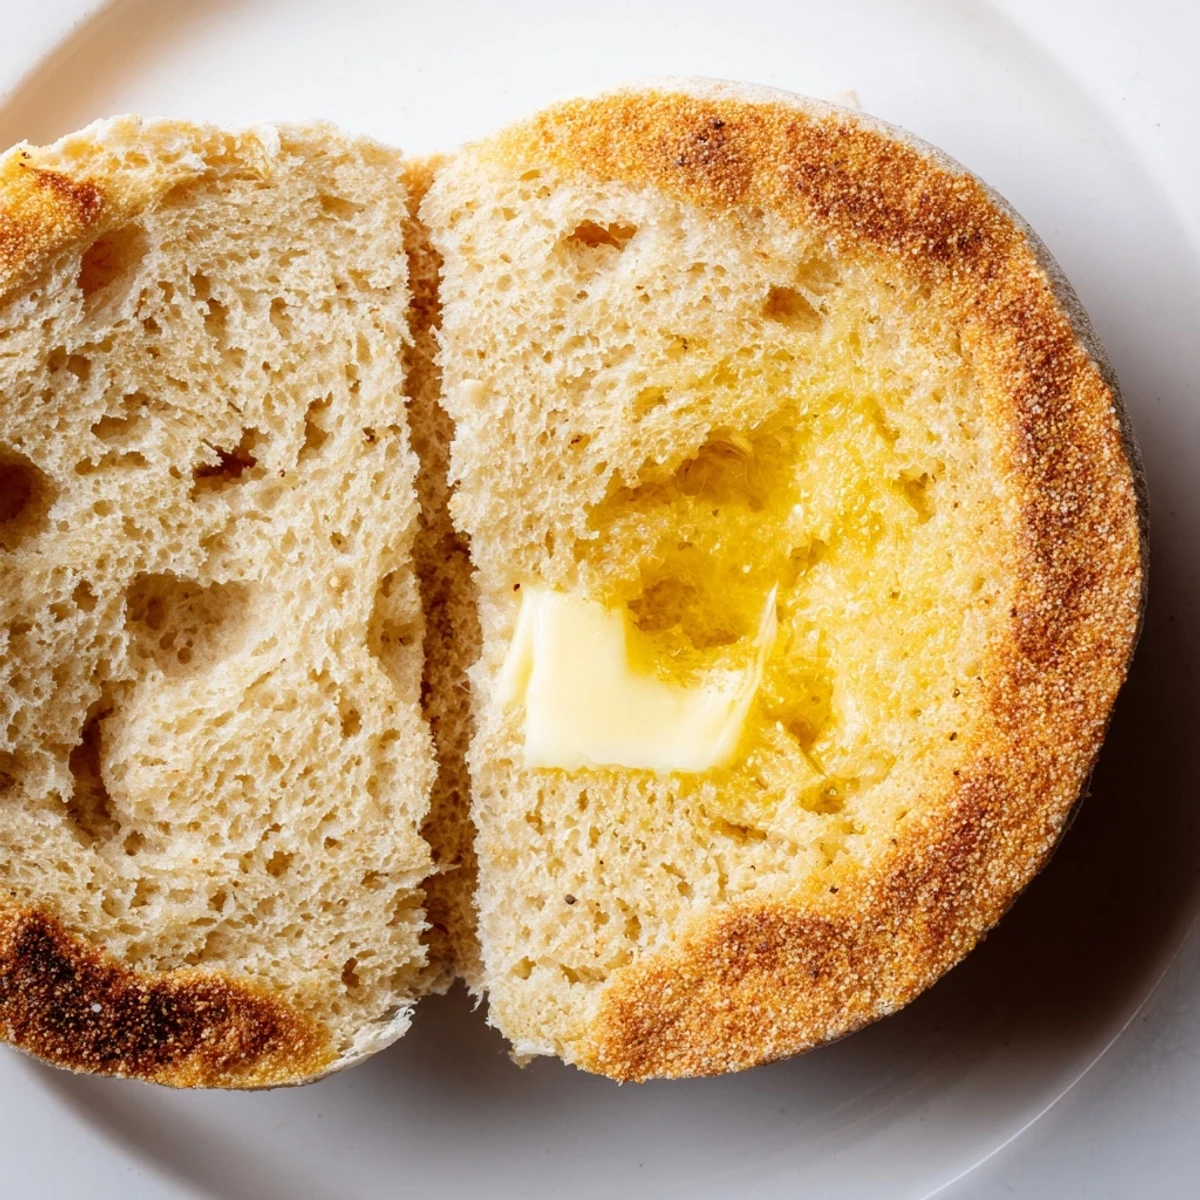
 Whether you are making these for a special weekend brunch or just because Tuesday needs a little brightness, homemade English muffins have a way of making ordinary mornings feel special. I hope these become a staple in your kitchen too.
Recipe FAQs
- → Why split English muffins with a fork?
-
Using a fork to split muffins horizontally preserves the signature nooks and crannies. Cutting with a knife compresses the texture, while fork-splitting creates rough surfaces that become beautifully crispy when toasted and perfect for holding butter and jam.
- → Can I make these muffins ahead of time?
-
Yes, these keep well at room temperature for 3 days in an airtight container, or freeze for up to 2 months. Toast frozen muffins directly without thawing for the best results. The dough can also be refrigerated overnight after the first rise.
- → What's the purpose of cornmeal or semolina?
-
Dusting with cornmeal or semolina prevents sticking while proofing and cooking, plus adds subtle texture and a traditional appearance. It creates that classic speckled look on finished muffins and helps achieve authentic bakery-style results.
- → How do I know when the muffins are cooked through?
-
Cook until deeply golden on both sides, about 7-9 minutes per side. The internal temperature should reach 200°F (93°C). If the exterior browns too quickly, reduce heat to allow centers to finish cooking without burning the crusts.
- → Can I use all-purpose flour instead of bread flour?
-
Bread flour provides optimal chew and structure due to higher protein content. All-purpose flour works but yields slightly softer, less chewy muffins. For best texture, use bread flour or add vital wheat gluten to all-purpose flour.
- → Why cook on the stovetop instead of baking?
-
Stovetop cooking creates the characteristic golden, slightly crispy exterior while keeping interiors tender and airy. The direct heat develops better crust texture and color than oven baking, resulting in authentic English muffin appearance and mouthfeel.
