 Save to Pinterest
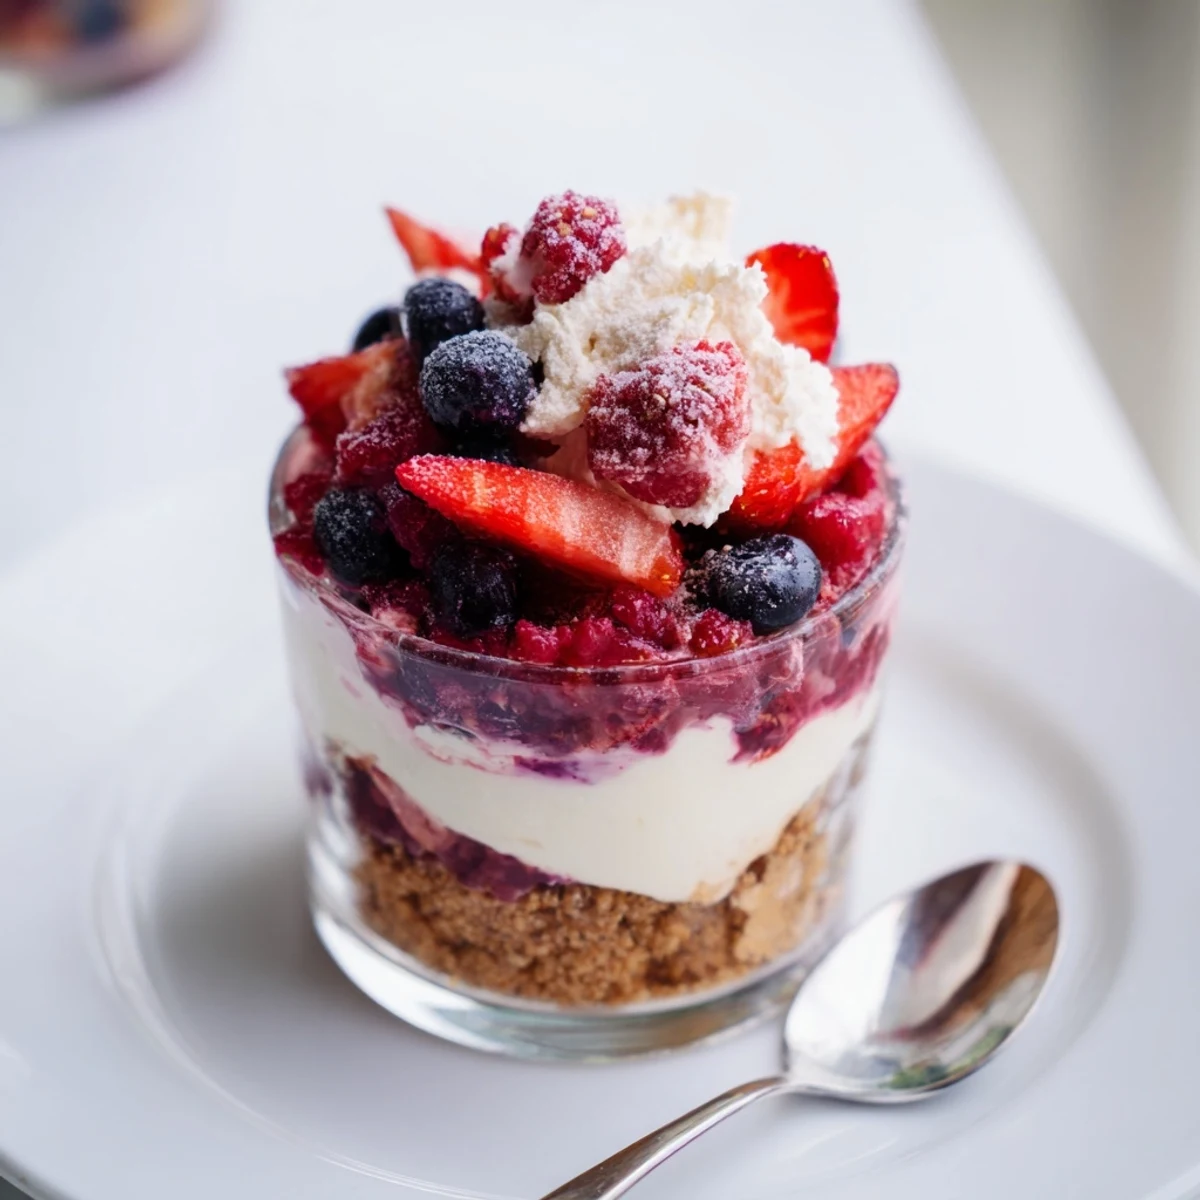
 Press crushed biscuits mixed with melted butter into six glasses for a crisp base. Beat softened cream cheese with powdered sugar, vanilla and lemon zest, then fold in stiffly whipped cold cream for a light, airy filling. Top each portion with mixed berries tossed with sugar and lemon juice. Chill at least three hours to firm; serve cold with optional lemon zest or a splash of berry liqueur.
The first time I made these berry no bake cheesecakes, the kitchen echoed with the hum of an early summer evening—windows open, soft breeze swirling the scents of lemon and vanilla together. No oven to preheat, no fuss—just the gentle rhythm of crushing biscuits and whipping cream. The act of layering berries over creamy clouds felt meditative, a sweet midday escape. I was surprised at how effortless indulgence could really be.
One Sunday, a few friends stopped by unannounced, and this recipe truly saved me. I remember spooning the last dollop of tangy berry topping just as the doorbell rang, my hands sticky but my spirits high knowing dessert was already chilling. There was something special about serving these in mismatched glasses, each one a little different, just like our group gathered around the table.
Ingredients
- Graham crackers or digestive biscuits: Crushing these into fine, sandy crumbs makes for a crisp base that holds together with just the right snap—using a rolling pin in a plastic bag keeps mess to a minimum.
- Unsalted butter: Melted butter binds the biscuit crumbs and adds a warm, toasty edge; let it cool slightly to keep the base from getting greasy.
- Cream cheese: Softened to room temperature, it whips up ultra-smooth—a tip is to let it sit out for at least 30 minutes before mixing.
- Heavy cream: Cold cream is key for perfect peaks; chill your bowl and whisk for 10 minutes beforehand if it’s very warm in your kitchen.
- Powdered sugar: Sifts in silkily without any gritty texture—taste the mixture before adding all the sugar and adjust as needed.
- Vanilla extract: Just a splash elevates the cheesecake flavor without overpowering it; a good-quality extract really shines in this no-bake format.
- Lemon zest (optional): Adds a zingy aroma and brightness, especially if your berries are on the sweeter side; zest the lemon directly over the bowl to capture every fragrant oil.
- Mixed fresh berries: Using the ripest seasonal mix ensures vibrant color and juiciness—I like a blend of strawberries, blueberries, and raspberries.
- Sugar (for berries): Just enough to help the fruit macerate and become jammy—you can adjust to taste depending on the natural sweetness of your berries.
- Lemon juice: A squeeze of lemon ties the berries together and keeps flavors lively—freshly squeezed always wins.
Instructions
- Make the Biscuit Base:
- Grab a big mixing bowl and stir together the crushed biscuits and melted butter until the mixture feels like damp sand between your fingers. Divide it evenly across your glasses or ramekins, pressing down gently—if using chilled glasses, the base firms up even quicker.
- Whip the Cheesecake Filling:
- With a good electric mixer or some strong whisking, beat the cream cheese until it looks satiny and lump-free. Add in sugar, vanilla, and lemon zest, mixing until smooth; separately, whip your cold cream to stiff peaks, then gently fold it into the sweetened cheese, keeping the mixture airy and light.
- Layer It Up:
- Spoon or pipe the cloudlike filling on top of the biscuit base, taking care to spread it edge to edge; you can tap the glasses gently on the counter to smooth the tops.
- Macerate the Berries:
- Mix berries with sugar and lemon juice in a small bowl, letting them sit for about 10 minutes until their juices are released and the color deepens. You’ll see syrupy pools forming—these drippings are liquid gold atop each cheesecake.
- Top and Chill:
- Spoon the berry mixture over the cheesecake layer, letting some berries sink in and others perch on top. Place the assembled glasses in the fridge for at least 3 hours (overnight is even better) so everything melds and sets nicely.
 Save to Pinterest
 When I brought these cheesecakes to a summer picnic last year, I realized how a simple dessert could spark such animated conversation—people lingered, scraping every last bit, laughing about the telltale pink berry stains. Suddenly, it was more than dessert: it was a marker of a bright, shared afternoon.
Get the Texture Just Right
After a bit of trial and error, I found that pulsing the biscuits in a food processor gives a more even crumb, but a zip-top bag and rolling pin are far more satisfying (and great for stress relief). Don’t overpack the biscuit base—press just until it holds together so it stays delightfully crumbly beneath the creamy filling.
Berry Swaps and Variations
If you’re feeling creative, swap in whatever fruits are freshest—chopped peaches with a sprinkle of cinnamon, or even a glossy spoonful of cherry compote when berries are out of season. The recipe welcomes all sorts of improvisation, and sometimes those spur-of-the-moment changes become the version you crave most.
Make-Ahead Confidence
If you’re pressed for time, you can make the bases and filling a day ahead—just add the berry topping right before serving so everything stays vibrant and fresh. Keeping an extra cheesecake hidden at the back of the fridge is always a good move, because someone will ask for seconds.
- Chill the bowls and utensils for smoother whipped cream.
- Let the assembled cheesecakes rest in the fridge overnight for the dreamiest texture.
- Leftovers hold up beautifully (if you have any).
 Save to Pinterest
 This is the kind of dessert that becomes part of your summer routine, simple enough for every day, celebratory enough for company. Enjoy each refreshing, berry-filled spoonful—sharing it or sneaking a bite straight from the fridge is entirely your call.
Recipe FAQs
- → How do I get a firm base that holds up?
-
Use finely crushed crackers and fully melted butter; press the mixture firmly into each glass and chill briefly before adding the filling to help it set and stay compact.
- → Can I make this gluten-free?
-
Yes. Substitute gluten-free digestive biscuits or graham-style crackers one-for-one and check labels to ensure all ingredients are certified gluten-free.
- → How long should I chill for best texture?
-
Chill at least three hours, though overnight yields a creamier, firmer set and deeper flavor as the filling and base meld.
- → What gives the filling a light, airy texture?
-
Whipping the cold heavy cream to stiff peaks and folding it gently into the sweetened, softened cream cheese creates air and a smooth, mousse-like finish.
- → How can I keep the berries from becoming watery?
-
Toss berries with sugar and lemon juice and let them sit 10–15 minutes to macerate; drain excess liquid before spooning over the filling if you prefer a less runny topping.
- → Any tips for serving or variations?
-
Top with a few whole berries for presentation, add lemon zest for brightness, or stir a splash of berry liqueur into the compote for depth. Serve chilled with a sparkling wine.
