 Save to Pinterest
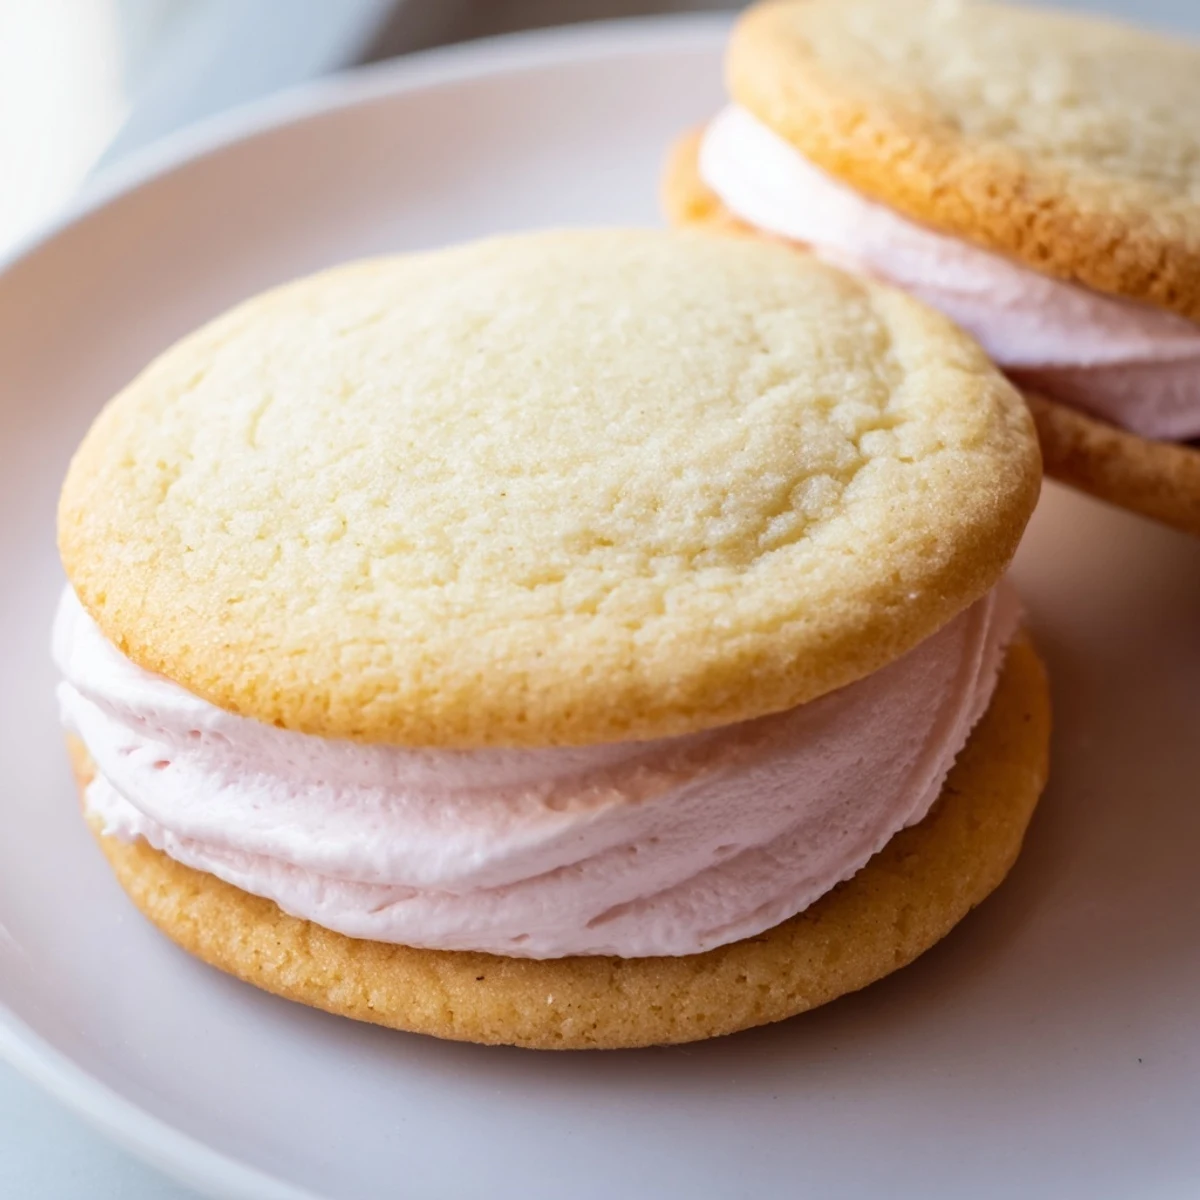
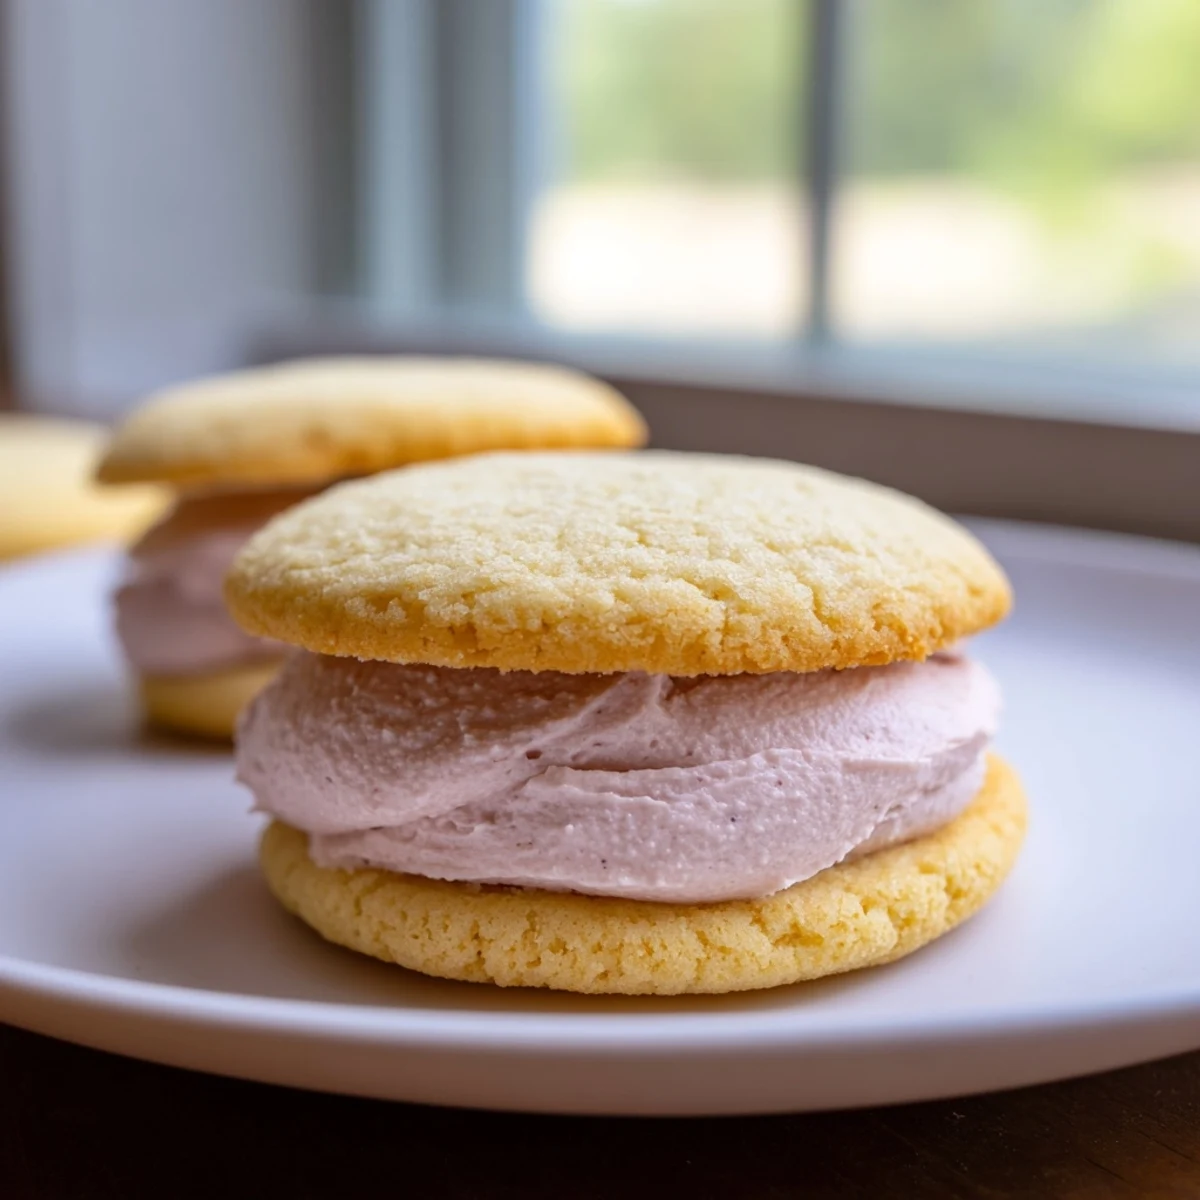
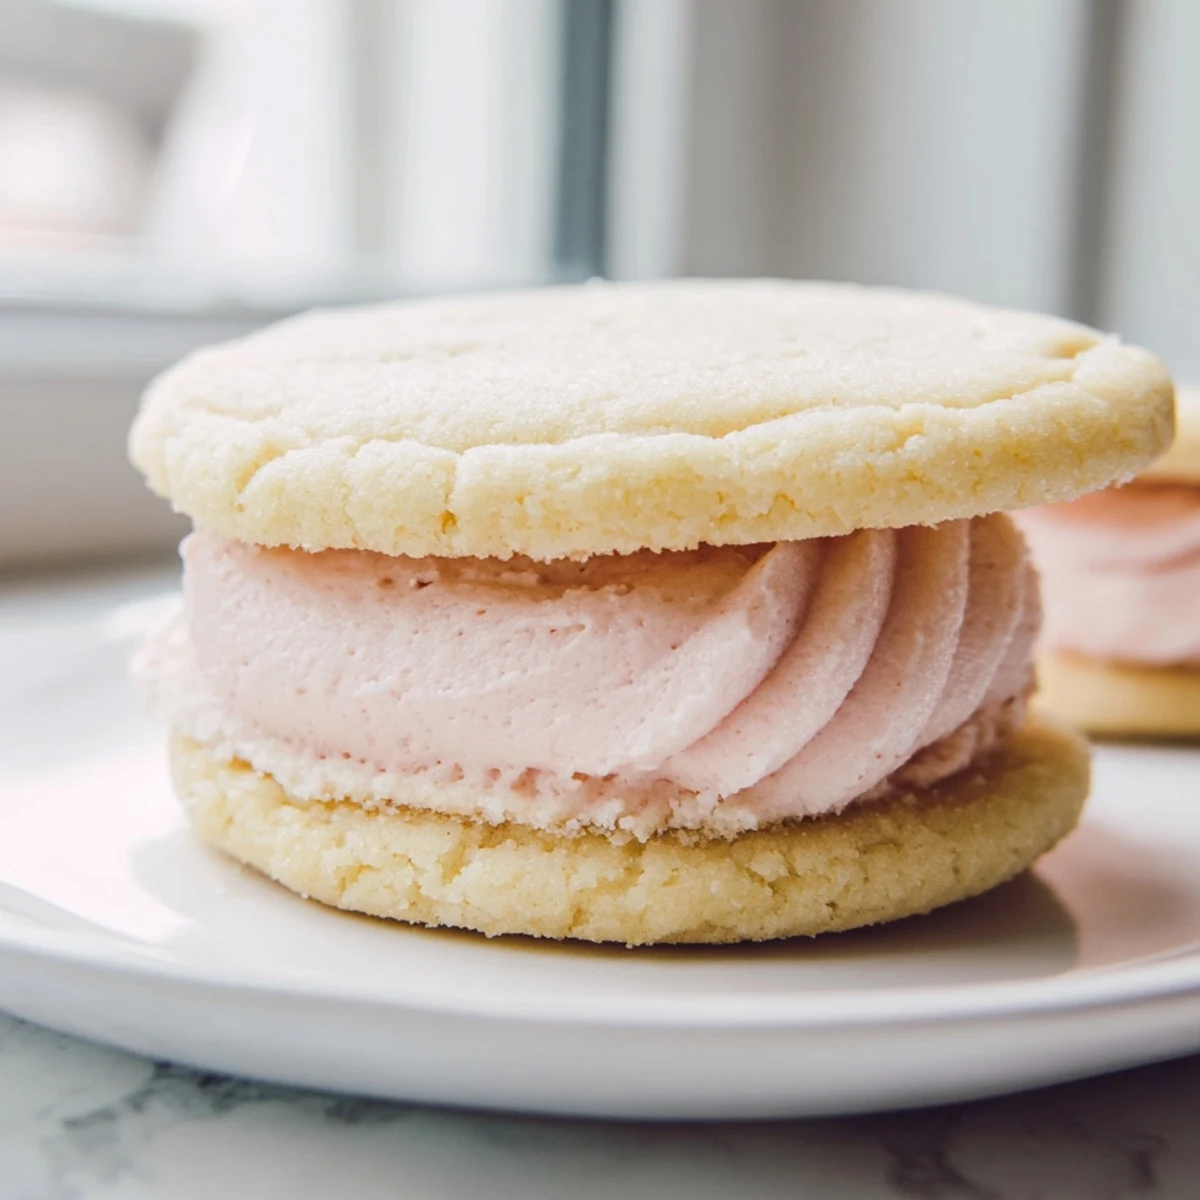
 Create delicate sugar cookie sandwiches with pastel buttercream filling. These soft, tender cookies are tinted in soft spring hues and sandwiched together with creamy vanilla buttercream. Perfect for Easter, baby showers, bridal showers, or whenever you want a whimsical touch. The dough requires chilling for easy rolling, and the finished cookies can be customized with your favorite pastel shades.
Last spring, my kitchen turned into a pastel laboratory when I decided to experiment with these cookie sandwiches for my niece's birthday. The buttercream bowls looked like tiny clouds of cotton candy, and I may have gotten more food coloring on my hands than in the frosting. But watching everyone's faces light up when they bit into those pillowy layers made every colorful stain worth it.
I remember setting up an assembly line on my dining table, windows open to let the spring breeze drift through while my best friend and I turned the kitchen into a cookie factory. We made a game of guessing which color buttercream would disappear fastest, though between us, the pink vanished suspiciously quick.
Ingredients
- All-purpose flour: This foundation gives the cookies their tender crumb and structure
- Baking powder: Just enough lift to make them light without losing that satisfying bite
- Salt: Enhances all the sweet notes and balances the richness
- Unsalted butter: Room temperature is nonnegotiable for proper creaming and texture
- Granulated sugar: Creates that perfect crackly golden edge we all love
- Egg: Binds everything together while adding richness
- Pure vanilla extract: The aromatic heart of the cookie that makes it taste homemade
- Unsalted butter: For the filling, this needs to be perfectly soft for silky smooth buttercream
- Powdered sugar: Sifting first prevents those pesky lumps that ruin the dreamy texture
- Milk: Just enough to transform the frosting into spreadable clouds
- Pastel gel food coloring: Gel colors give you those soft candy colors without thinning the frosting
Instructions
- Whisk the dry foundation:
- Combine the flour, baking powder, and salt in a medium bowl, taking a moment to really blend them so you wont find bitter pockets of baking powder later.
- Cream butter and sugar:
- Beat the butter and sugar on medium speed for 2 to 3 minutes until the mixture looks pale and fluffy, stopping to scrape the bowl down halfway through.
- Add the egg and vanilla:
- Pour in the egg and vanilla, mixing until everything is beautifully incorporated and the batter looks glossy and smooth.
- Incorporate the flour:
- Gradually add the dry ingredients on low speed, mixing just until you no longer see streaks of flour to keep the cookies tender.
- Chill the dough:
- Divide the dough in half, press into discs, wrap tightly, and refrigerate for at least 30 minutes while you clear your counters and preheat the oven.
- Prepare for baking:
- Preheat your oven to 350°F and line two baking sheets with parchment paper so nothing sticks and cleanup becomes a breeze.
- Roll and cut:
- Roll one disc at a time to ¼ inch thickness on a floured surface, cutting as many 2 inch rounds as possible and placing them 1 inch apart on the prepared sheets.
- Bake to perfection:
- Bake for 8 to 10 minutes until the edges are just beginning to turn golden, then let them cool on the sheets for 2 minutes before moving them to racks.
- Create the buttercream:
- Beat the butter until creamy, gradually add the powdered sugar, milk, vanilla, and salt, and whip until the frosting becomes light enough to hold soft peaks.
- Paint with colors:
- Divide the buttercream into small bowls and add tiny amounts of gel coloring, stirring until you have a palette of soft pastels that look like they came from a storybook.
- Assemble the sandwiches:
- Spread a generous layer of buttercream on the flat side of half the cookies, then gently press the remaining cookies on top to create sandwiches.
- Let them set:
- Allow the cookies to rest for 20 minutes so the buttercream firms up slightly and the cookies become easier to handle.
 Save to Pinterest
 These became a tradition at my annual spring tea parties, where guests would playfully argue over which color combination deserved the blue ribbon. Something about those soft colors and buttery layers makes people pause their busy lives and just enjoy the moment.
Making Them Your Own
Swap the vanilla for almond extract in either the cookies or frosting for a completely different personality that feels elegant and sophisticated. Lemon extract works beautifully too, especially when paired with yellow buttercream for sunshine cookies.
Storage Secrets
These actually taste better the next day when the cookies have had time to soften slightly from the buttercream. Store them in a single layer in an airtight container, or place parchment paper between layers if you must stack them.
Presentation Magic
Rolling the edges of assembled sandwiches in pastel sprinkles creates a confetti effect that makes people gasp when they see the platter. You can also pipe the buttercream in rosettes instead of spreading it for an extra fancy touch that looks bakery quality.
- Use a small offset spatula for perfectly smooth frosting edges
- Chill the assembled cookies for 10 minutes before serving for cleaner cuts
- Set out a variety of colors and let guests mix and match their own combinations
 Save to Pinterest
 May your kitchen be filled with rainbow streaks, buttery aromas, and the kind of joy that only comes from creating something beautiful with your own hands.
Recipe FAQs
- → How long do these cookies stay fresh?
-
Store in an airtight container at room temperature for up to 3 days. The buttercream may soften slightly over time but remains delicious.
- → Can I freeze the cookie dough?
-
Yes, wrap the dough discs tightly in plastic wrap and freeze for up to 3 months. Thaw overnight in the refrigerator before rolling and baking.
- → What size cookie cutter works best?
-
A 2-inch round cutter creates perfectly portioned sandwiches. You can use slightly larger or smaller cutters, adjusting the baking time accordingly.
- → Can I use liquid food coloring instead of gel?
-
Gel coloring is recommended as it provides vibrant pastel shades without thinning the buttercream. Liquid coloring may make the filling too runny.
- → How do I prevent the cookies from spreading too much?
-
Chilling the dough for at least 30 minutes is essential. Keep the dough cold while rolling and work quickly before baking.
- → Can I make these ahead for a party?
-
Yes, assemble up to 24 hours in advance. Store in a cool, dry place away from direct sunlight to prevent the buttercream from softening.
