 Save to Pinterest
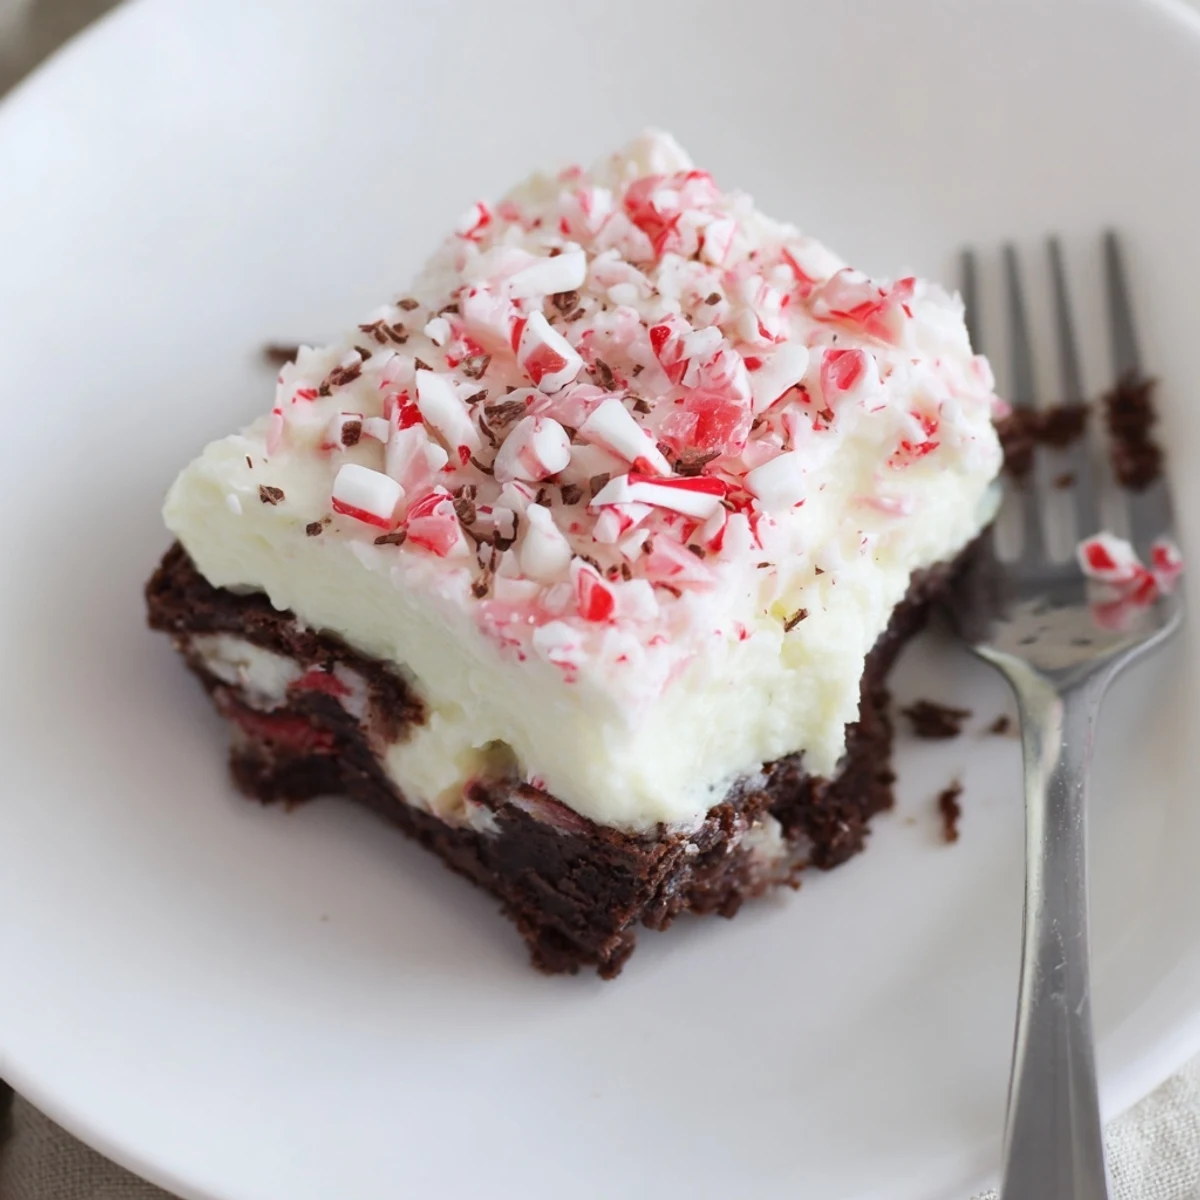
 This poke cake starts with a moist chocolate base baked in a 9x13 pan. While still warm, use a wooden spoon handle to poke evenly spaced holes, then pour a peppermint‑infused vanilla pudding over the top so it sinks into the cake. Chill at least an hour until set, spread thawed whipped topping, and finish with crushed peppermint and optional chocolate shavings. Make ahead and refrigerate; allow chilled slices to sit 10 minutes before serving for easier slicing.
The first time I made this Peppermint Poke Cake, a burst of sweet mint filled my kitchen and I knew it was going to be a showstopper. I hadn’t planned on baking that day, but after spotting a neglected box of candy canes in my cupboard, inspiration struck. Smashing those peppermint candies was oddly therapeutic, their crisp sound echoing my cheerful mood. This cake quickly became a staple for any gathering where I wanted a playful, crowd-pleasing dessert.
One winter evening, after a long day, I baked this cake for friends who dropped by unexpectedly. We hovered around the kitchen island, laughing as we debated whether more chocolate or more mint made it perfect. The red swirls from the food coloring looked so festive—someone even took a photo before we dug in. Even when we all swore we couldn’t eat another bite, the chilled leftovers mysteriously vanished by morning.
Ingredients
- Chocolate cake mix: Don’t shy away from boxed mix—it’s reliable, and any brand that bakes up moist will do the trick.
- Eggs: Room temperature eggs blend more smoothly and give the cake a uniform crumb.
- Water: Using water instead of milk keeps the crumb light—don’t substitute unless you want things denser.
- Vegetable oil: Oil is the secret to that plush, tender texture that makes each bite fudgy.
- Instant vanilla pudding mix: Make sure it’s instant, not cook-and-serve, so it firms up quickly and seeps into the holes perfectly.
- Cold milk: Cold milk ensures the pudding sets quickly, which is key to getting those sharp lines of flavor through the cake.
- Peppermint extract: Peppermint can be strong, so measure carefully to avoid overwhelming the cake.
- Red or pink food coloring: Optional, but those festive streaks always get a few delighted comments from kids and adults alike.
- Frozen whipped topping: Thaw it in the fridge for smooth spreading—don’t try to use it frozen or it won’t blend evenly.
- Crushed peppermint candies: Crushing them in a zip-top bag with a rolling pin is my favorite method—less mess than the food processor.
- Chocolate shavings or mini chips: Totally optional, but they add a hint of extra decadence and a bit of texture on top.
Instructions
- Get prepped:
- Preheat your oven to 350°F (175°C) and grease your baking pan—there’s nothing trickier than a cake that sticks.
- Mix and bake:
- In a big bowl, beat the cake mix, eggs, water, and oil just until smooth and fluffy, then pour the batter into your pan and slide it into the oven for about 30 minutes.
- Poke away:
- While the cake cools for 10–15 minutes (don’t rush it!), use the handle of a wooden spoon to poke holes all over, making a satisfying grid.
- Whisk up peppermint pudding:
- Combine pudding mix, cold milk, peppermint extract, and food coloring using a whisk; it should thicken in just a couple of minutes so don't walk away.
- Fill the cake:
- Pour that minty pudding over while it’s still glossy, using your spatula to nudge it into the holes—some will pool on top, and that’s a good thing.
- Chill out:
- Cover and chill the cake for at least 1 hour—it needs time for the flavors and textures to settle in.
- Fluffy topping:
- Spread thawed whipped topping gently over the set cake—try not to press too hard so the pudding layer stays put.
- Festive finishes:
- Sprinkle crushed peppermint candies (and chocolate if you’re feeling extra), then slice and serve the cake chilled to keep everything perky and fresh.
 Save to Pinterest
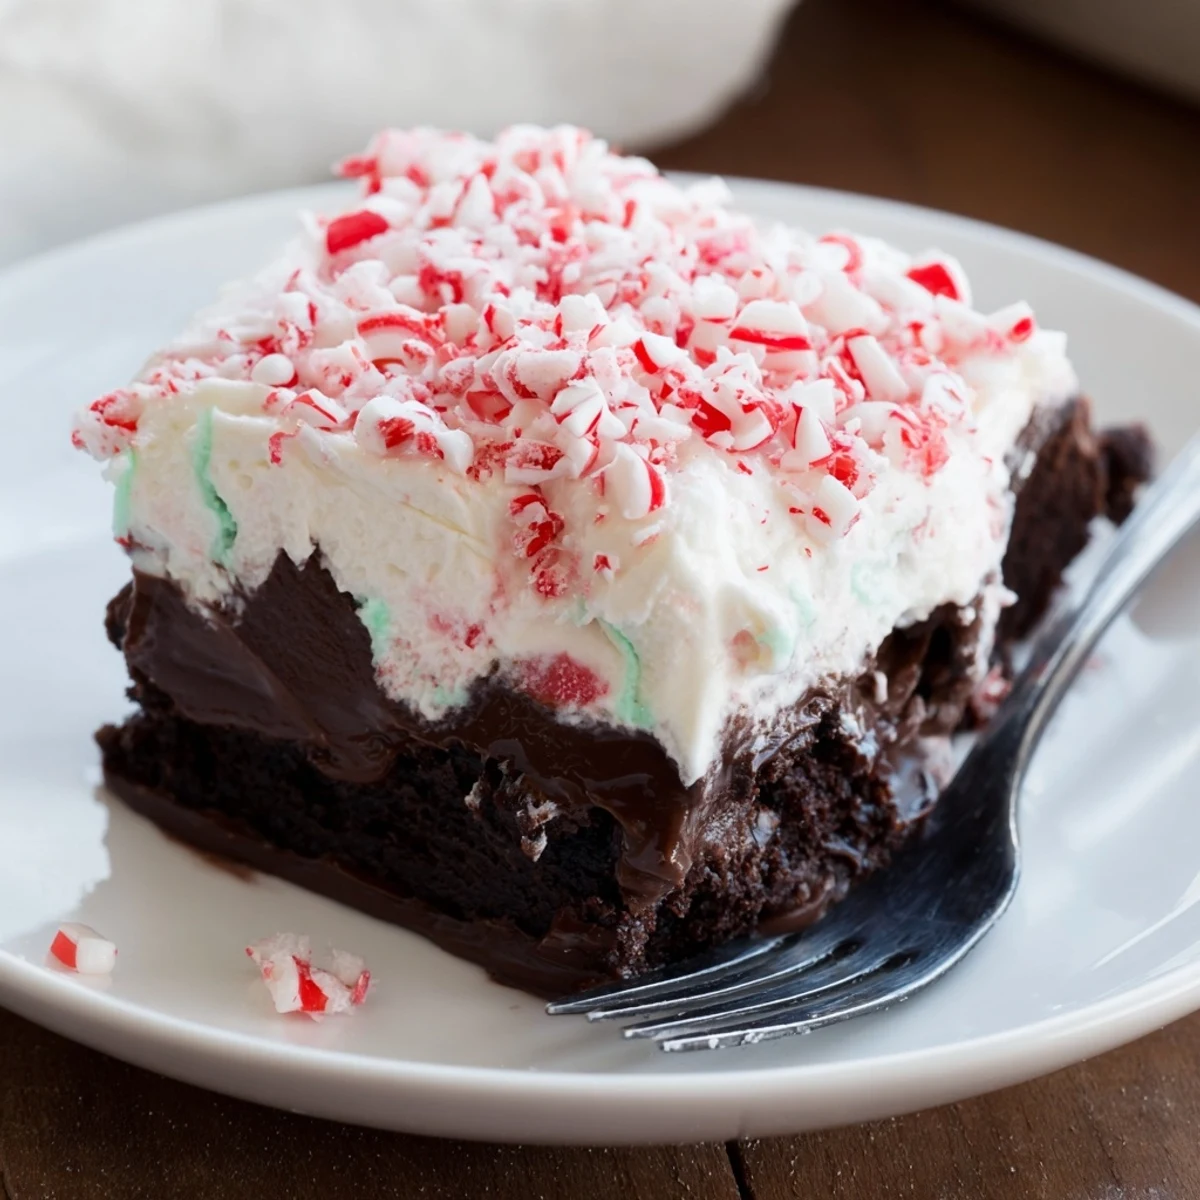
 There was a moment during a holiday brunch when someone quietly set down their fork, smiled, and said, ‘This tastes like December on a plate.’ It was then I realized this cake had become a tradition without me even trying.
Let’s Talk Peppermint
Not all peppermint extracts are created equal—some taste fresh and cool, others almost medicinal. Start with a small amount if you’re uncertain, and always sample your pudding before pouring it on. I once went overboard and the result tasted like toothpaste, sending us into giggles as we scavenged for backup dessert.
Mixing and Poking Secrets
Use a sturdy wooden spoon and poke deep, but not all the way through to the bottom of the pan—a gentle hand is best. If you poke while the cake is still too hot, it’ll tear instead of making neat holes. Give yourself permission for a little imperfection; the pudding will cover any wonkiness.
Serving and Storing Smartly
I’ve learned this cake tastes even better made a few hours (or even a day) ahead, as the flavors meld and mellow in the fridge. Cover leftovers tightly to keep them from soaking up fridge odors, and always sprinkle the candies right before serving so they stay crisp and pretty.
- Let the cake sit at room temperature for 10 minutes before slicing if it’s extra cold from the fridge.
- Switch out candy canes for pastel mints in the spring—colorful and equally tasty.
- Don’t forget to check your whipped topping is fully thawed—the texture is so much nicer.
 Save to Pinterest
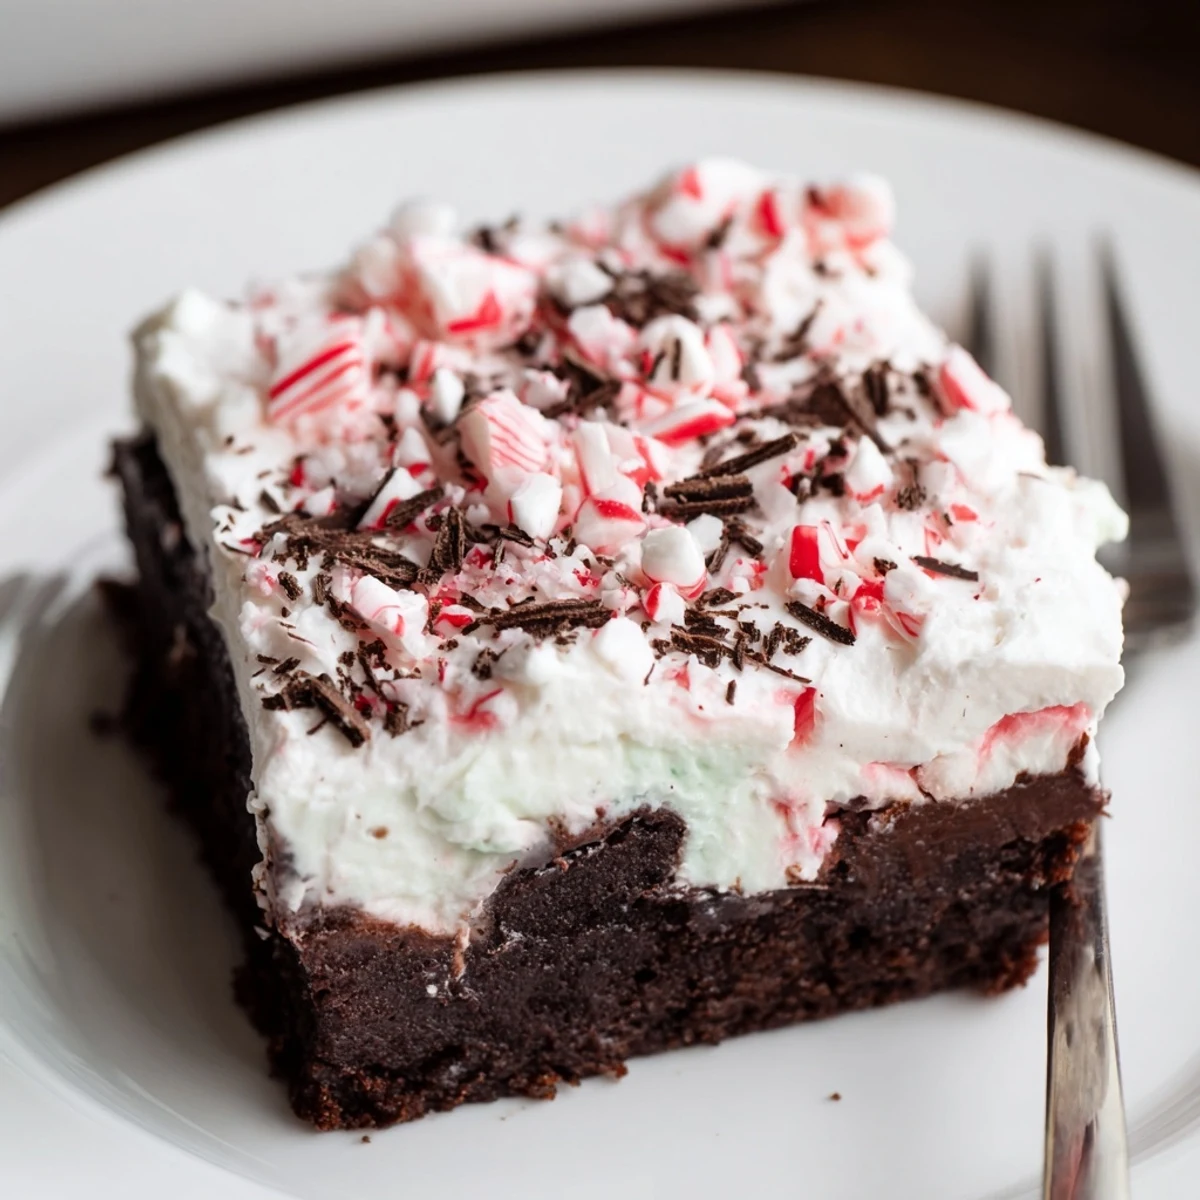
 If you find yourself needing a little festive magic, this Peppermint Poke Cake delivers every time. I hope it brings a smile to your table like it has to mine.
Recipe FAQs
- → How do I evenly poke the cake?
-
Use the handle of a wooden spoon and press straight down about 1 inch apart across the surface. Work methodically in rows so holes are evenly spaced and deep enough for the filling to settle into the crumb.
- → How long should the cake chill?
-
Refrigerate for at least 1 hour to let the pudding set and the flavors meld; for best texture and cleaner slices, chill 2 hours or overnight.
- → Can I boost the mint flavor without overdoing it?
-
Add 1 teaspoon peppermint extract to the pudding and, if desired, 1/4 teaspoon to the batter. Start small—peppermint can quickly dominate—then adjust in future batches to taste.
- → What are good swap options for the cake base?
-
White or red velvet cake mixes work well for a different look and flavor. For a denser texture, bake a scratch chocolate cake and follow the same poking and filling steps.
- → How should I store leftovers?
-
Keep covered in the refrigerator for up to 2 days. For best texture, return chilled slices to the fridge between servings rather than leaving them at room temperature.
- → Can this be frozen?
-
Freezing is possible but may affect texture. Freeze individual slices wrapped tightly; thaw overnight in the refrigerator and note the whipped topping may be softer after thawing.
