 Save to Pinterest
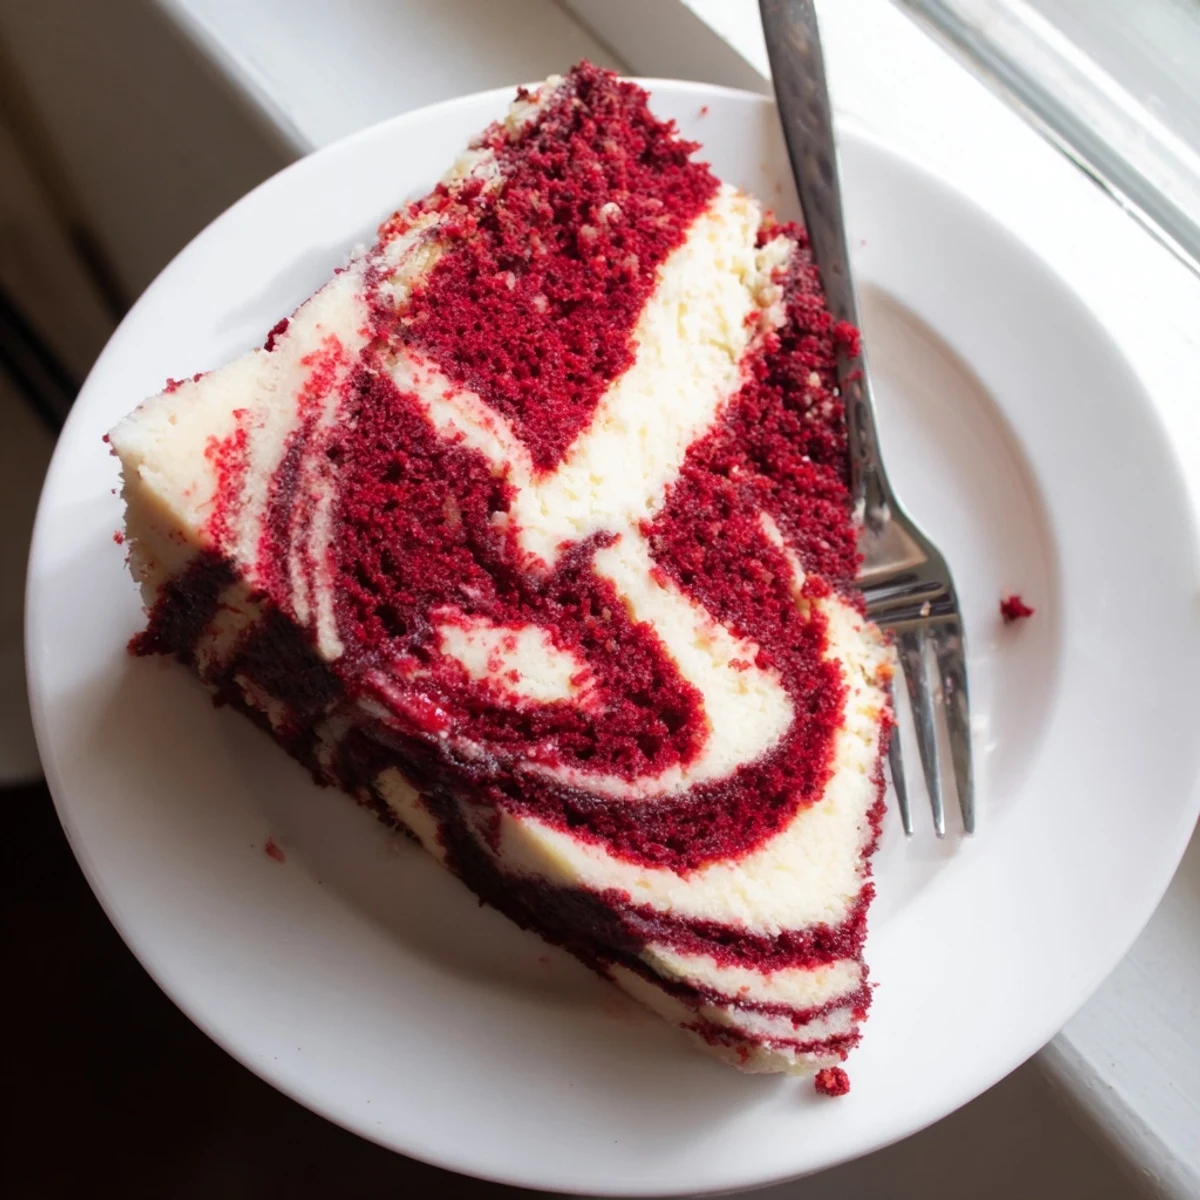
 This stunning red velvet cake combines the classic, velvety chocolate undertones of traditional red velvet with a luscious cheesecake swirl throughout. The result is a beautifully marbled dessert that's both visually striking and incredibly indulgent.
The buttermilk-based red velvet batter yields a tender, moist crumb, while the cheesecake mixture adds pockets of creamy richness. Perfect for birthdays, holidays, or anytime you want to impress guests with something special.
Baking takes about 50 minutes, and the cake benefits from cooling completely before serving—this allows the flavors to meld and the texture to set properly. Serve chilled or at room temperature for the best experience.
I pulled this cake out of the oven at midnight once, during a snowstorm, just because I needed something beautiful to look at. The red against the white cheesecake swirls made my whole kitchen feel like a celebration, even though I was the only one awake to see it.
My sister begged me to make this for her birthday after seeing a photo, and I'll never forget her face when I brought it to the table. She actually gasped, which is saying something for someone who's seen me bake plenty of cakes before.
Ingredients
- All purpose flour: The foundation that gives this cake its tender crumb, so measure carefully either by weight or spoon and level
- Granulated sugar: Sweetens both the cake and cheesecake layers, creating that perfect balance with the cocoa's slight bitterness
- Baking powder and baking soda: These work together to give the red velvet its signature rise and fluffy texture
- Unsweetened cocoa powder: Just enough to deepen the flavor without overpowering that classic red velvet taste
- Salt: Enhances all the flavors and prevents the cake from tasting flat or overly sweet
- Buttermilk: The secret ingredient that makes red velvet so incredibly moist and adds a subtle tang
- Vegetable oil: Keeps the cake tender and ensures it stays moist for days
- Eggs: Provide structure and richness to both the cake batter and cheesecake swirl
- Vanilla extract: Pure vanilla is worth the extra cost here, as its flavor shines through in every bite
- White vinegar: Reacts with the buttermilk to enhance the red velvet's signature texture and subtle tang
- Red food coloring: Gel coloring gives you that vibrant ruby hue with less liquid, though liquid works too
- Cream cheese: Use full fat and make sure it's properly softened for the smoothest cheesecake swirl
Instructions
- Preheat your oven and prepare the pan:
- Getting your oven to 350°F (175°C) and lining a 9x13-inch pan with parchment paper means your cake will bake evenly and pop right out later
- Whisk together the dry ingredients:
- In a large bowl, combine the flour, sugar, baking powder, baking soda, cocoa powder, and salt until everything is evenly distributed
- Mix the wet ingredients:
- In another bowl, whisk together the buttermilk, oil, eggs, vanilla, vinegar, and red food coloring until the mixture is completely smooth
- Combine the batter:
- Pour the wet ingredients into the dry ones and mix just until combined, being careful not to overmix or your cake might become tough
- Spread the red velvet batter:
- Pour the gorgeous red batter into your prepared pan and use a spatula to spread it into an even layer
- Make the cheesecake mixture:
- Beat the softened cream cheese until smooth, then add the sugar, egg, and vanilla, mixing until completely creamy
- Create the swirl:
- Drop spoonfuls of the cheesecake batter over the red velvet, then use a knife or skewer to gently marble them together, being careful not to over swirl and muddy the pattern
- Bake to perfection:
- Bake for 45 to 50 minutes until a toothpick comes out mostly clean, remembering that a little cheesecake on the toothpick is perfectly fine
- Cool completely:
- Let the cake cool completely in the pan on a wire rack, because slicing it while warm will make those beautiful swirls fall apart
 Save to Pinterest
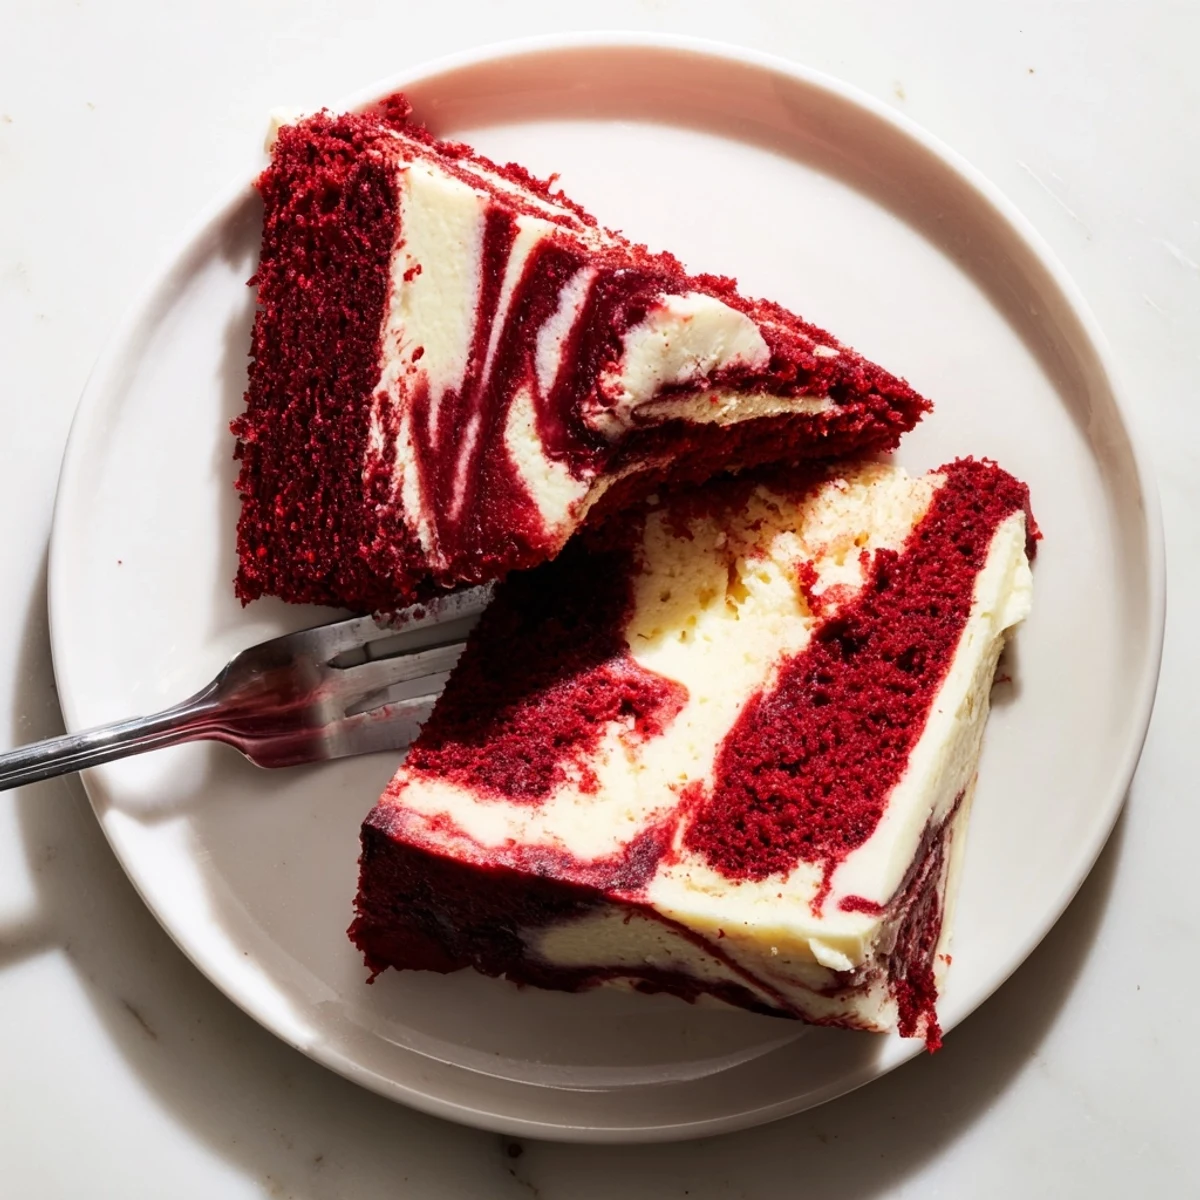
 This cake has become my go to for potlucks because it travels so well and always looks impressive, even after a bumpy car ride. Something about that red and white pattern makes people think it's far fancier than it actually is to make.
Getting The Perfect Swirl
I've learned that the key to beautiful marbling is dropping the cheesecake mixture in evenly spaced spoonfuls rather than random dollops. This creates those elegant ribbons instead of a muddy pattern where everything blends together too much.
Serving Suggestions
This cake is actually even better the next day, once the flavors have had time to meld and the cheesecake layer has set completely. I love serving it with a cup of strong black coffee to cut through the richness.
Storage And Make Ahead Tips
The refrigerator is your friend here, since the cheesecake layer needs to stay cold for the best texture and food safety. You can bake this up to two days before serving, keeping it tightly covered until you're ready to impress your guests.
- Let the cake cool completely before covering it, or moisture will collect and make the top soggy
- Freeze individual slices wrapped tightly in plastic for those moments when you need something sweet
- Always use a hot knife to get clean slices that show off those beautiful swirls
 Save to Pinterest
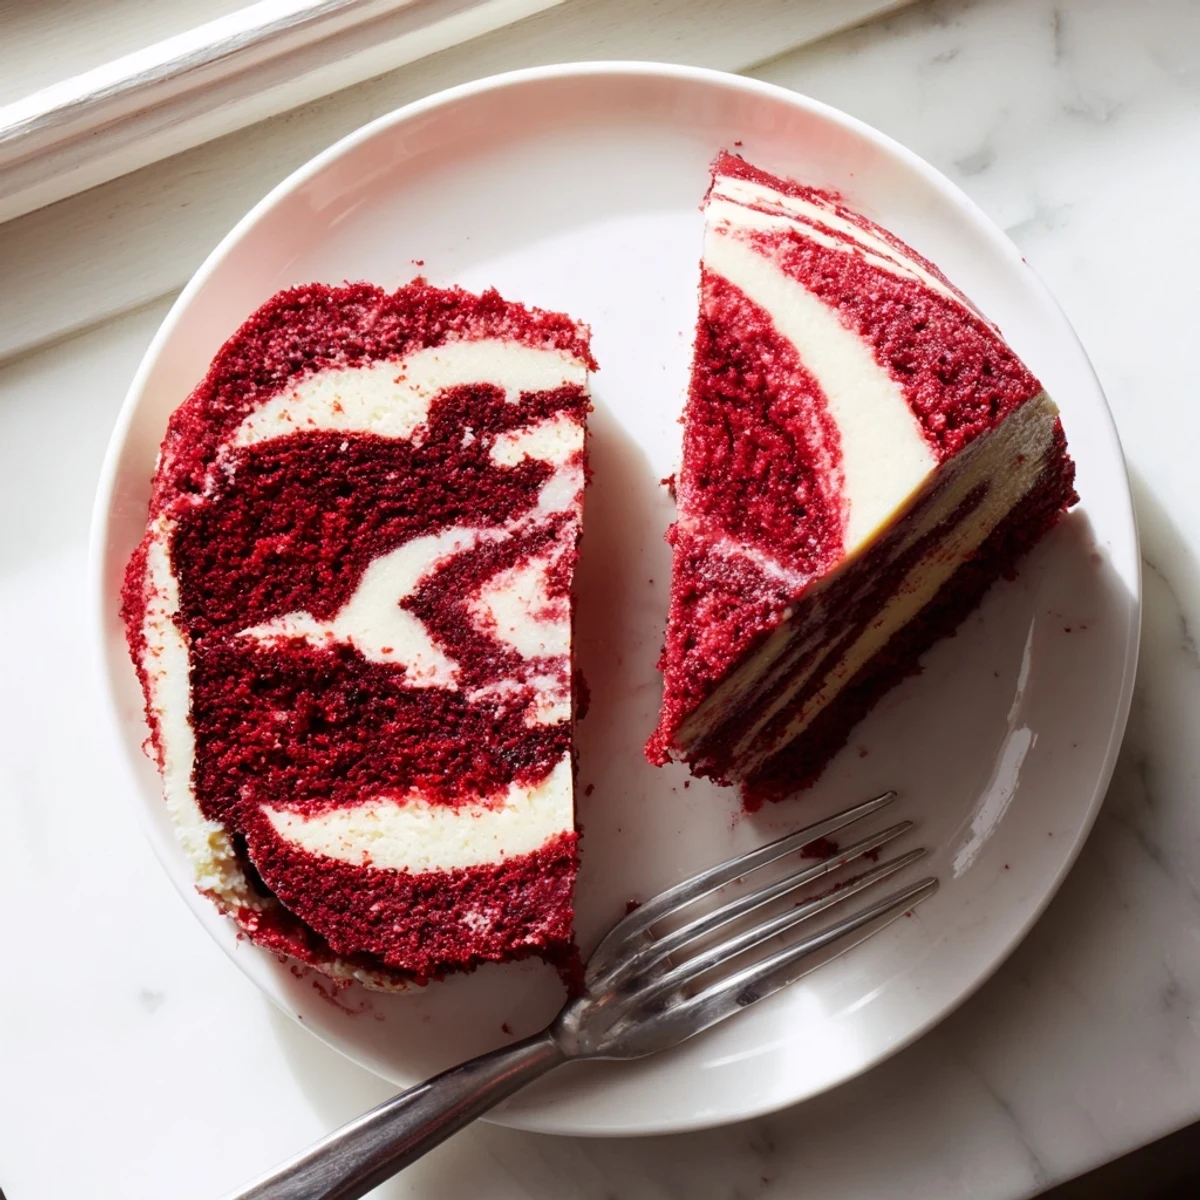
 There's something magical about cutting into that first slice and seeing the pattern you created, like opening a little present you baked yourself.
Recipe FAQs
- → Can I use natural food coloring instead of red dye?
-
Yes, beet juice or pomegranate juice can work as natural alternatives, though they may produce a more muted hue. Gel food coloring typically gives the most vibrant red color with less liquid added to the batter.
- → How do I know when the cake is done baking?
-
Insert a toothpick into the center—if it comes out with just a few moist crumbs or a little cheesecake residue, it's ready. A completely clean toothpick may indicate overbaking. The edges should pull away slightly from the pan.
- → Can I make this ahead of time?
-
Absolutely. This cake actually tastes better the next day as flavors meld. Wrap tightly and refrigerate for up to 4 days. Bring to room temperature before serving for the best texture.
- → What's the best way to achieve the marble swirl effect?
-
Dollop spoonfuls of cheesecake mixture randomly over the batter, then use a knife or skewer to gently swirl through both layers in a figure-8 motion. Don't over-swirl or you'll lose the distinct marble pattern.
- → Can I freeze this cake?
-
Yes, wrap individual slices or the whole cake tightly in plastic wrap and aluminum foil. Freeze for up to 3 months. Thaw overnight in the refrigerator before serving.
- → Why is buttermilk important in red velvet cake?
-
Buttermilk's acidity activates the baking soda, creating a tender crumb and subtle tang that balances the sweetness. It also reacts with cocoa powder to enhance that signature reddish hue alongside the food coloring.
