 Save to Pinterest
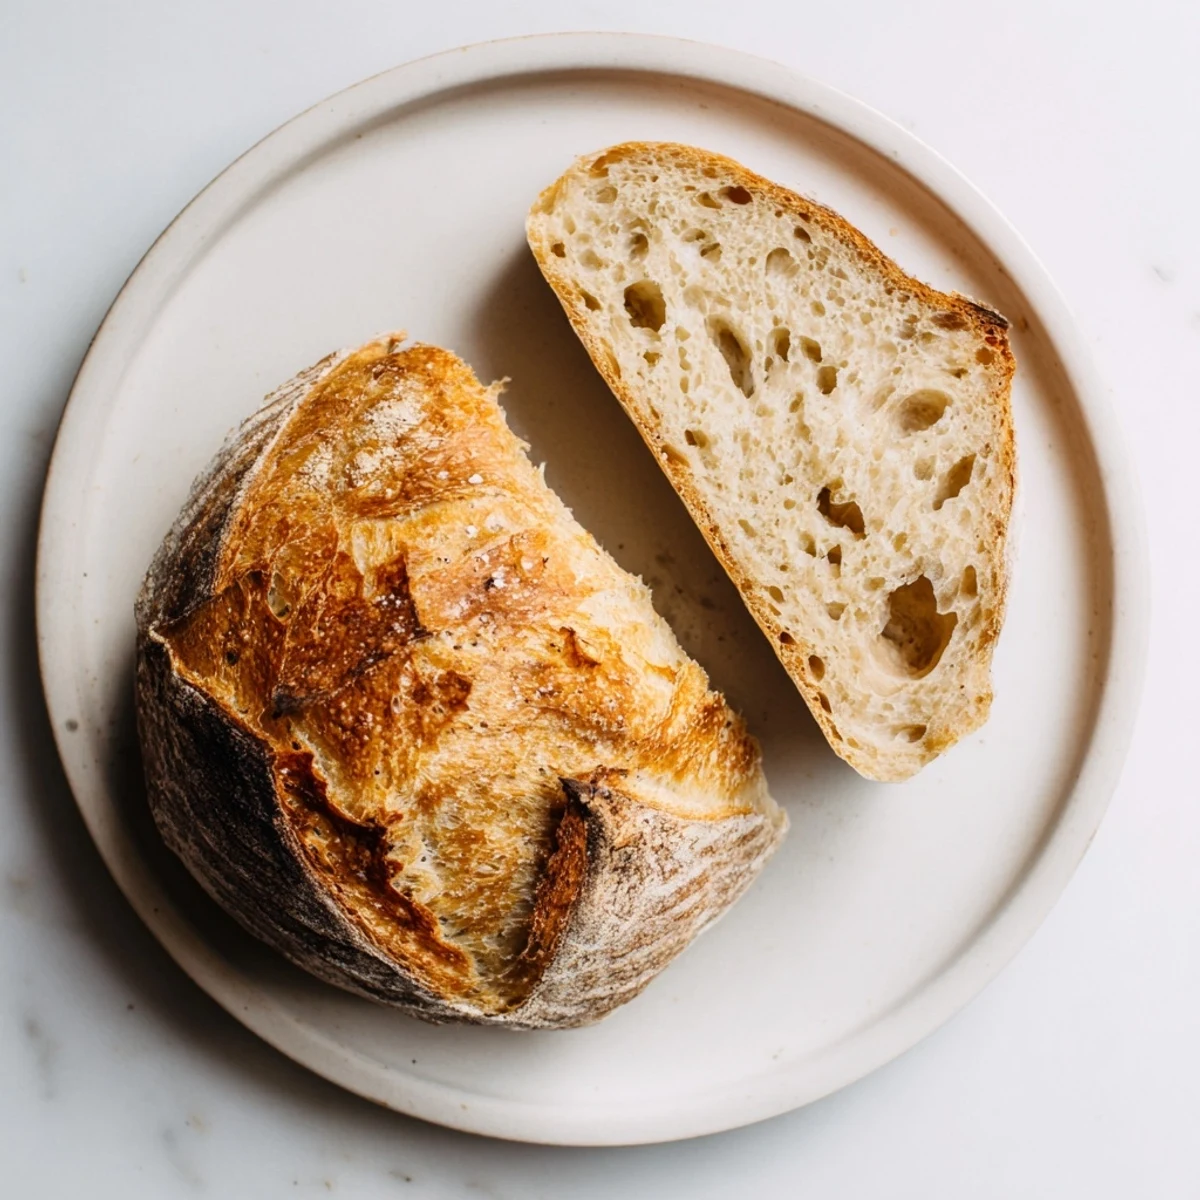
 Craft an exceptional sourdough loaf using wild yeast fermentation, resulting in a distinctive tangy flavor and professional bakery qualities. The process involves an autolyse rest period, strategic stretch-and-fold techniques, and cold fermentation for complex flavor development. Bake in a Dutch oven to achieve the signature crisp, crackling crust and tender chewy interior.
The way my kitchen smelled during those first few attempts at sourdough still lingers in my memory. I had no idea what I was doing, feeding this bubbling jar of wild yeast like a pet, praying it would actually make bread rise. That first loaf came out dense as a brick, but something about the process hooked me completely. Now I can't imagine my week without that ritual of mixing, folding, and waiting.
I remember bringing my first successful loaf to a dinner party, still warm from the oven. My friends acted like I'd performed some kind of magic trick, asking how I possibly made something that looked so beautiful and tasted so complex. The truth was mostly patience and a lot of failed attempts before that. Watching people tear into it, slathering salted butter on each slice, made all those hours of waiting absolutely worth it.
Ingredients
- 500 g bread flour: High protein content creates that signature chewy crumb structure and impressive oven spring
- 350 g water room temperature: Hydration level gives you that open crumb while keeping the dough manageable to work with
- 100 g active sourdough starter 100% hydration: This living culture is everything, make sure it's bubbling and doubled before using
- 10 g fine sea salt: Don't skip this or reduce it, salt is crucial for flavor and proper gluten development
- Rice flour or additional bread flour: For dusting your proofing basket, rice flour prevents sticking better than anything else
Instructions
- Mix and rest the dough:
- Combine flour and water in a large bowl until just combined, then cover and let it sit for one hour to hydrate fully. This autolyse period makes the dough so much easier to work with later.
- Add starter and salt:
- Incorporate the sourdough starter and sea salt, mixing until the dough comes together in a shaggy mass. Use your hands to really work everything through.
- Build strength through folding:
- Perform four sets of stretch and folds every thirty minutes for two hours, grabbing one edge of dough and pulling it up over itself. Each fold develops the gluten network that will trap those fermentation bubbles.
- Let it rise:
- Cover the bowl and let the dough ferment at room temperature for four to six hours until noticeably puffy and expanded. The dough should feel alive and jiggly when you gently shake the bowl.
- Shape your loaf:
- Turn the dough onto a lightly floured surface and gently fold the edges toward the center to create tension. Shape into a tight round or oval, using your bench scraper to help create a smooth surface.
- Cold proof overnight:
- Place the shaped dough seam side up in a floured proofing basket, cover, and refrigerate for eight to twelve hours. This cold fermentation develops incredible flavor and makes scoring easier.
- Preheat with your Dutch oven:
- Heat your oven to 230°C (450°F) with the Dutch oven inside for at least thirty minutes. You want that vessel screaming hot to create immediate steam for a crispy crust.
- Score and bake:
- Gently invert the dough onto parchment paper, use a sharp blade to score the top, then transfer everything into the hot Dutch oven. Cover and bake for twenty minutes.
- Finish with color:
- Remove the lid and bake another twenty minutes until the crust is deep golden brown and the loaf sounds hollow when tapped. Let it cool on a wire rack for at least one hour before slicing.
 Save to Pinterest
 There's something profoundly satisfying about pulling a gorgeous golden loaf from the oven, hearing that crackling song as the crust cools and hardens. My partner now asks every Saturday if it's bread day, the smell having become synonymous with weekend comfort in our home. I've started giving small starter jars to friends, spreading this patient, delicious obsession one person at a time.
Understanding Fermentation Timing
Temperature affects everything about your sourdough timeline. In winter, my dough takes forever to rise, while summer afternoons speed things up dramatically. Learn to watch the dough's behavior rather than strictly following the clock. When it's puffy, jiggly, and covered in fermentation bubbles, it's ready regardless of what the recipe says.
Mastering The Scoring
Your scoring cut determines where the bread expands in the oven, so make it count and confident. I hold my blade at a slight angle, about thirty degrees, and make one decisive stroke rather than multiple hesitant ones. The cut should bloom beautifully in the oven's heat, creating that distinctive artisan look that makes everyone think you're a professional baker.
Customizing Your Loaf
Once you've mastered the basic recipe, the variations become incredibly fun to experiment with. Mix in toasted seeds, chopped nuts, or dried fruit after the first rise for added texture and flavor complexity. Try replacing twenty percent of the bread flour with whole wheat or rye for deeper, nuttier notes that make each loaf uniquely yours.
- Soak any additions like raisins or nuts before adding to prevent them from stealing moisture from your dough
- Whole grain flours absorb more water, so increase hydration slightly when substituting
- Keep a baking journal of your experiments, noting flour percentages, hydration, and baking times
 Save to Pinterest
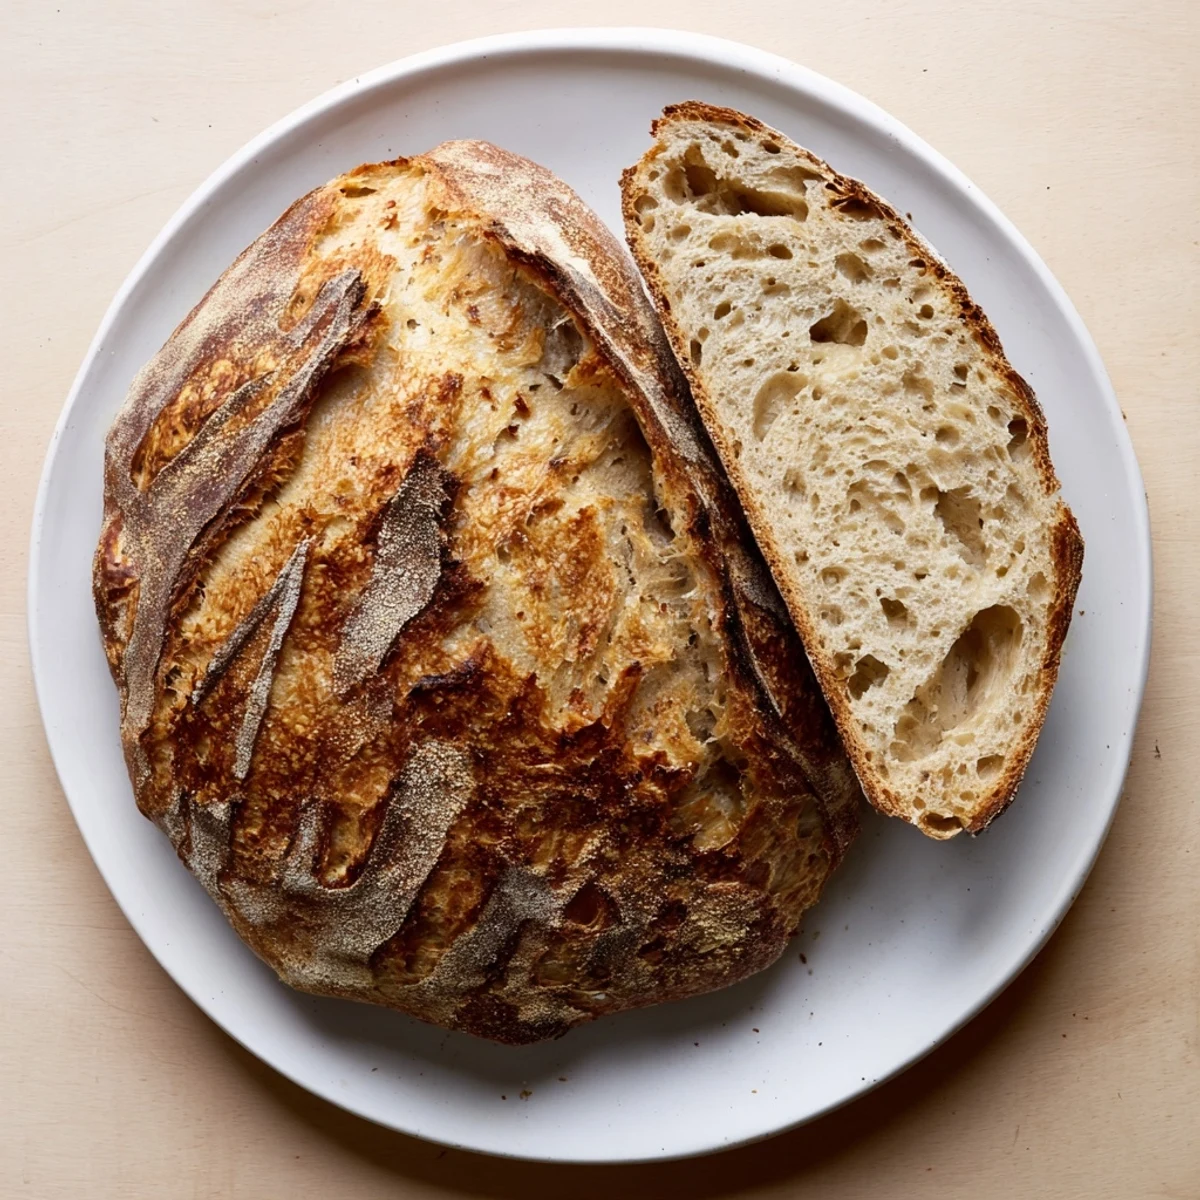
 There's nothing quite like tearing into a slice of your own sourdough, still slightly warm from the oven, with salted butter melting into every crevice. Welcome to the obsession.
Recipe FAQs
- → What makes sourdough different from regular bread?
-
Sourdough relies on wild yeast and beneficial bacteria naturally present in flour rather than commercial yeast. This fermentation process creates distinctive tangy flavors, improves digestibility, and produces a chewy texture with superior keeping qualities.
- → Why does sourdough take so long to make?
-
The extended timeline allows natural fermentation to develop complex flavors and strengthen gluten structure. Cold fermentation in the refrigerator enhances flavor depth while creating a more manageable dough for shaping and scoring.
- → Can I bake sourdough without a Dutch oven?
-
While a Dutch oven creates the ideal steam environment for a crispy crust, you can use a baking stone or sheet pan with a metal bowl inverted over the loaf. Creating steam in the oven helps achieve similar crust development.
- → How do I know when my sourdough is properly proofed?
-
Gently press the dough with a finger—it should slowly spring back partially. An over-proofed loaf will feel fragile and may collapse, while under-proofed dough will spring back quickly and feel dense.
- → What is the purpose of scoring the bread?
-
Scoring creates controlled weak points in the dough surface, allowing the loaf to expand gracefully during baking. This prevents random tearing and creates the decorative patterns characteristic of artisan sourdough.
- → Why must the bread cool before slicing?
-
The internal crumb continues cooking through residual heat after leaving the oven. Cutting too early releases steam, resulting in a gummy texture and compromising the crust development. Allow at least one hour for optimal texture.
