 Save to Pinterest
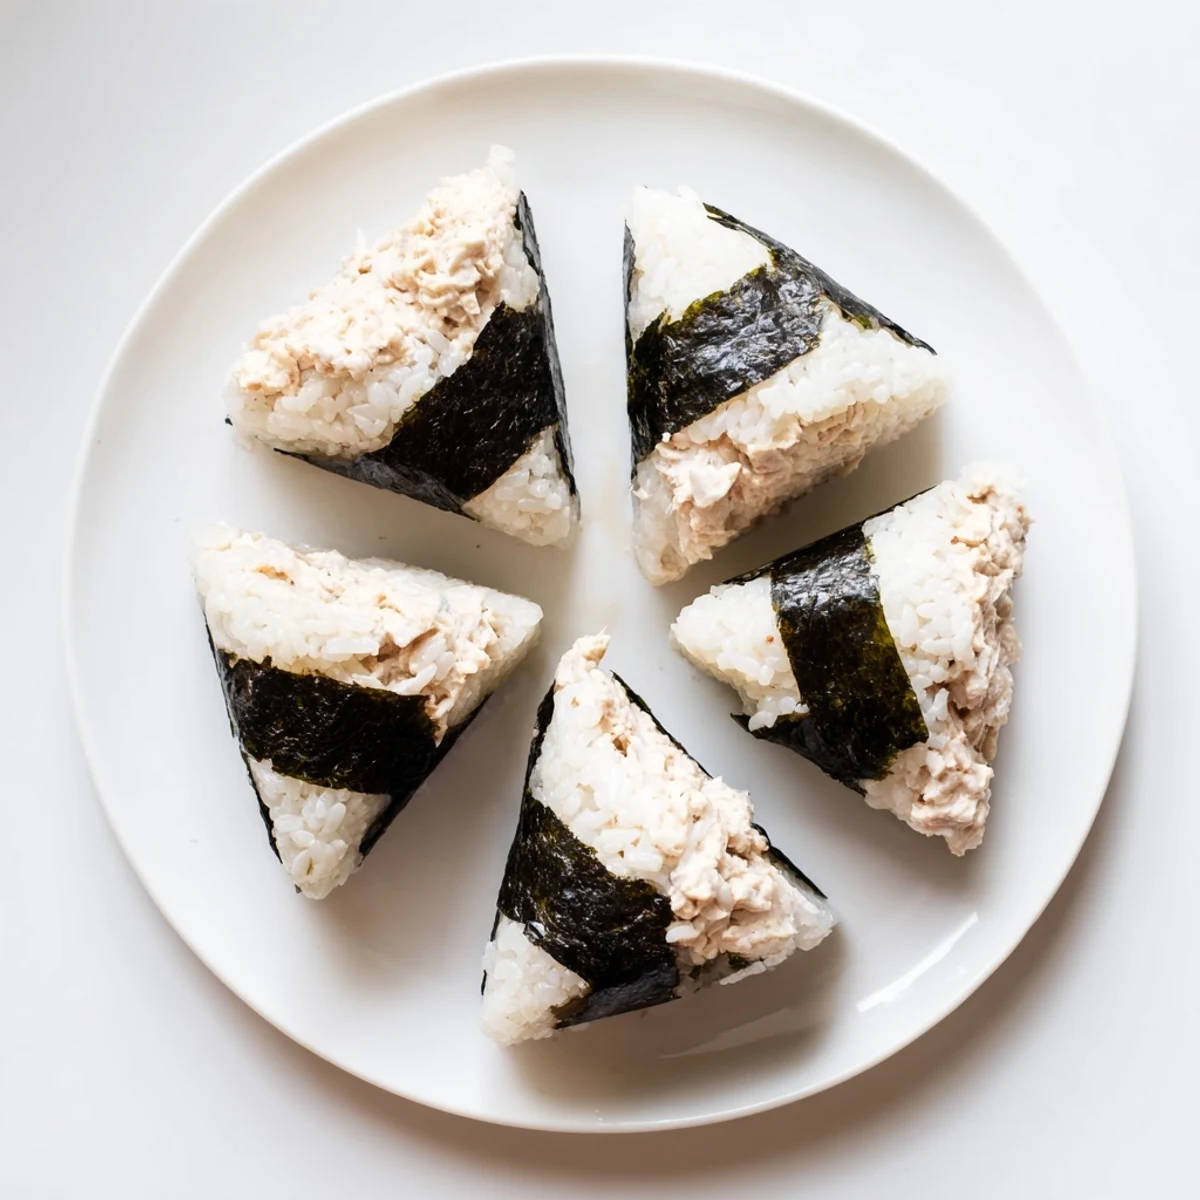
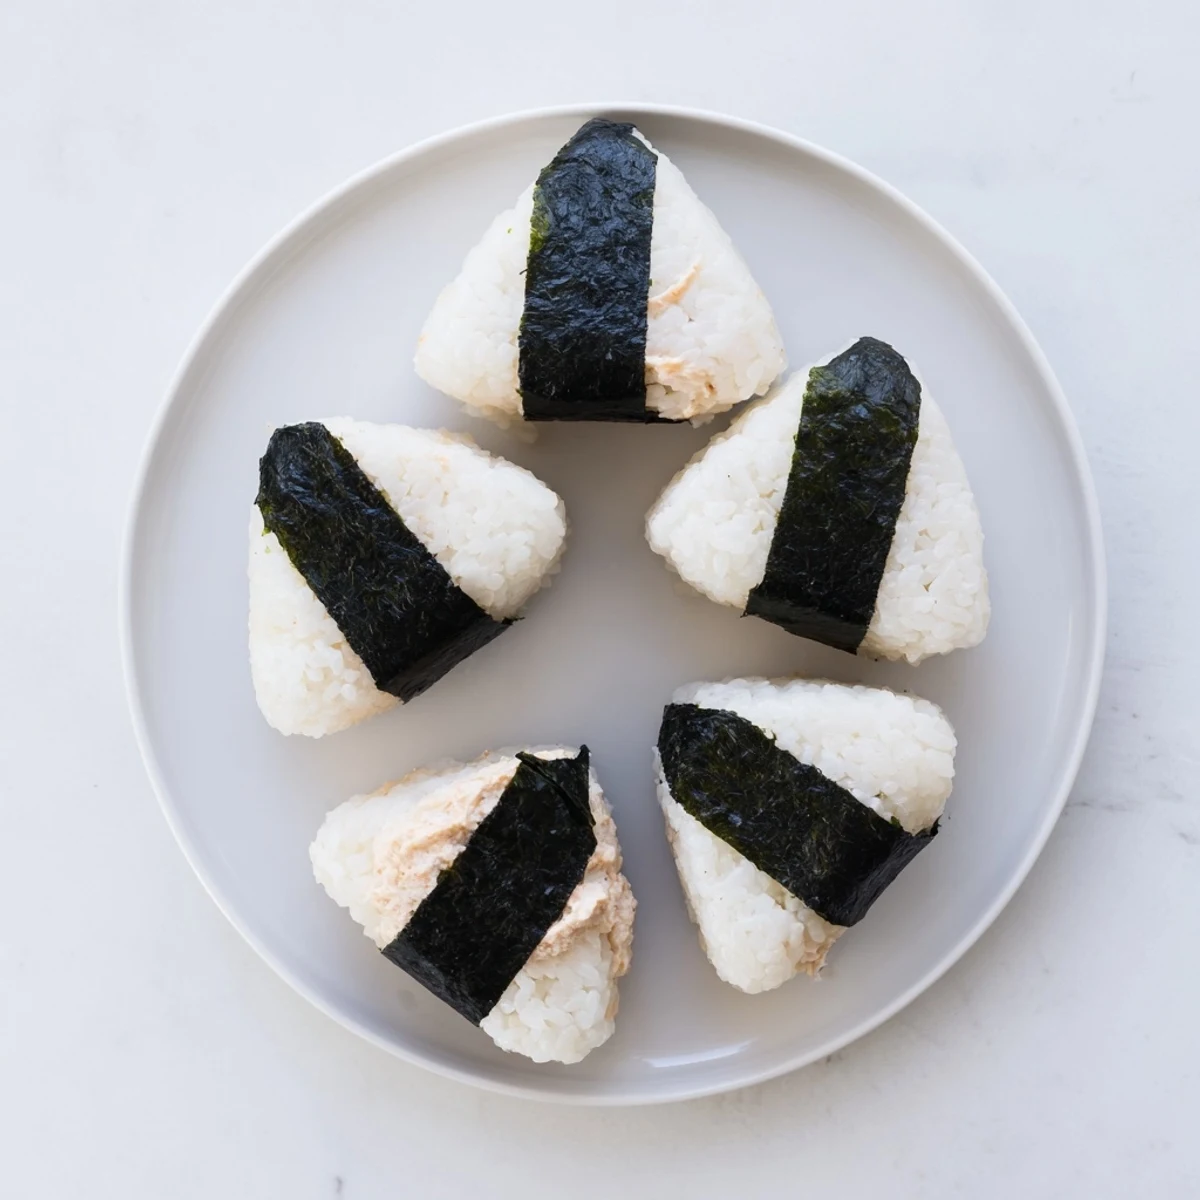
 Create authentic Japanese tuna mayo onigiri with simple ingredients. These handheld rice balls combine fluffy short-grain rice with a savory tuna and mayonnaise mixture, wrapped with crispy nori strips for convenient eating.
Perfect for lunchboxes, picnics, or quick snacks, these customizable onigiri come together in just 35 minutes. The secret lies in properly seasoned rice and the creamy tuna filling that provides protein and rich flavor in every bite.
The convenience store near my old apartment in Tokyo had a rotating shelf of onigiri, and I always reached for the tuna mayo one without hesitation. Something about that creamy, savory center tucked inside warm, salted rice felt like a small gift I could hold in one hand. I attempted recreating them at home with laughably lopsided results at first, triangles that looked more like lumpy potatoes. But the filling was so good I kept trying until my hands learned the shape.
My friend Yuki watched me struggle with my first batch and gently suggested I wet my hands more, which changed everything about how the rice behaved.
Ingredients
- Japanese short-grain rice (2 cups): This is non-negotiable because long-grain varieties simply will not stick together the way you need them to.
- Water (2 1/2 cups): Measured precisely for the perfect texture, neither mushy nor firm.
- Tuna in water, drained (1 can, 5 oz/140 g): Water-packed tuna keeps the filling from becoming greasy while letting the mayo shine.
- Japanese mayonnaise (3 tablespoons, Kewpie preferred): The egg yolks and rice vinegar in Kewpie create a richer, tangier creaminess than standard mayo.
- Soy sauce (1 teaspoon): Just enough to deepen the savory note without overpowering the delicate rice.
- Ground black pepper (1/4 teaspoon, optional): A gentle warmth that most people do not expect but always appreciate.
- Salt (1/2 teaspoon): Used on your palms while shaping, it seasons the outside and acts as a mild preservative.
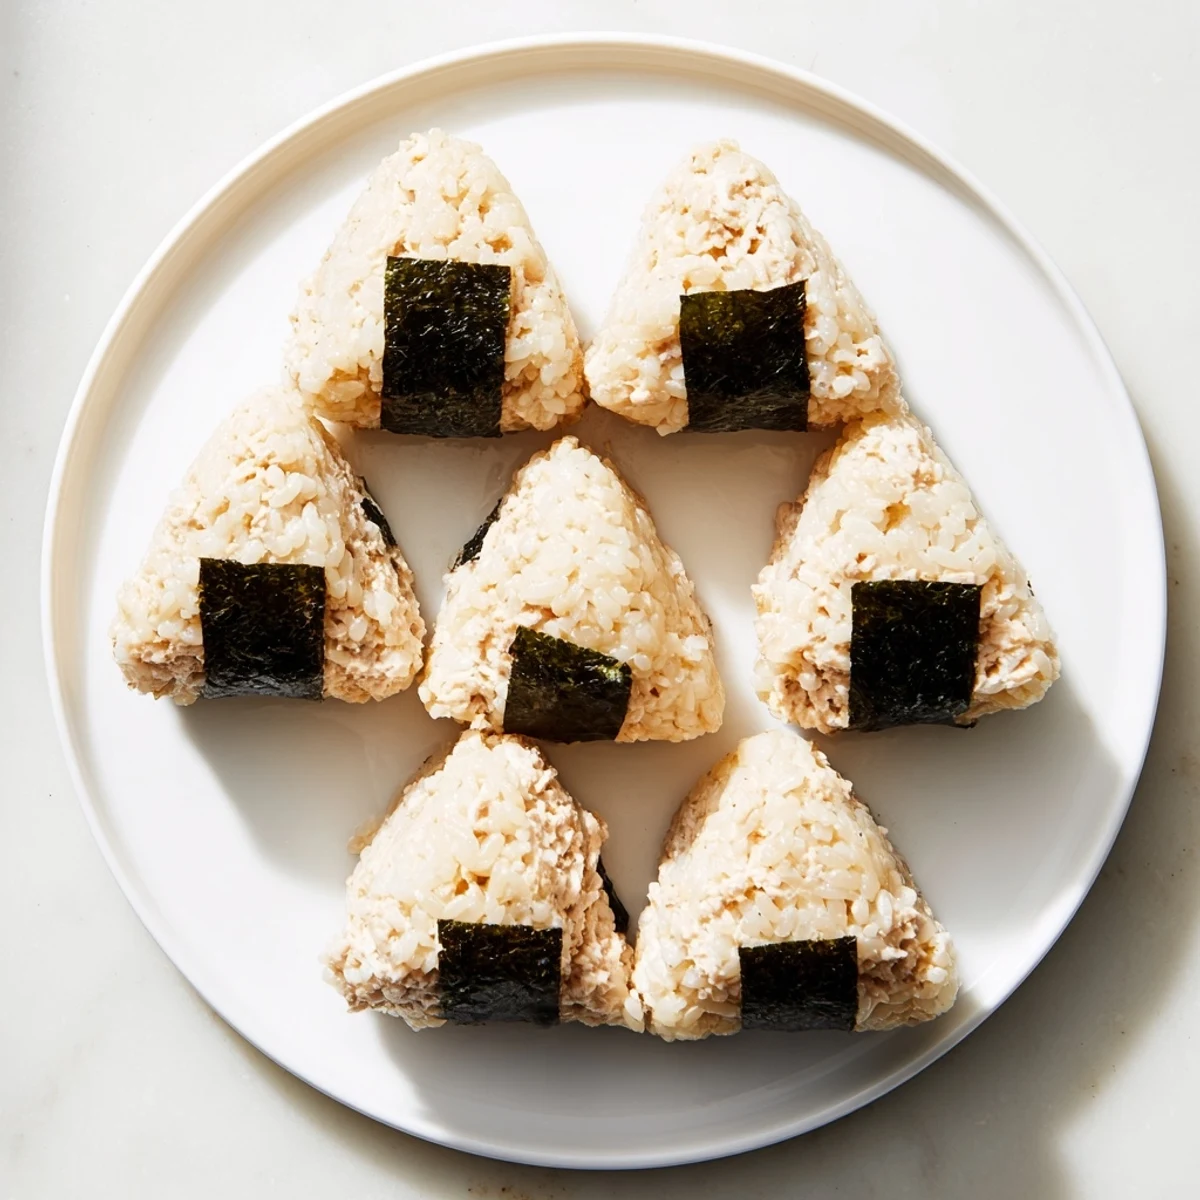
- Nori strips (6 small sheets): The crunch and ocean flavor are what make these feel complete in your hand.
Instructions
- Wash the rice:
- Rinse under cold running water, swirling gently with your fingers, until the water turns from cloudy to nearly transparent. Drain completely so your cooking water ratio stays accurate.
- Cook the rice:
- Combine the rinsed rice and measured water in a rice cooker or heavy-bottomed pot and cook according to your usual method. Let it rest covered for about ten minutes so the grains settle and firm up slightly.
- Mix the filling:
- While the rice rests, flake the drained tuna into a bowl and fold in the mayonnaise, soy sauce, and pepper until you have a uniform, creamy mixture. Taste it and adjust with a touch more soy sauce if it needs depth.
- Prepare your hands:
- Run your hands under water so they are damp but not dripping, then rub a pinch of salt across your palms. This prevents sticking and lightly seasons the outer layer of rice at the same time.
- Shape the onigiri:
- Scoop roughly half a cup of warm rice into one hand, press a shallow well into the center, and spoon in a generous tablespoon of the tuna filling. Fold the rice over the filling and cup your hands gently to form a triangle, pressing firmly enough to hold together but not so hard that you crush the grains.
- Add the nori wrap:
- Lay a strip of nori along the base of each onigiri, pressing lightly so it adheres. Serve right away for maximum crunch, or wrap tightly in plastic if you are packing them for later.
 Save to Pinterest
 I packed six of these into a bento box for a train ride to Kamakura, and by the time I arrived only two remained.
When Rice Fights Back
If your rice keeps falling apart, try letting it cool just a few degrees longer and wetting your hands more generously between each piece. Short-grain rice is forgiving but it demands warmth and moisture to cooperate.
Flipping the Filling
Chopped scallions add a fresh bite, a few drops of sesame oil introduce nuttiness, and a pinch of shichimi togarashi turns a mild snack into something with a quiet kick. The base recipe is solid, but these small additions are where the personality lives.
Packing Them for Later
Onigiri are best the day they are made, but you can wrap each one tightly in plastic and refrigerate for up to a full day without losing too much texture. The nori will soften overnight, which some people actually prefer.
- Keep the nori strips separate and wrap them at the last minute if you want that snap.
- A damp towel over your shaping station keeps stray grains from sticking to everything.
- Remember that the salt on your palms is part of the seasoning, not just a technique.
 Save to Pinterest
 These little rice balls carry so much comfort in such a humble package, and once your hands remember the motion, you will shape them without thinking. Share them with someone who appreciates simple food made with care.
Recipe FAQs
- → What type of rice works best for onigiri?
-
Japanese short-grain rice is essential because its sticky texture holds the triangular shape together. Medium-grain rice can work in a pinch, but long-grain varieties like jasmine or basmati won't bind properly.
- → Can I make onigiri ahead of time?
-
Yes, but they're best enjoyed the same day when the rice remains fluffy. If storing, wrap tightly in plastic wrap and refrigerate for up to 24 hours. Let them come to room temperature before eating for the best texture.
- → What's the difference between Japanese and regular mayonnaise?
-
Japanese mayonnaise like Kewpie uses egg yolks only and rice vinegar, creating a richer, tangier flavor and creamier texture than Western mayonnaise. Regular mayonnaise works as a substitute but the taste will be slightly different.
- → How do I prevent rice from sticking to my hands?
-
Wet your hands with cold water and lightly salt them before shaping each onigiri. The moisture creates a barrier while the salt enhances flavor. You can also use plastic wrap as a barrier during shaping.
- → Can I add other ingredients to the filling?
-
Absolutely. Chopped scallions, sesame oil, corn, or avocado complement the tuna mayo filling. You can also substitute tuna with cooked salmon, chicken, or make vegetarian versions with umeboshi or pickled vegetables.
- → Why does my onigiri fall apart?
-
This usually happens when the rice isn't sticky enough or hasn't cooled slightly. Ensure you're using short-grain rice cooked with the correct water ratio. Let the rice rest for 10 minutes after cooking, and shape while warm but not hot.
