 Save to Pinterest
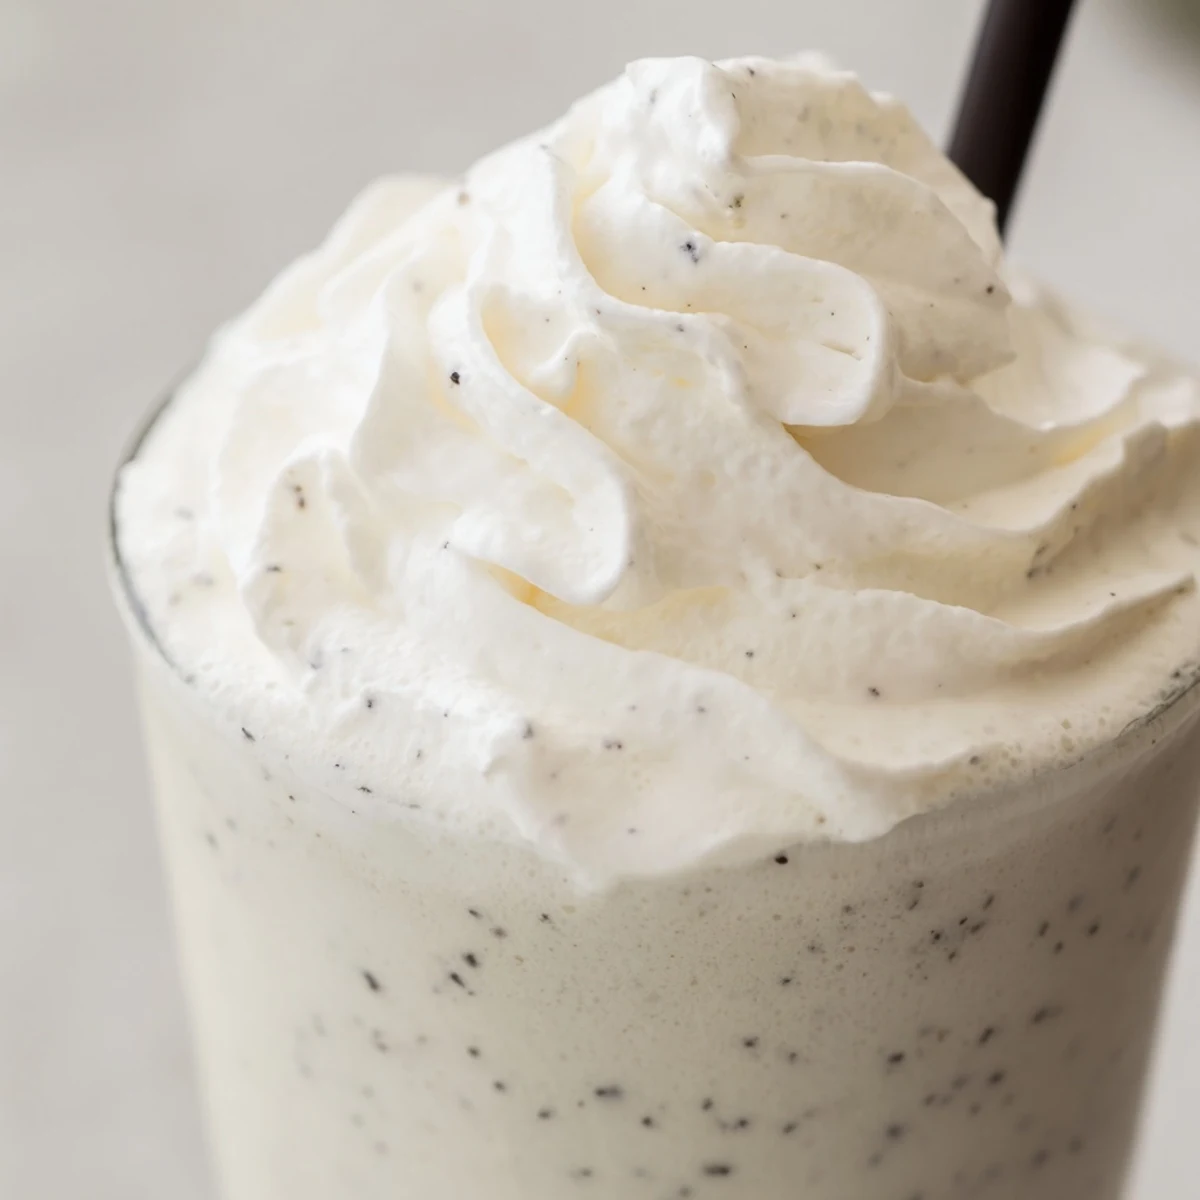
 Create this creamy vanilla bean frappuccino at home with just a few simple ingredients. Real vanilla bean seeds provide authentic flavor while ice cream adds richness. The entire process takes just 5 minutes from start to finish.
Blend milk, ice, vanilla ice cream, vanilla bean seeds, and sugar until smooth and creamy. Adjust sweetness to your preference, pour into tall glasses, and top with whipped cream for that coffeehouse touch.
Customize easily with plant-based alternatives for dairy-free versions or add white chocolate chips for extra indulgence. Perfect for hot summer days or whenever you crave something cool and satisfying.
Standing in my kitchen at 2 AM during finals week, I desperately needed something sweet but didn't want to wake my roommates with the coffee grinder. That's when I threw together my first homemade frappuccino, using vanilla bean pods I'd saved from a baking project months earlier. The ritual of scraping those tiny fragrant seeds became strangely meditative, turning a caffeine craving into a moment of quiet calm. Now it's my go-to treat whenever life feels overwhelming.
My younger sister claimed she could taste the difference between real vanilla bean and extract blindfolded, so we spent an entire summer evening testing her theory with batch after batch of these drinks. She was right, though honestly, both versions taste like pure luxury in a glass. Now she requests this every time she visits, and I've learned to double the recipe.
Ingredients
- 1 cup whole milk: Creates that silky restaurant style texture, though any milk works in a pinch
- 1 cup ice cubes: Essential for the signature slushy consistency without watering down the flavor
- 1/2 cup vanilla ice cream: The secret ingredient that makes this taste professionally made
- 1 vanilla bean: Freshly scraped seeds add those gorgeous specks and intense aromatic flavor
- 2 tablespoons granulated sugar: Start here and adjust based on your sweet tooth
- Whipped cream: Because some days just call for extra topping
Instructions
- Gather your blender and ingredients:
- Having everything measured and ready makes this process incredibly smooth and prevents any forgotten elements.
- Combine milk, ice, ice cream, vanilla, and sugar:
- Pour everything into your blender canister, scraping those precious vanilla seeds directly into the mix.
- Blend until perfectly smooth:
- Puree on high speed for about 45 seconds, stopping once to scrape down the sides and ensure no ice chunks remain.
- Taste and adjust sweetness:
- Give it a quick test and blend in additional sugar if needed, though the ice cream usually provides plenty of sweetness.
- Pour and garnish immediately:
- Divide between two tall glasses, add whipped cream if you're feeling fancy, and grab a straw before it melts.
 Save to Pinterest
 Last summer, I set up a little frappuccino station at my neighborhood block party and watched kids line up alongside grandparents, everyone excited to customize their drinks. Something about watching a blender whirl creates instant community, turning strangers into friends over shared sips.
Making It Dairy Free
Coconut milk ice cream creates the creamiest dairy free version I've found, with a subtle tropical note that complements vanilla beautifully. Just be sure your vanilla extract is certified gluten free if that matters for your diet.
Flavor Variations
My friend's teenage son discovered that adding a tablespoon of white chocolate chips before blending creates what he calls an upgraded version. The chips mostly melt into tiny swirly pockets that make each sip feel like a special surprise.
Serving Suggestions
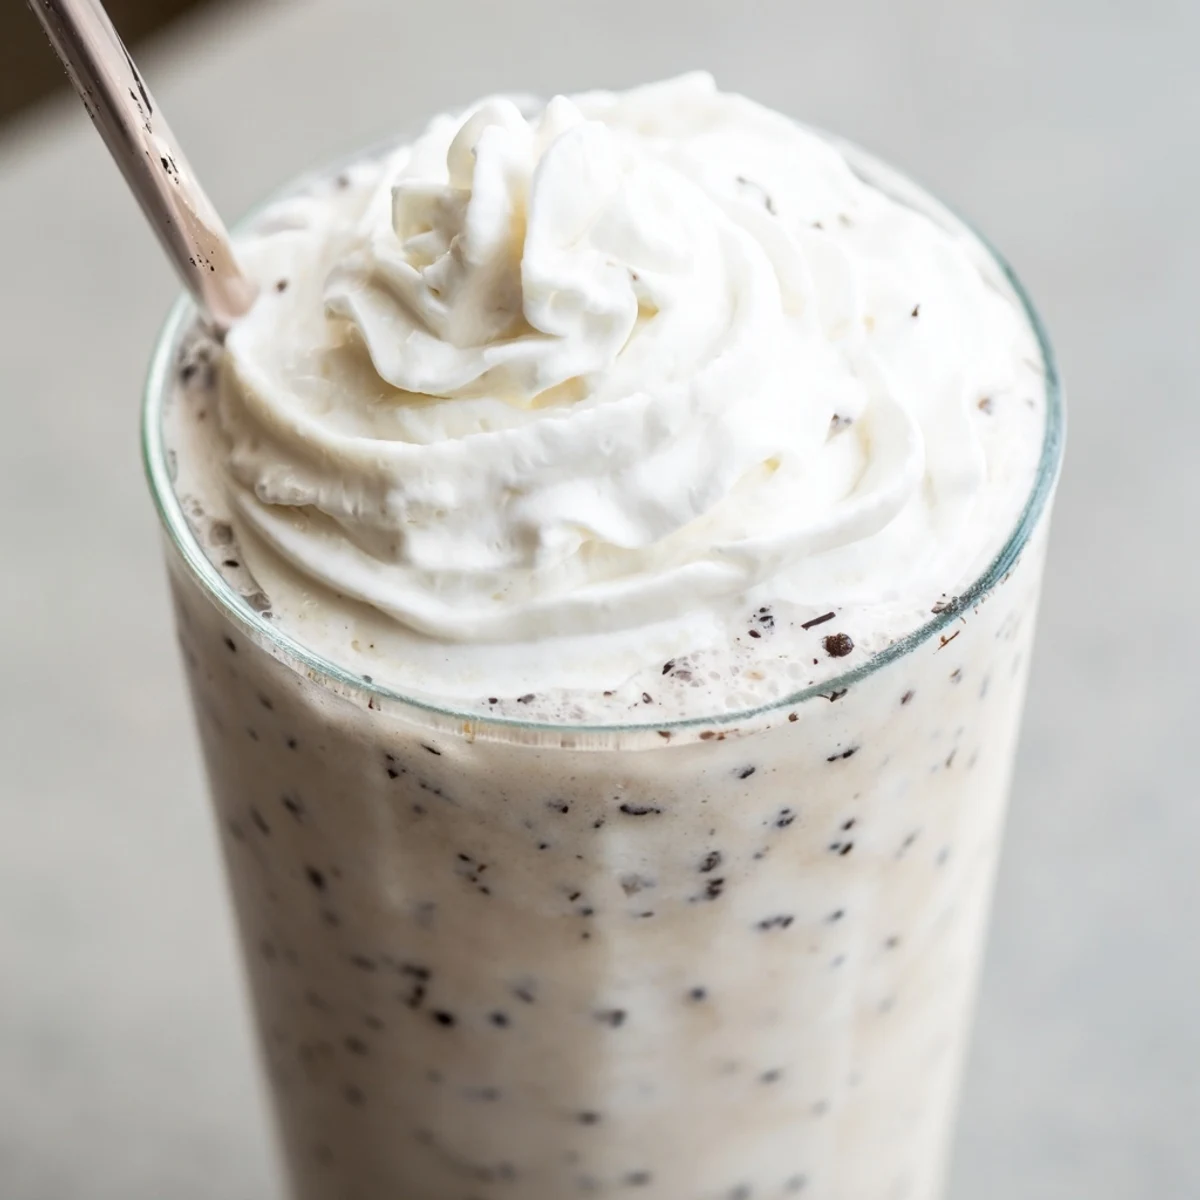
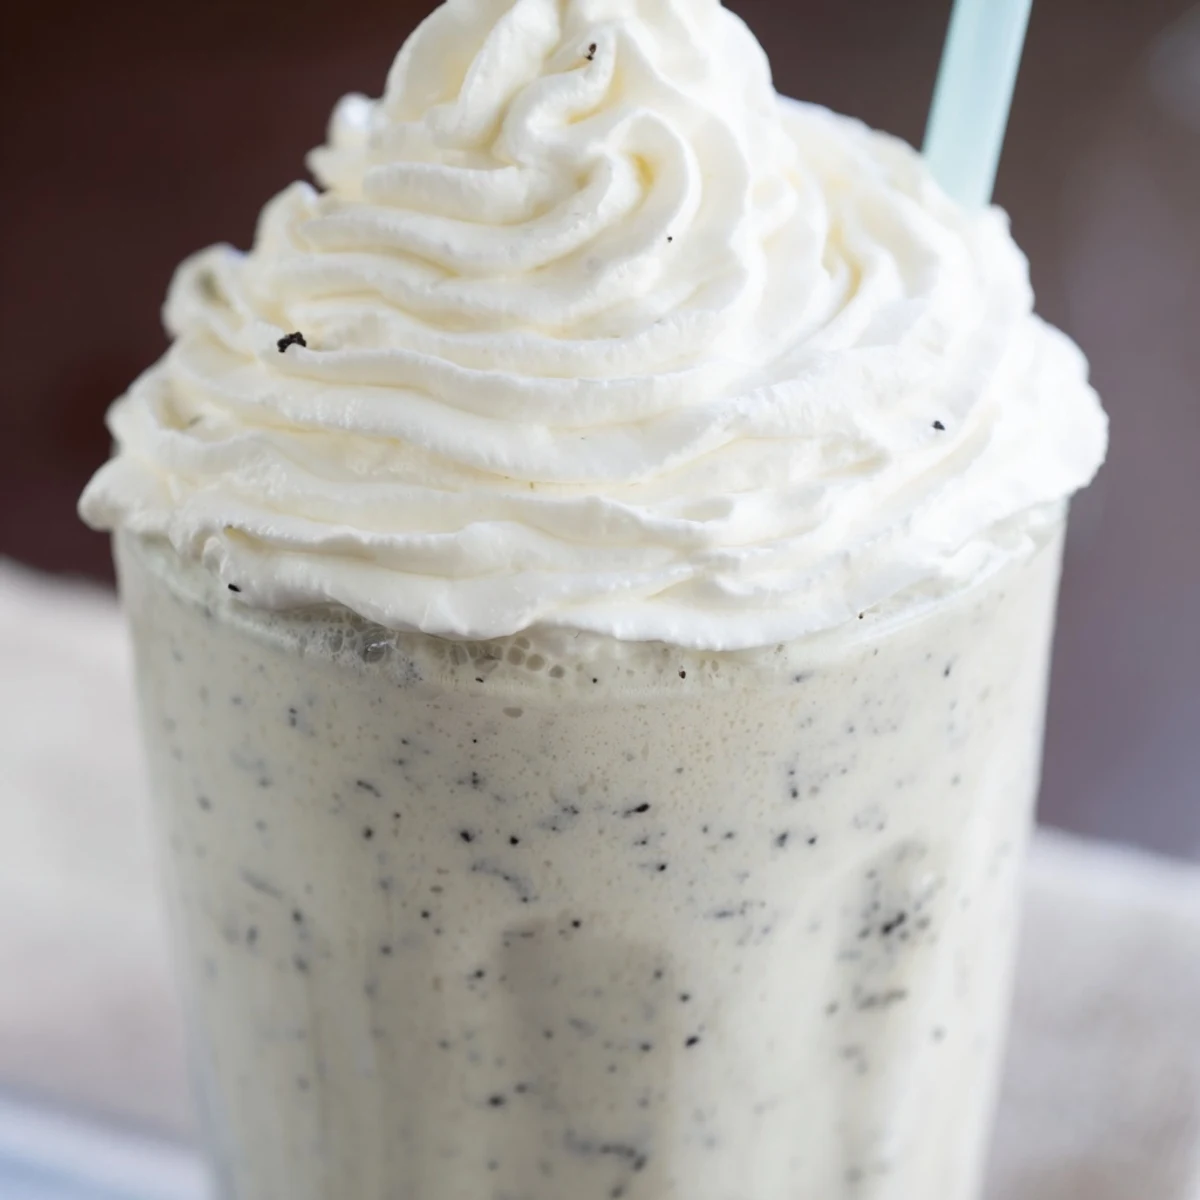
Tall glasses show off the gorgeous vanilla specks and layered texture best, letting everyone see exactly what they're about to enjoy. I keep a stash of colorful paper straws for guests, which somehow makes the whole experience feel more festive.
- Chill your glasses in the freezer for 10 minutes beforehand
- Sprinkle a pinch of vanilla bean seeds on top of the whipped cream
- Store any leftover vanilla bean pod in sugar for future baking projects
 Save to Pinterest
 Sometimes the simplest recipes bring the most joy, proving you don't need fancy techniques or hours of work to create something worth savoring slowly.
Recipe FAQs
- → Can I make this dairy-free?
-
Yes, simply substitute whole milk and vanilla ice cream with your favorite plant-based alternatives. Almond milk, oat milk, or coconut milk work wonderfully, along with dairy-free ice cream options.
- → How long does this stay fresh?
-
For the best texture and flavor, enjoy immediately after blending. The ice begins to melt and the mixture separates over time. If storing, keep in the freezer for up to 2 hours and re-blend before serving.
- → Can I use vanilla extract instead of vanilla bean?
-
Absolutely. Use 2 teaspoons of pure vanilla extract in place of one vanilla bean. While vanilla bean provides those signature specks and slightly more complex flavor, extract delivers excellent results.
- → How can I make it thicker?
-
Add more ice cubes or reduce the milk slightly. You can also freeze some of the milk in ice cube trays beforehand and use those instead of regular ice for a creamier texture that doesn't water down the flavor.
- → Can I add coffee to make it caffeinated?
-
Certainly. Add 1/2 cup of cooled strong brewed coffee or espresso to the blender with the other ingredients. This creates a classic coffee frappuccino variation while maintaining the vanilla base.
- → What other toppings work well?
-
Beyond whipped cream, try a drizzle of caramel or chocolate sauce, a sprinkle of vanilla bean powder, crushed vanilla wafers, or even a scoop of additional ice cream on top for an extra decadent presentation.
