 Save to Pinterest
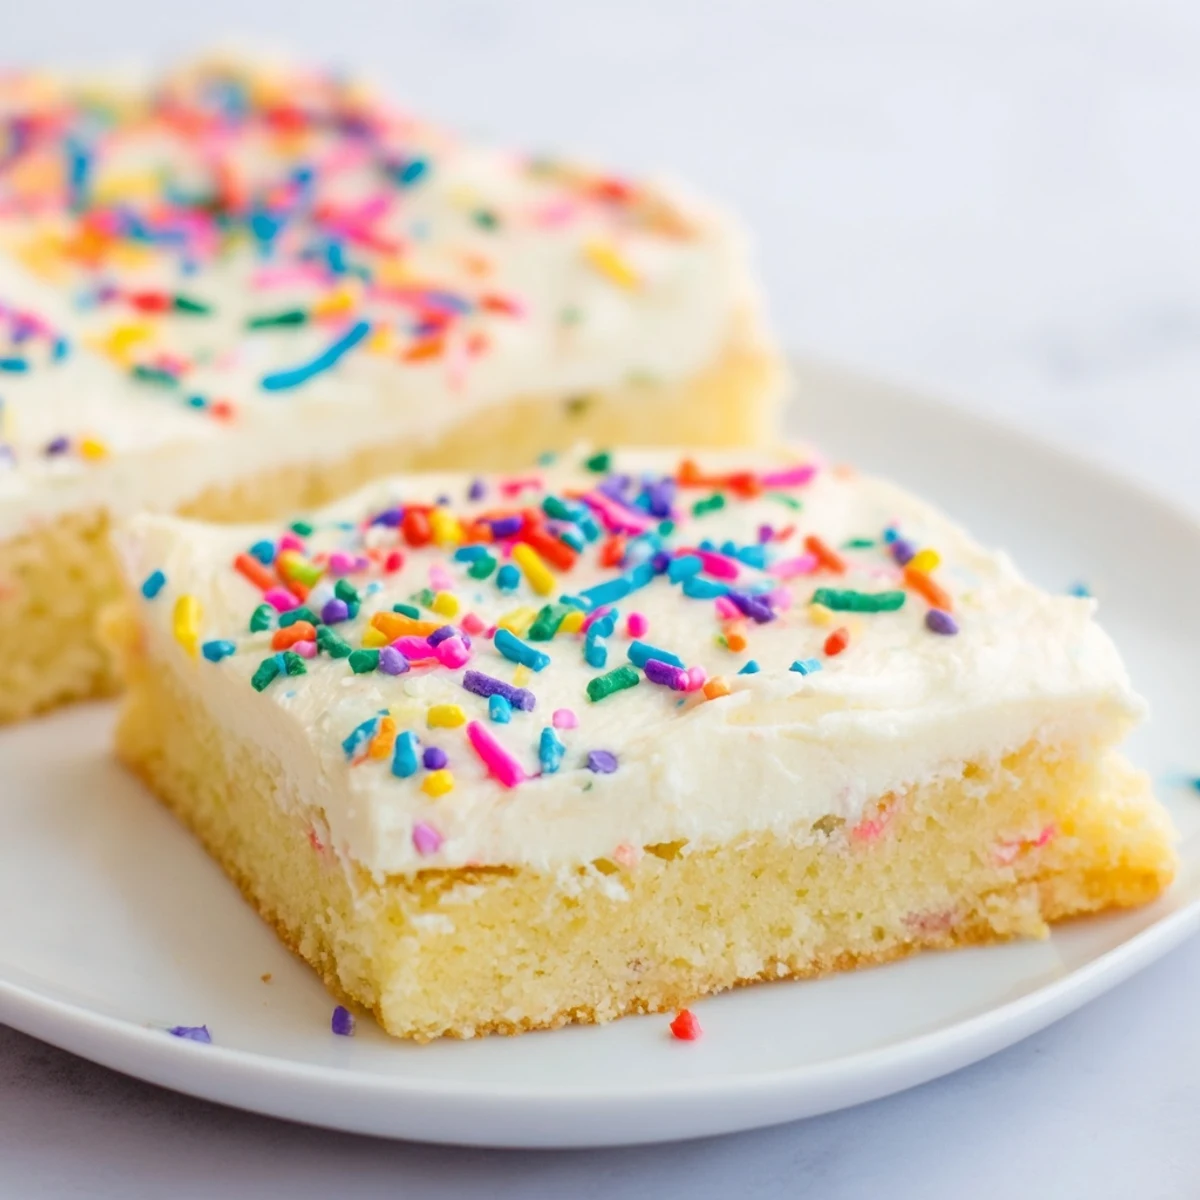
 These frosted sugar cookie bars combine soft, buttery cookie bases with creamy vanilla frosting for a crowd-pleasing dessert. The bars are tender and moist, thanks to the perfect ratio of butter and milk in the dough. After baking to golden perfection and cooling completely, they're topped with a light and fluffy buttercream frosting that can be customized with food coloring and sprinkles for any occasion.
My kitchen counter looked like a confetti factory exploded the afternoon my niece helped me make these frosted sugar cookie bars for her birthday. She was six, wearing an apron three sizes too big, and absolutely determined that the frosting should be neon pink with rainbow sprinkles on top. We laughed so hard at the mess that I barely noticed the flour dust settling in my hair. Those bars vanished in minutes, and now no celebration in our house feels complete without them.
I brought a pan of these to a neighborhood block party last summer and three people asked for the recipe before the sun went down. One neighbor, a retired baker, pulled me aside and told me the texture reminded him of the cookie bars his mother used to sell at her small town bakery in the fifties. That single compliment meant more to me than any culinary award ever could.
Ingredients
Cookie Bars
- 2 1/4 cups (280 g) all-purpose flour: The backbone of the cookie base, providing structure without making it tough.
- 1/2 teaspoon baking powder: Just enough lift to keep the bars soft and slightly puffy.
- 1/2 teaspoon salt: Balances the sweetness and enhances the butter flavor beautifully.
- 3/4 cup (170 g) unsalted butter, softened: Use real butter here, it makes all the difference in richness and spread.
- 1 cup (200 g) granulated sugar: Creates that classic sugar cookie sweetness and helps achieve a tender crumb.
- 1 large egg: Binds everything together and adds moisture to the dough.
- 1 large egg yolk: The extra yolk is my secret for an ultra chewy, rich texture.
- 2 teaspoons pure vanilla extract: Please use pure, not imitation, the flavor is unmistakably better.
- 1/4 cup (60 ml) whole milk: Loosens the dough just enough to make it spreadable in the pan.
Frosting
- 1/2 cup (115 g) unsalted butter, softened: The foundation of a silky, spreadable frosting that sets up perfectly.
- 2 cups (240 g) powdered sugar, sifted: Sifting is nonnegotiable if you want a smooth finish free of lumps.
- 2 tablespoons whole milk: Adjust slightly for your preferred frosting consistency.
- 1 teaspoon pure vanilla extract: Rounds out the sweetness with warm, fragrant depth.
- Food coloring (optional): Gel colors work best because they wont thin out your frosting.
- Sprinkles (optional): Because everything is better with sprinkles, and I will not argue about this.
Instructions
- Prep your pan and oven:
- Heat your oven to 350 degrees F and line a 9 by 13 inch baking pan with parchment paper, leaving the edges hanging over the sides like handles. This little trick saves you so much grief when it is time to lift the bars out later.
- Whisk the dry ingredients:
- In a medium bowl, whisk the flour, baking powder, and salt together until evenly blended. Set this bowl aside and resist the urge to skip this step, because pockets of baking powder are not a pleasant surprise.
- Cream butter and sugar:
- In a large bowl, beat the softened butter and sugar together with an electric mixer until the mixture looks pale, light, and fluffy, about two to three minutes. You are looking for a texture that almost resembles whipped cream before it gets firm.
- Add the eggs and vanilla:
- Drop in the whole egg, the extra yolk, and the vanilla extract, then beat until everything is fully combined and the mixture looks glossy. Scrape down the bowl once or twice so nothing hides at the bottom.
- Combine wet and dry:
- On low speed, add the flour mixture and the milk in alternating additions, starting and ending with the flour. Stop mixing the moment everything comes together, because overmixing is the fastest path to tough, dense bars.
- Spread the dough:
- Transfer the thick dough into your prepared pan and use an offset spatula to spread it into an even layer. Take your time here, because an uneven base means some corners will be overbaked while the center is still raw.
- Bake until just right:
- Bake for 18 to 22 minutes, checking at the 18 minute mark for lightly golden edges and a toothpick that comes out with a few moist crumbs. These bars should stay pale and soft in the center, so please do not wait for them to brown all over.
- Cool completely:
- Let the bars cool entirely in the pan on a wire rack before you even think about frosting. Warm bars will melt the frosting into a puddle, and all your beautiful work will slide right off.
- Make the frosting:
- Beat the softened butter until creamy, then gradually add the sifted powdered sugar, milk, and vanilla, beating until the frosting is light and fluffy. Add food coloring now if you are using it, mixing until the color is uniform and streak free.
- Frost, cut, and serve:
- Spread the frosting in an even layer over the completely cooled bars, scatter sprinkles on top if you like, and use the parchment overhang to lift the whole slab out of the pan. Cut into sixteen squares with a sharp knife and watch them disappear.
 Save to Pinterest
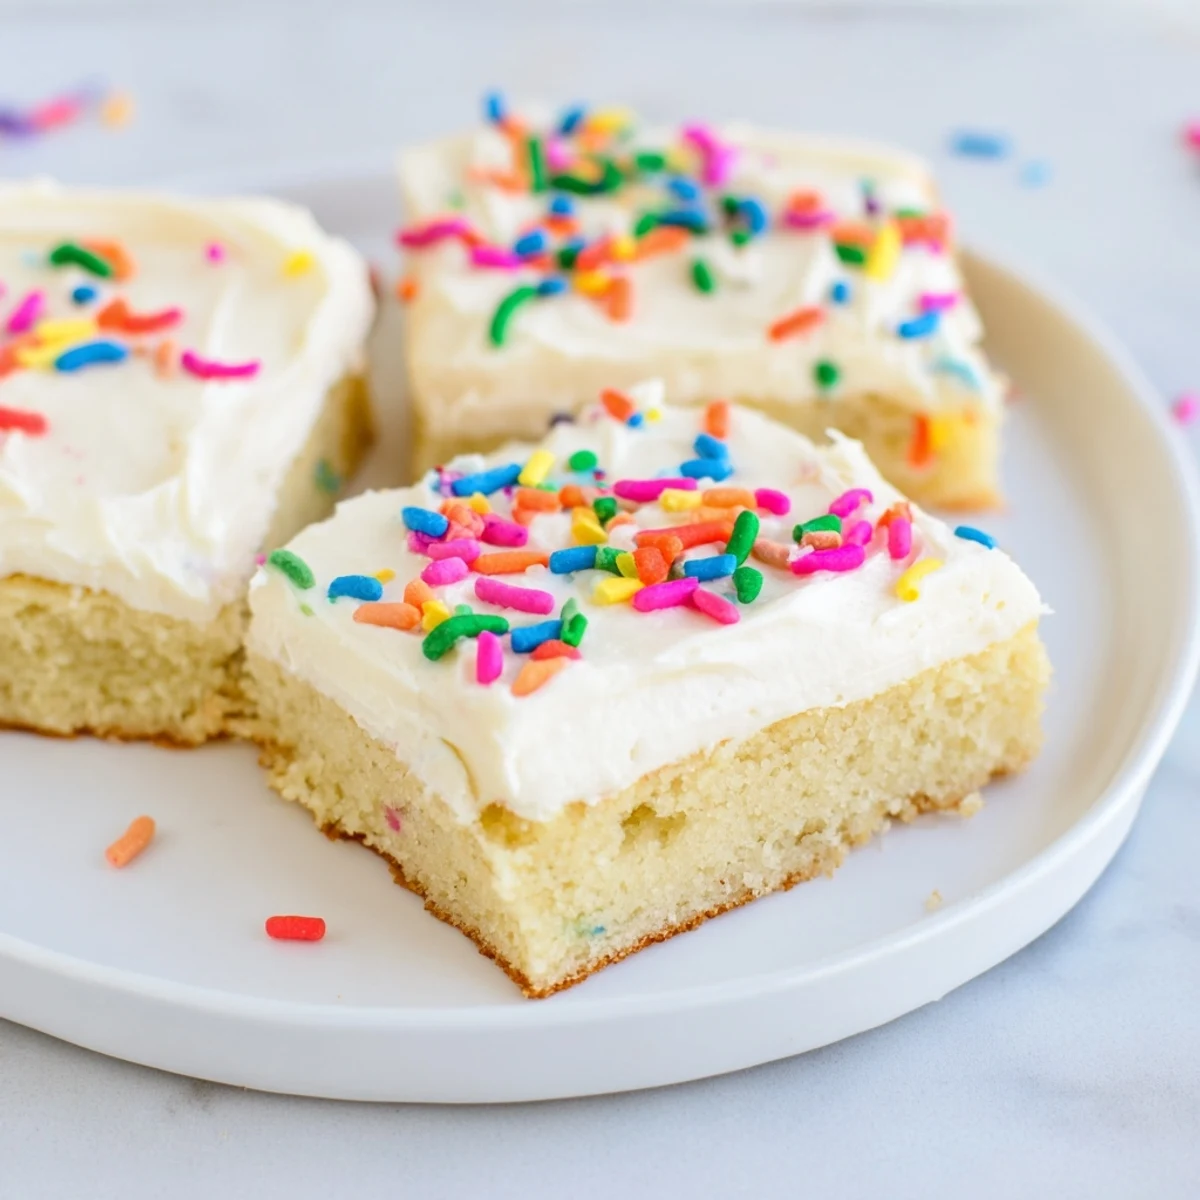
 There is something deeply satisfying about pulling an entire pan of cookie bars from the oven instead of standing at the counter portioning dough for individual cookies. It feels efficient but also a little rebellious, like you have discovered a shortcut that nobody else knows about.
Making It Your Own
Change the personality of these bars entirely by swapping the vanilla extract in the frosting for almond, lemon, or even coconut extract. A teaspoon of lemon zest folded into the cookie dough brightens the whole pan and makes people guess what your secret ingredient is.
Storing and Transporting
These bars keep beautifully in an airtight container at room temperature for up to three days, and the frosting actually firms up nicely so they stack well with a sheet of parchment between layers. For longer storage, freeze them unfrosted for up to two months, then thaw and add fresh frosting when you are ready to serve.
Getting the Perfect Cut
A clean, sharp knife dipped in hot water and wiped dry between cuts gives you those bakery style squares with perfectly neat edges. It is a small extra step that makes a big difference, especially if you are serving these at a party or gifting them to someone.
- Chill the frosted bars for twenty minutes before cutting to firm up the topping.
- Use a serrated knife if your frosting is thick, it cuts through more cleanly.
- Wipe the blade after every single cut for the tidiest results.
 Save to Pinterest
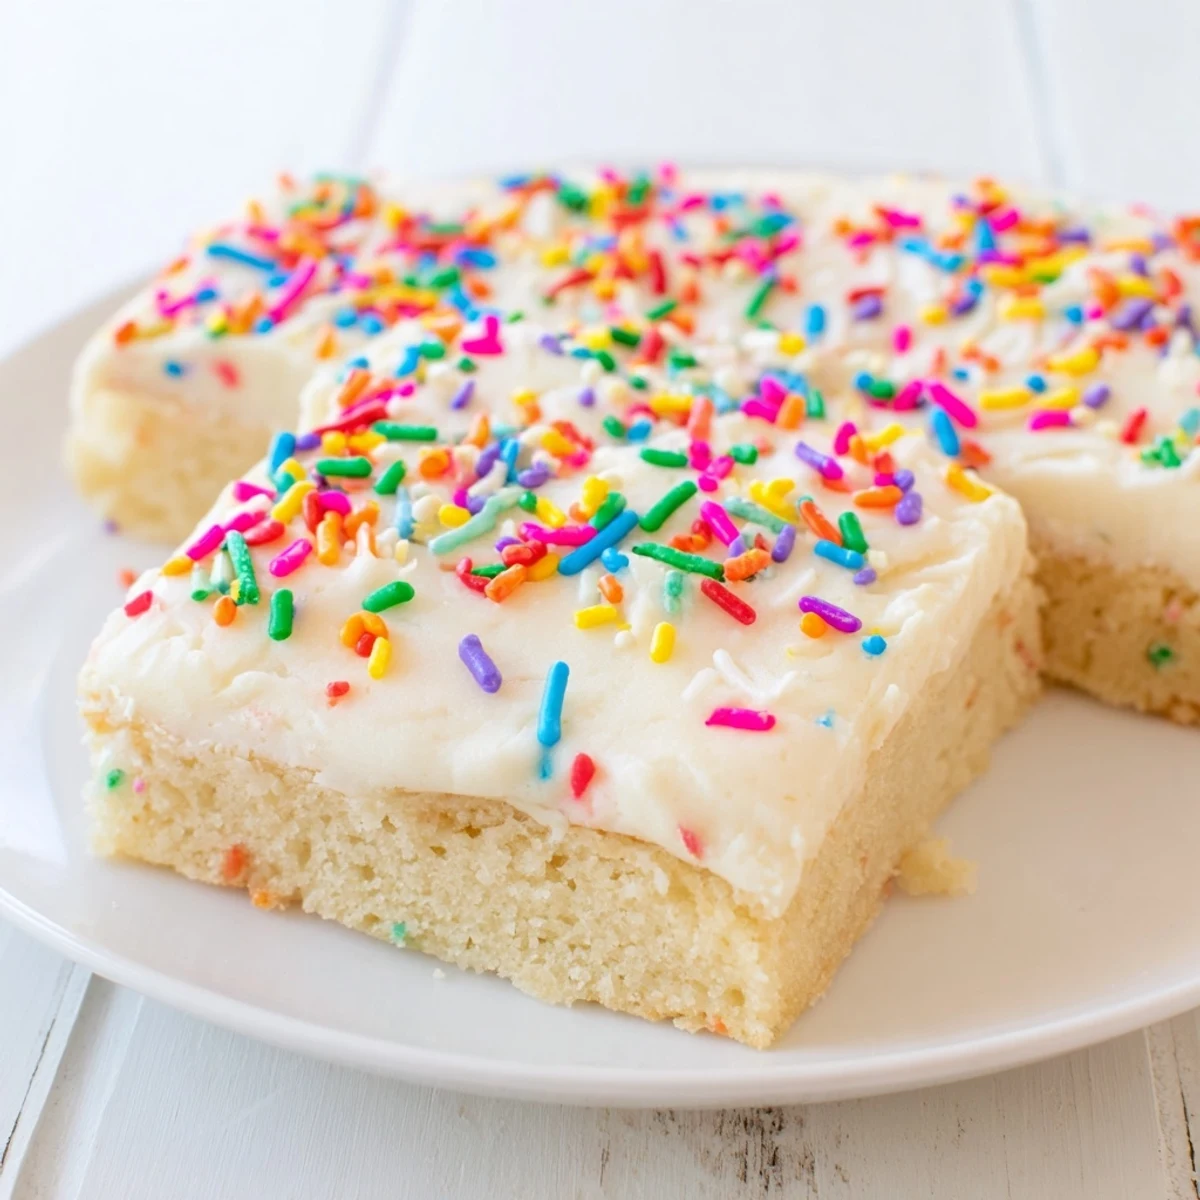
 Every time I make these frosted sugar cookie bars, I think about that flour covered afternoon with my niece and the grin on her face when she saw that neon pink slab of happiness. Some recipes are just sugar and butter, and some recipes become the backdrop for the moments you never want to forget.
Recipe FAQs
- → How do I store frosted sugar cookie bars?
-
Store the bars in an airtight container at room temperature for up to 3 days. If you need to keep them longer, refrigerate for up to a week, though they're best enjoyed at room temperature for the softest texture.
- → Can I make these bars ahead of time?
-
Yes, you can bake the cookie base up to 2 days in advance. Wrap the cooled unfrosted bars tightly in plastic wrap and store at room temperature. Frost and add sprinkles the day you plan to serve them for the freshest appearance.
- → Why are my cookie bars hard or dry?
-
Overbaking is the most common cause of dry bars. Remove them from the oven when a toothpick comes out with moist crumbs rather than completely clean. The bars continue cooking slightly as they cool in the pan.
- → Can I freeze frosted sugar cookie bars?
-
Yes, freeze unfrosted bars wrapped tightly in plastic and foil for up to 3 months. Thaw at room temperature before frosting. For best results, add frosting after thawing rather than freezing already-frosted bars.
- → How do I get evenly cut bars?
-
Use the parchment paper overhang to lift the entire cooled slab onto a cutting board. For clean cuts, wipe your knife clean between each slice. A bench scraper also works well for creating uniform squares.
- → Can I make these dairy-free?
-
Yes, substitute the butter with plant-based butter sticks and use your favorite non-dairy milk. The texture and flavor remain excellent, making these bars suitable for dairy-free guests at your gatherings.
