 Save to Pinterest
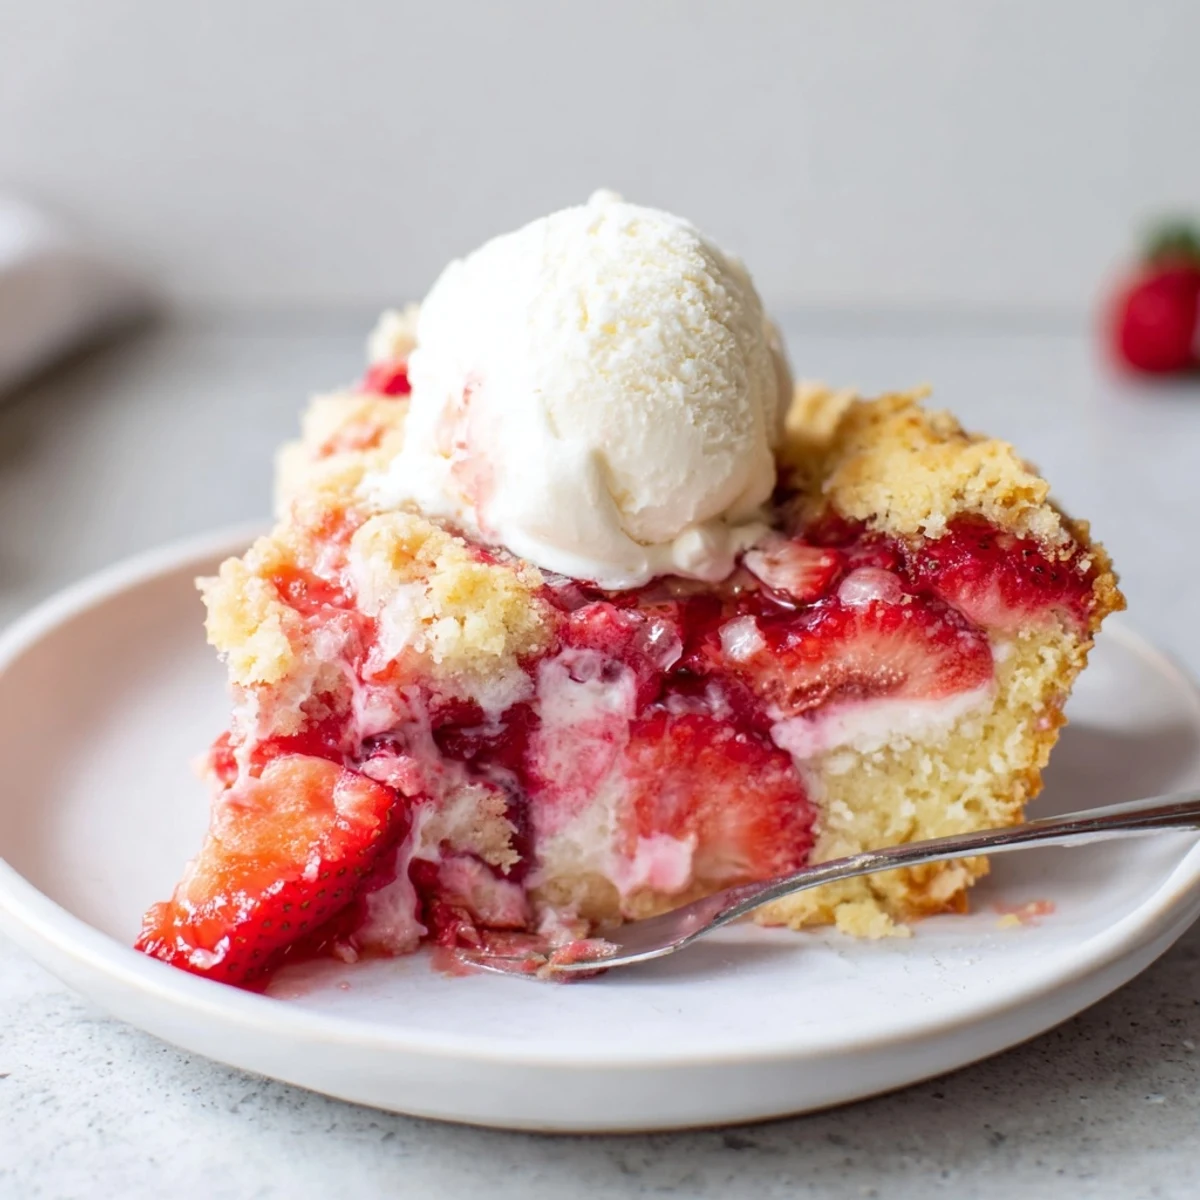
 This no-fuss, layered bake starts with fresh or canned strawberries, spoonfuls of a sweetened cream cheese mixture, and a blanket of dry cake mix finished with melted butter. Bake at 175°C/350°F for 40–45 minutes until golden and bubbling, then cool 20 minutes. Serve warm or at room temperature with ice cream or whipped cream; swap berries or use gluten-free mix as needed.
The oven door had barely clicked shut when my sister walked in and asked what smelled like a strawberry fairy tale had collided with a cheesecake factory. That was the first time I made this dump cake, and honestly, I was skeptical that dumping layers into a dish without stirring could produce anything worth bragging about. The golden, bubbling result proved me gloriously wrong.
I brought this to a potluck last summer and watched three people go back for seconds before I even got a slice. My friend Maria pulled me aside and whispered that it was better than her grandmothers cobbler, which I consider the highest compliment a dessert can receive.
Ingredients
- 2 cups fresh or frozen sliced strawberries: Fresh berries give a brighter flavor but frozen work beautifully, just do not thaw them first.
- 1 can strawberry pie filling: This is the shortcut that makes the whole dessert come together with guaranteed sweetness and a silky texture.
- 225 g cream cheese, softened: Leave it on the counter for an hour so it blends smoothly without lumps ruining the creamy pockets.
- 1/2 cup granulated sugar: This sweetens the cheesecake layer just enough to complement the berries without overpowering them.
- 1 teaspoon vanilla extract: A good quality vanilla makes the cream cheese taste richer and more like actual cheesecake.
- 1 box yellow or white cake mix: Use it straight from the box, dry, and do not follow the package instructions at all.
- 1/2 cup unsalted butter, melted: Pour this slowly and evenly so every bit of cake mix gets a chance to turn golden and crispy.
Instructions
- Preheat and prepare your dish:
- Set your oven to 175 degrees Celsius and grease a 9 by 13 inch baking dish with butter or nonstick spray so nothing sticks later.
- Build the strawberry base:
- Scatter your sliced strawberries across the bottom of the dish in an even layer, then spoon the pie filling over them and spread it gently to cover every corner.
- Whip up the cheesecake layer:
- Beat the softened cream cheese, sugar, and vanilla together until completely smooth and lump free, then drop generous spoonfuls all over the strawberry surface.
- Add the dry cake mix:
- Sprinkle the entire box of dry cake mix evenly across the top and resist every urge to stir or mix because the magic depends on keeping these layers separate.
- Pour on the butter:
- Drizzle the melted butter slowly over the cake mix, aiming for the widest coverage you can manage so the top bakes into a beautiful golden crust.
- Bake until golden and bubbly:
- Slide it into the oven for 40 to 45 minutes until the top is deeply golden and you can see the cheesecake bubbling up around the edges.
- Cool before serving:
- Let it rest for at least 20 minutes so the layers settle into something you can actually scoop and serve without it turning into a soupy mess.
 Save to Pinterest
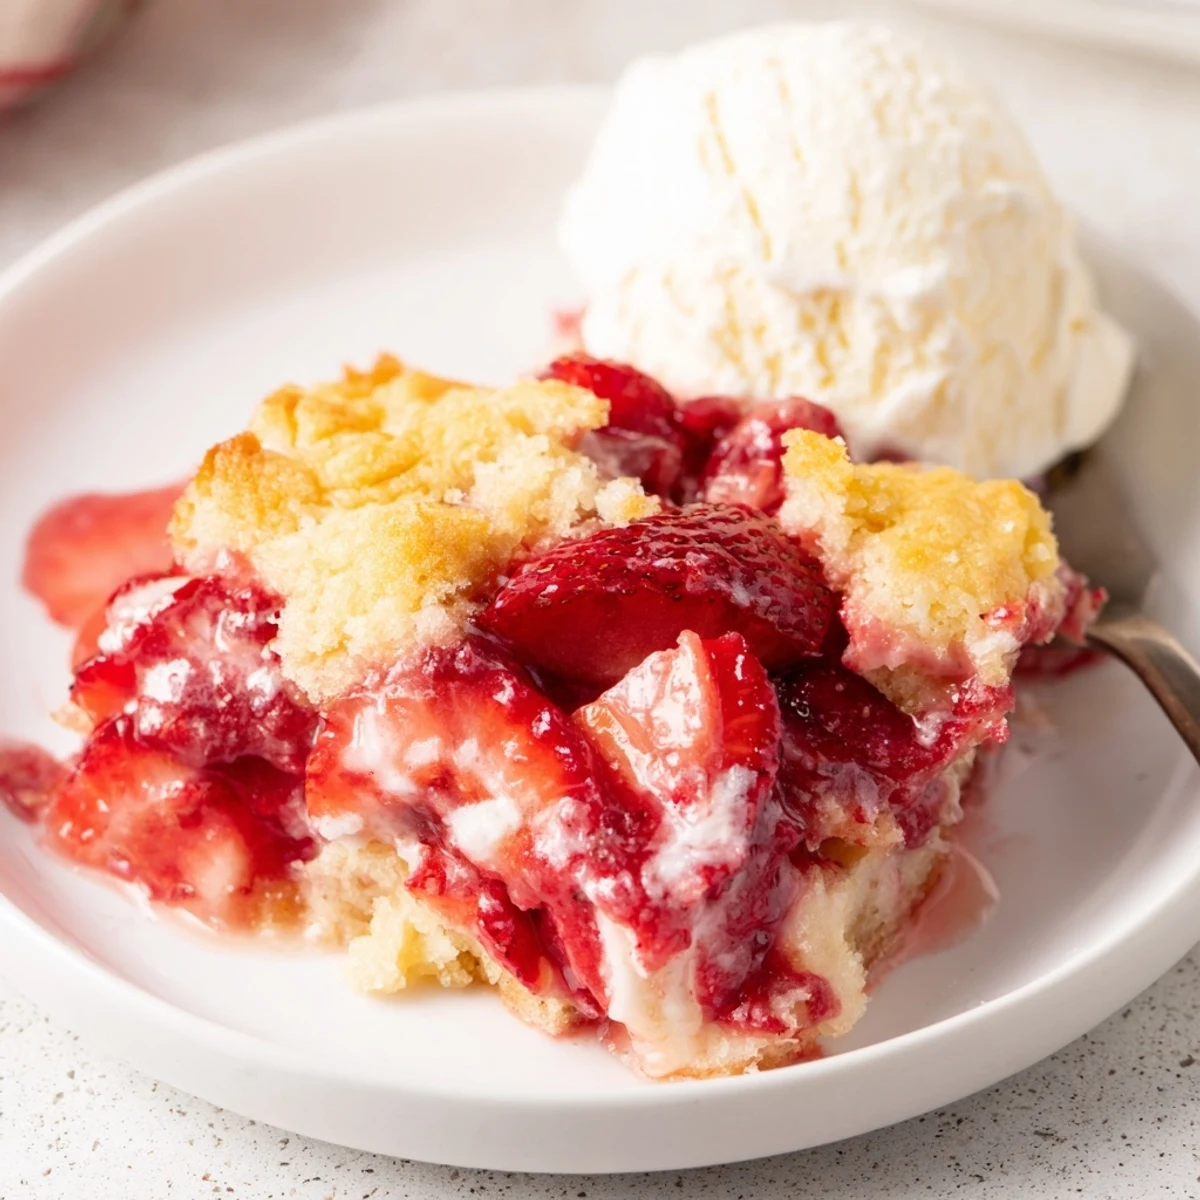
 Serving this warm with a scoop of vanilla ice cream on a rainy Tuesday turned an ordinary weeknight into something my family still talks about.
Serving Suggestions That Elevate It
A dollop of fresh whipped cream on top adds a cool contrast to the warm, gooey layers underneath. Fresh mint leaves scattered over each serving make it look bakery worthy with almost no extra effort.
Swapping Flavors Keeps It Interesting
Raspberry pie filling creates a tangier version that tastes incredible with a dark chocolate shavings on top. Cherry filling turns the whole thing into something reminiscent of a Black Forest cake, and blueberry makes it taste like a summer morning.
Making It Work For Everyone
Gluten free cake mix swaps in perfectly and nobody will notice the difference. For a lighter version, reduced fat cream cheese works fine, though the texture will be slightly less rich.
- Always double check your cake mix label for allergens since brands vary widely in their ingredients and cross contamination warnings.
- If you want to make it ahead, assemble everything and refrigerate unbaked for up to 24 hours before popping it in the oven.
- Leftovers store well covered in the fridge for up to three days and taste amazing cold for breakfast, not that I would know.
 Save to Pinterest
 This is the kind of dessert that reminds you cooking does not have to be complicated to be memorable. Share it with someone you love, or keep the whole pan for yourself.
Recipe FAQs
- → Can I use frozen strawberries?
-
Yes. Spread frozen sliced strawberries straight into the dish—no need to thaw. They’ll release juices while baking; use the canned filling sparingly if you prefer less liquid.
- → How do I know when it's done?
-
The top should be golden and the cheesecake mixture will bubble at the edges. A skewer into the cake layer won't be entirely clean because of the filling, so rely on color and bubbling for doneness.
- → Any tips for even topping coverage?
-
Drop spoonfuls of the cheesecake mixture evenly, sprinkle the dry cake mix to cover gaps, then slowly drizzle melted butter in a grid so the surface gets moistened uniformly.
- → Can I make substitutions for dietary needs?
-
Use a gluten-free cake mix if needed and choose dairy-free cream cheese and margarine to reduce dairy. Check cake mix labels for egg content if avoiding eggs.
- → Can I prepare it ahead of time?
-
Assemble in the baking dish and refrigerate for a few hours before baking. If chilled, add a few extra minutes to the bake time so the center reaches a bubbling state.
- → What serving suggestions work best?
-
Serve warm or at room temperature with vanilla ice cream or a dollop of whipped cream. Swap strawberry filling for raspberry, cherry, or blueberry for variety.
