 Save to Pinterest
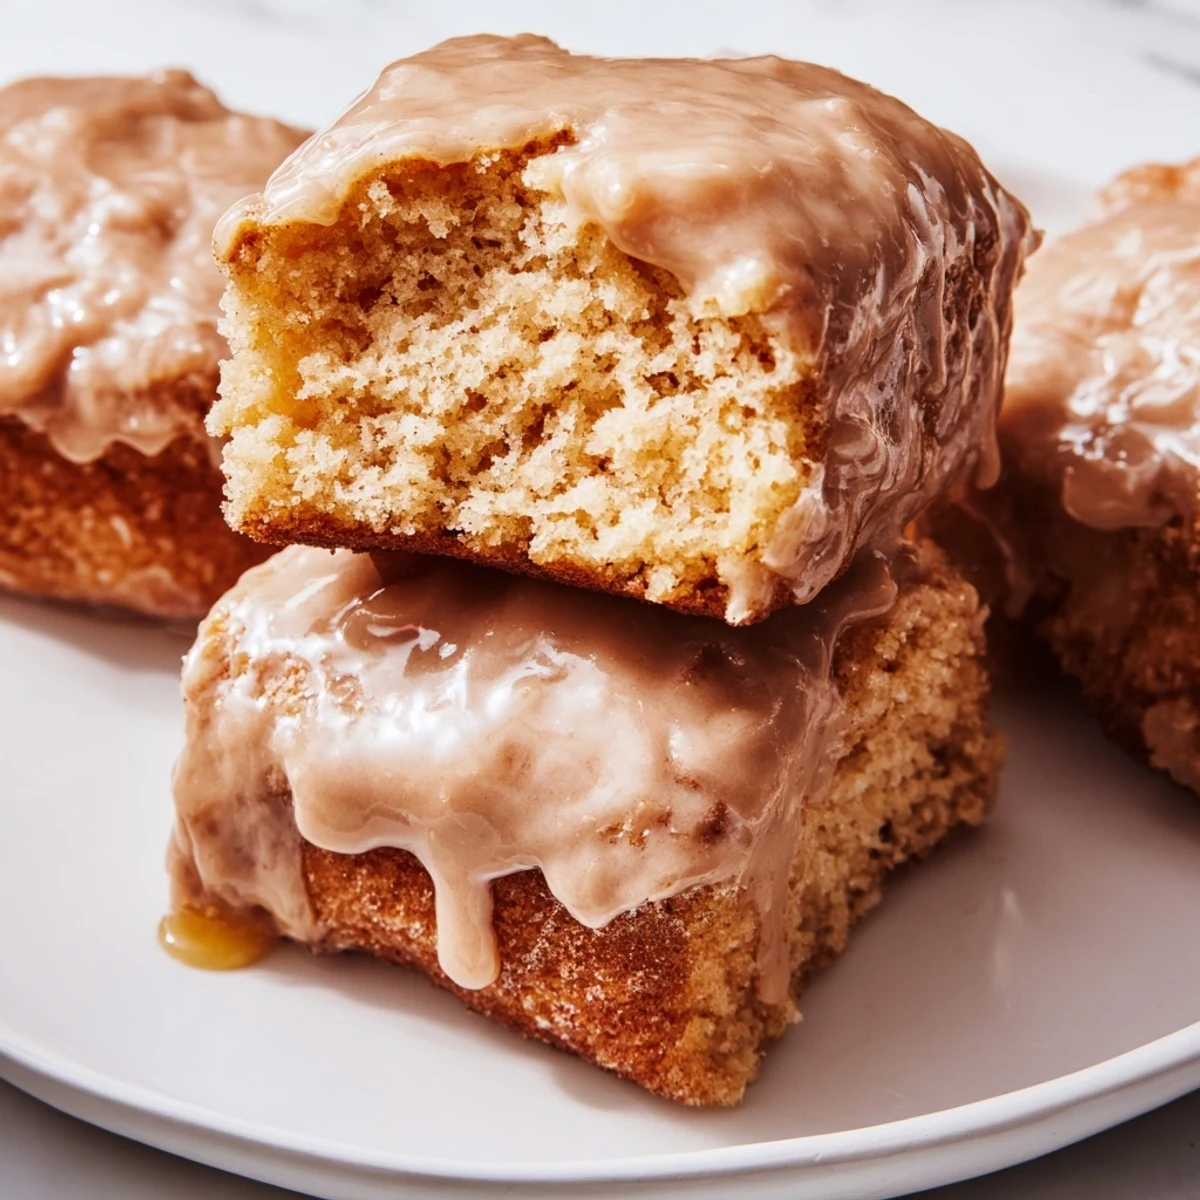
 These maple donut bars offer bakery-style treats combining classic donut flavors with rich maple sweetness. The soft, pillowy texture comes from yeast dough that rises beautifully, while the maple glaze adds irresistible sweetness. Perfect for breakfast or as an indulgent afternoon snack, these treats are best enjoyed fresh but can be stored for up to two days.
The smell of warm maple syrup hitting hot dough still stops me in my tracks. I first attempted these during a snowy weekend when cabin fever hit hard, and my kitchen became an experimental donut factory. Three failed batches later, I finally understood why yeast needs patience and why 350 degrees matters more than you think it does. Now these bars are my go-to when I want something that feels like a hug.
I brought these to a brunch last spring and watched my friend Sarah close her eyes after the first bite. She made me promise to text her the recipe before she even finished chewing. Thats the thing about these bars, they create these small moments where everyone goes quiet and just focuses on what they are eating.
Ingredients
- All purpose flour: The structure builder here. Dont pack it down when measuring or your dough will be too dense.
- Active dry yeast: Make sure your milk is warm but not hot. Hot liquid kills yeast and theres nothing sadder than dough that refuses to rise.
- Whole milk: The fat content matters for tenderness. I tried this with skim once and the texture was noticeably less luxurious.
- Unsalted butter: Melt it and let it cool slightly so it doesnt scramble your eggs when you mix everything together.
- Pure maple syrup: This is where you should not skimp. The real stuff has this complexity that makes the glaze sing.
- Powdered sugar: Sift it or deal with tiny lumps in your glaze. I learned this the messy way.
Instructions
- Wake up the yeast:
- Combine your warm milk, water, and yeast in a large bowl. Give it a gentle stir and walk away for 5 minutes. You should see bubbles and foam forming on top. This is how you know your yeast is alive and ready to work.
- Mix the base:
- Add the sugar, melted butter, eggs, and salt to your yeast mixture. Mix until everything is incorporated. The mixture should look smooth and slightly glossy.
- Build the dough:
- Gradually add flour, about a cup at a time. Once it starts to come together, knead for 5 to 7 minutes. The dough should feel smooth and slightly tacky but not sticking to your hands.
- First rise:
- Place dough in a greased bowl, cover with plastic wrap or a warm towel, and find the coziest spot in your kitchen. Let it rise for 1 to 1.5 hours until its doubled in size. This is non negotiable.
- Shape the bars:
- Punch down the dough gently and roll it out to a half inch thickness. Cut into rectangles about 4 by 1.5 inches. Place them on parchment lined baking sheets, cover, and let rise for 30 to 40 minutes until puffy.
- Heat your oil:
- Pour 2 inches of vegetable oil into a heavy bottomed pot or Dutch oven. Bring it to 350 degrees. If you dont have a thermometer, drop in a tiny piece of dough. It should sizzle and bubble immediately but not burn.
- Fry to golden:
- Carefully lower 2 or 3 bars into the hot oil. Fry for 1 to 2 minutes per side until golden brown. Transfer to a wire rack with paper towels underneath.
- Make the glaze:
- Whisk powdered sugar, maple syrup, milk, vanilla, and a pinch of salt until completely smooth. It should pour easily but still coat a spoon.
- Glaze and set:
- Dip the top of each slightly warm bar into the glaze. Let the excess drip off, then place back on the wire rack. Let the glaze set for about 15 minutes.
 Save to Pinterest
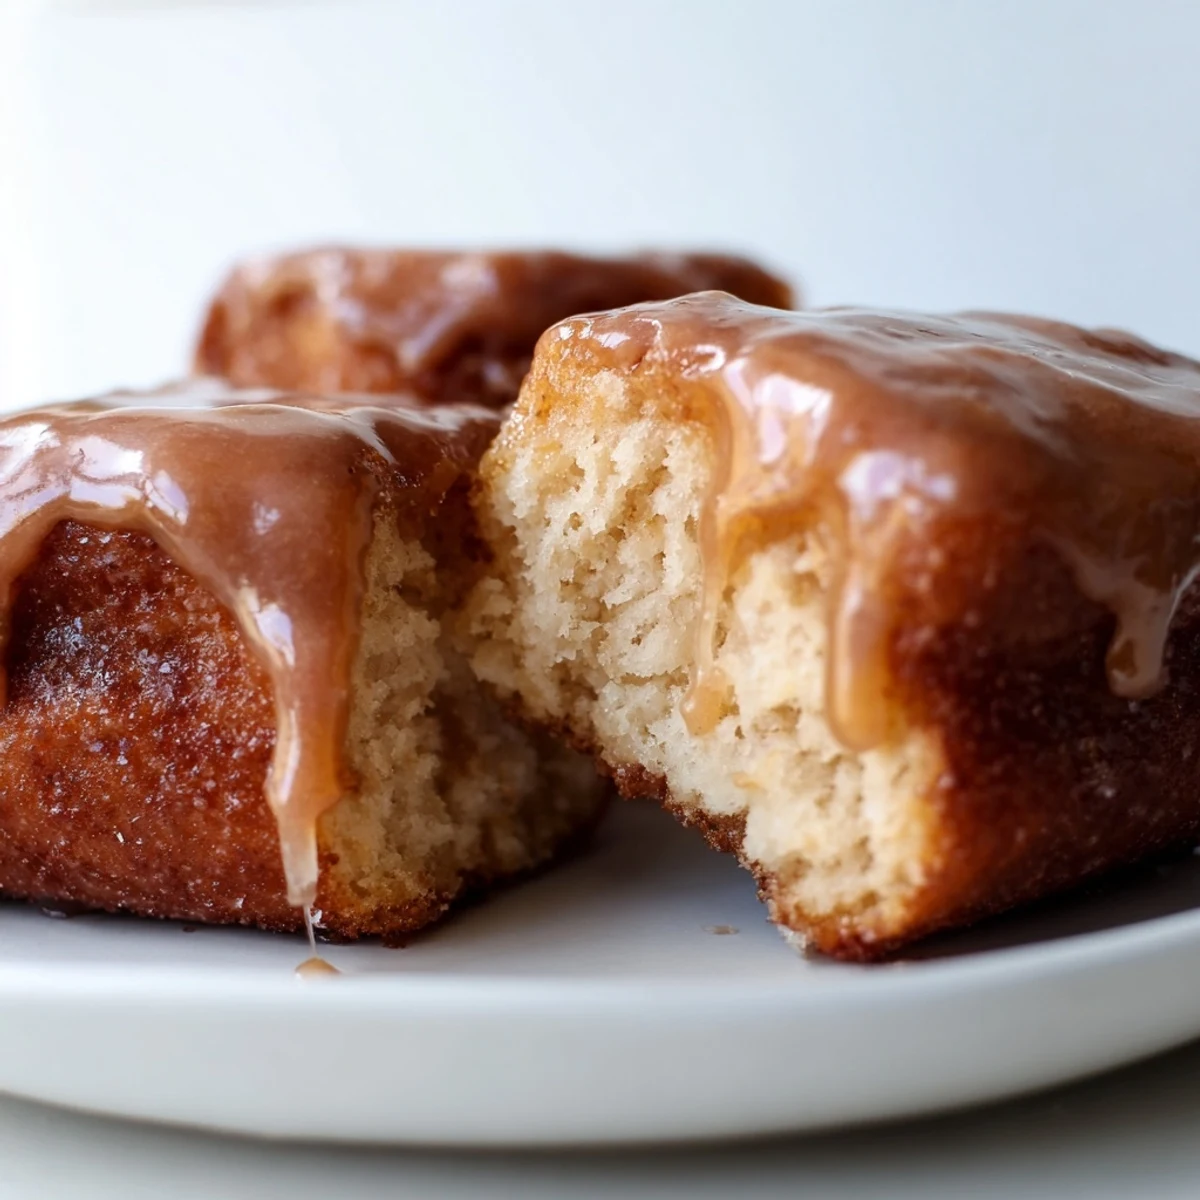
 Last autumn my neighbor texted at 9 am asking what smelled so incredible. I brought over a warm box of these and we stood on her porch eating them with coffee while the leaves fell. She said they tasted like Sunday mornings used to taste when we were kids.
Frying Temperature Secrets
I cannot stress enough how much a kitchen thermometer will save you here. The oil needs to stay consistently around 350 degrees. Every time you drop in dough, the temperature drops. Give it a moment to recover between batches. Your patience will be rewarded with evenly golden, perfectly cooked bars that arent greasy in the slightest.
Making Them Ahead
You can actually cut and shape the bars, then refrigerate them overnight before the second rise. Let them come to room temperature and puff up for about an hour before frying. I started doing this for brunch gatherings and it changed my morning game completely. Just fry and glaze fresh right before serving.
Getting That Perfect Glaze
The glaze consistency is the difference between bakery beautiful and a messy kitchen disaster. It should flow like warm honey. Too thick and it looks gloppy. Too thin and it drips everywhere. Add milk one tablespoon at a time until you reach that pourable but substantial sweet spot.
- Glaze these within 30 minutes of frying for the best adherence
- If glaze starts to thicken up, warm it for 10 seconds in the microwave
- Add sprinkles immediately after glazing if you want them to stick
 Save to Pinterest
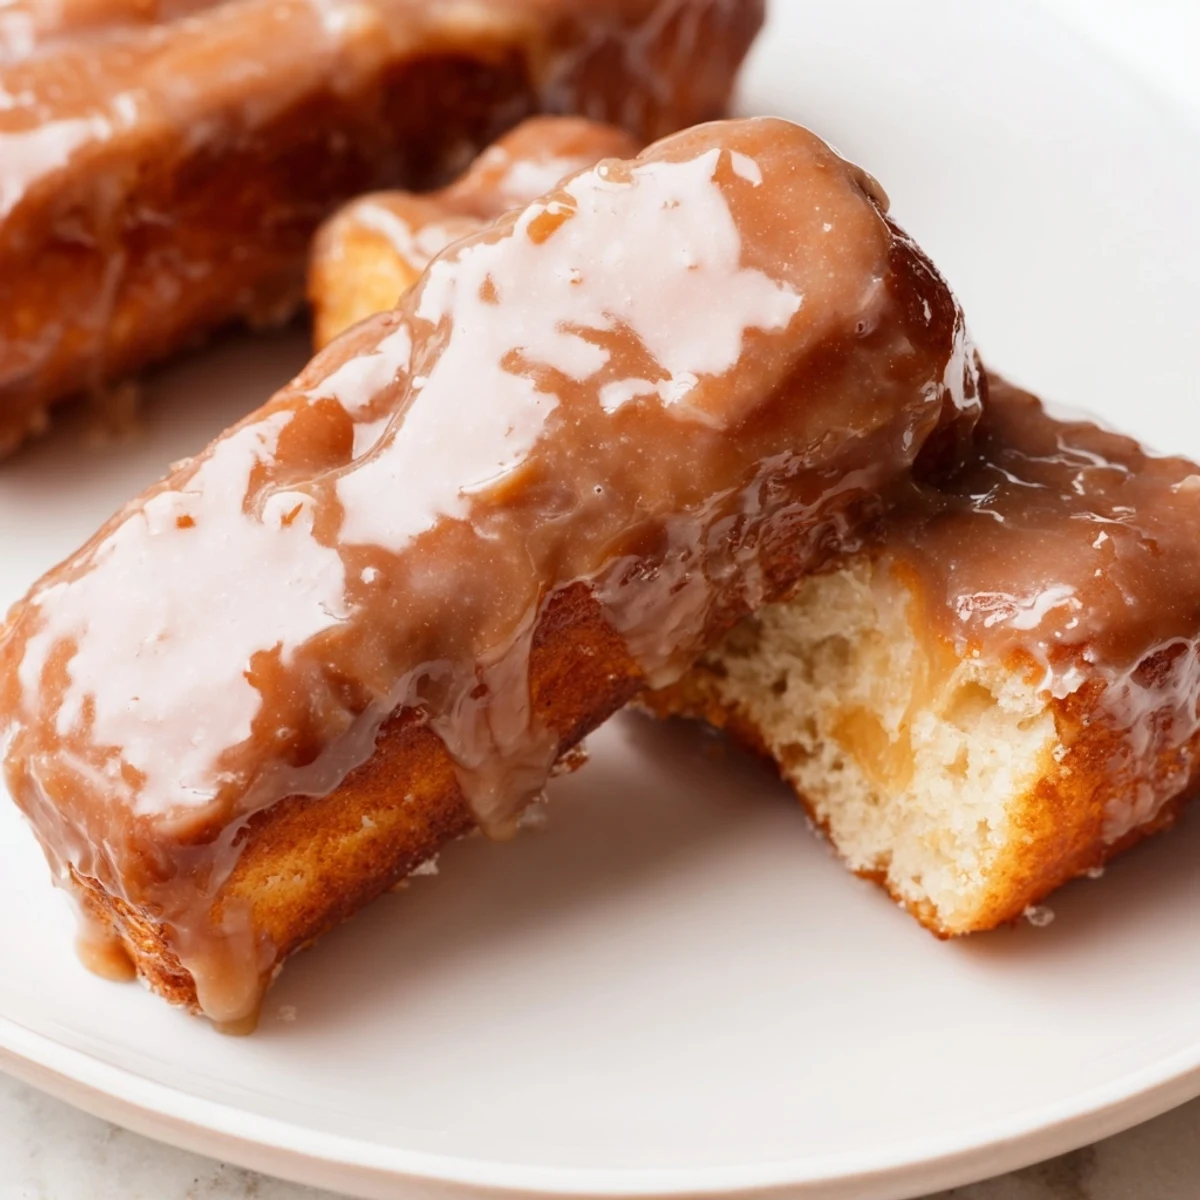
 Theres something so satisfying about making something that looks and tastes like it came from a professional bakery. These maple donut bars have that power to make people feel special and cared for, which is really what sharing food is all about.
Recipe FAQs
- → Can I bake these instead of frying?
-
Yes, you can bake the bars at 375°F (190°C) for 12-15 minutes until golden, then apply the maple glaze. This creates a slightly different texture but maintains the delicious maple flavor.
- → How do I achieve the best rise in the dough?
-
Make sure your milk and water are warm (not hot) when activating the yeast. Let the dough rise in a warm, draft-free area until doubled in size, which typically takes 1-1.5 hours.
- → What's the best way to cut the bars?
-
Use a sharp knife or dough cutter to cut the rolled-out dough into 4x1.5-inch bars. A sharp tool prevents the dough from compressing and ensures clean edges.
- → Can I make the glaze thicker?
-
For a thicker glaze, reduce the milk by 1-2 tablespoons. You can also add a bit more powdered sugar if needed, but be careful not to make it too sweet.
- → How should I store leftover bars?
-
Store bars in an airtight container at room temperature for up to 2 days. The glaze may soften slightly but the bars will remain delicious.
