 Save to Pinterest
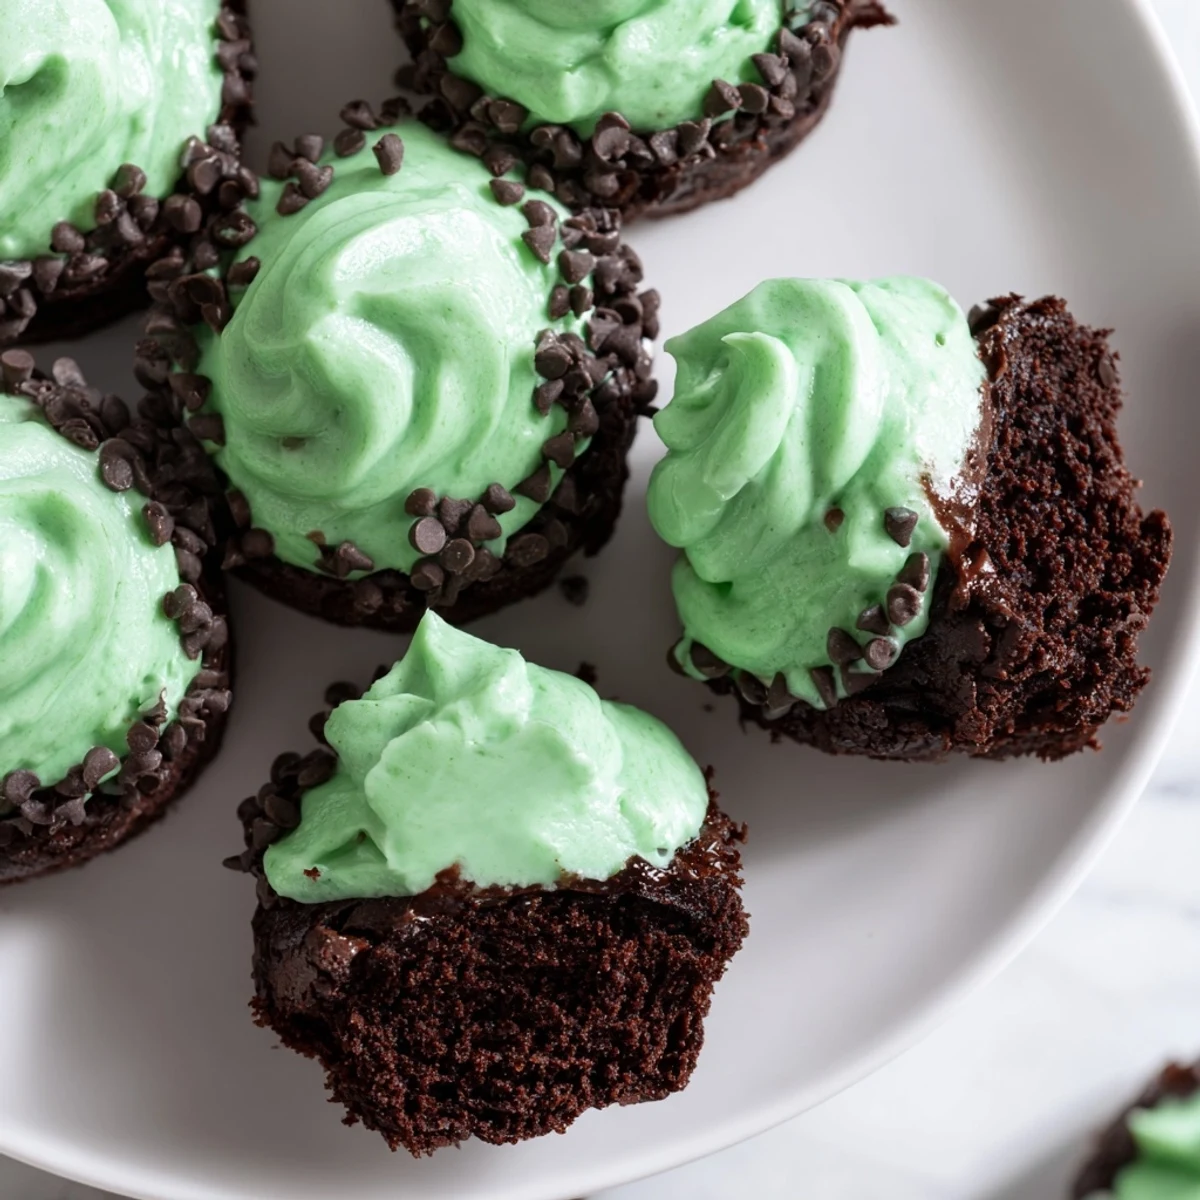
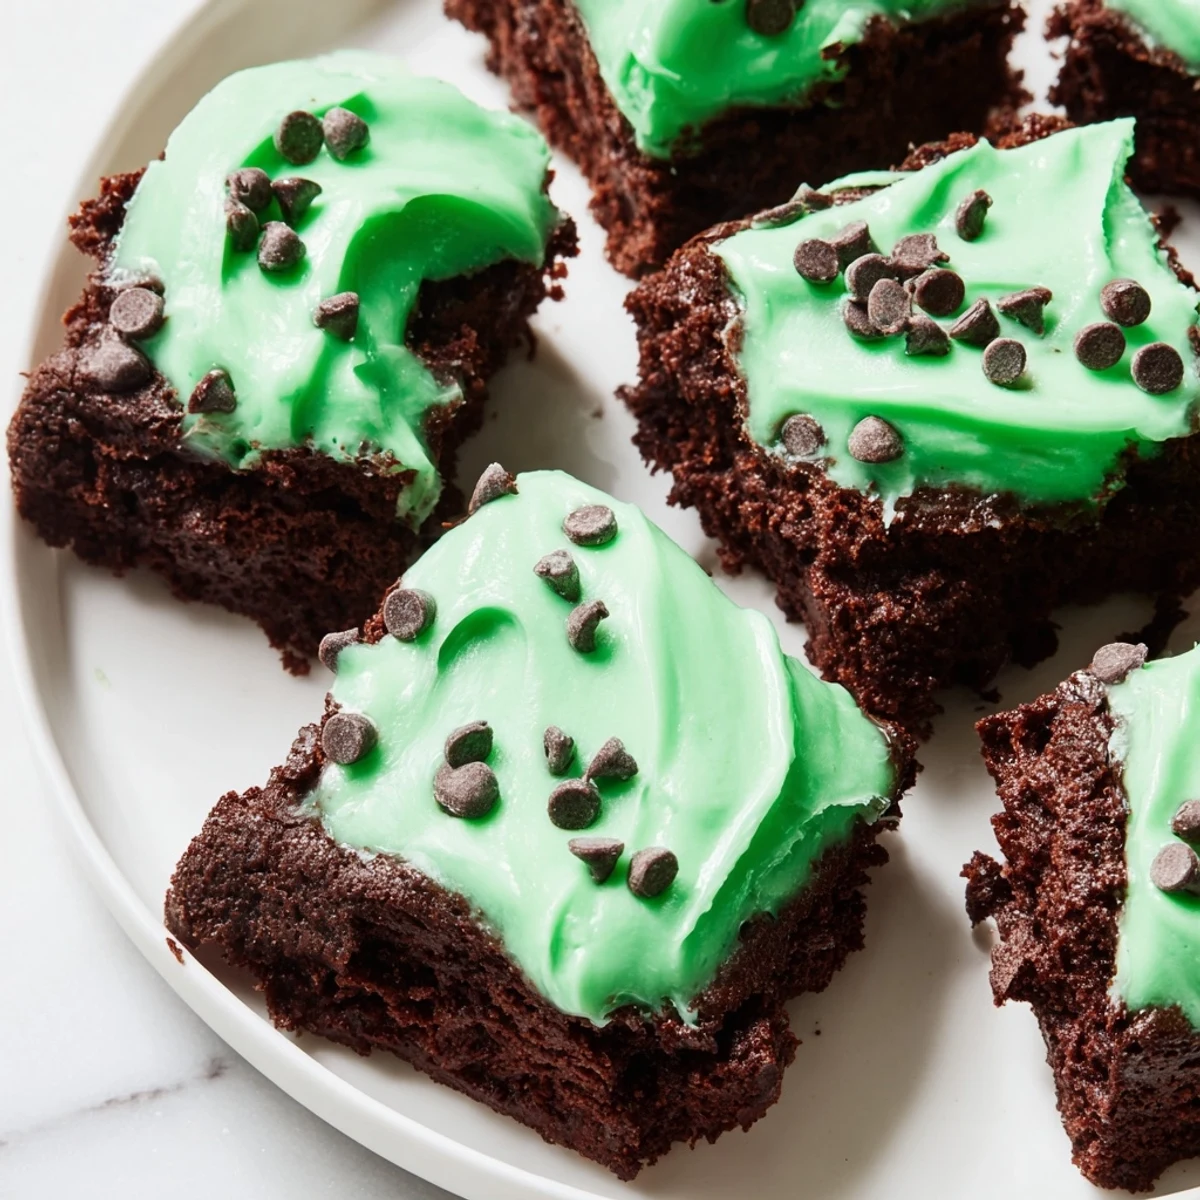
 Enjoy these fudgy brownie bites enhanced with refreshing peppermint extract and finished with a silky green mint frosting. Baked in mini muffin tins, they offer a perfect bite-sized indulgence, blending rich cocoa with a subtle minty twist. Decorated with optional chocolate sprinkles or chips, they lend a festive touch to any occasion. With simple ingredients and quick preparation, they’re a delightful treat suitable for vegetarian diets and easily adaptable to gluten-free versions.
The kitchen smelled like chocolate and anticipation when I first made these for a St. Patrick's Day party years ago. My daughter kept sneaking tastes of the mint frosting, claiming quality control was essential. Now they're the treat everyone actually asks for instead of those heavy green beverages.
Last year I made three batches for different gatherings because they disappeared so quickly. My friend Sarah admitted she ate four before anyone even arrived at the brunch. That's when I knew these weren't just for St. Patrick's Day anymore.
Ingredients
- Unsalted butter: Melt it gently so it integrates seamlessly into the batter without seizing
- Granulated sugar: Creates that crackly top we all love on brownies
- Large eggs: Room temperature eggs blend better and help achieve that fudgy texture
- Vanilla extract: Don't skip this even with the mint frosting it adds depth
- Unsweetened cocoa powder: Use good quality cocoa since it's the star flavor here
- All-purpose flour: Just enough to hold everything together without making them cakey
- Salt and baking powder: Tiny amounts that make a big difference in balance
- Softened butter for frosting: Let it sit out properly so your frosting turns silky smooth
- Powdered sugar: Sift it first to avoid any lumps in your mint frosting
- Peppermint extract: Start with half a teaspoon then add more to taste
- Green food coloring: Gel coloring gives more vibrant color without thinning the frosting
Instructions
- Preheat your oven:
- Get it to 350°F and prep your mini muffin pan with liners or a light greasing
- Whisk the wet ingredients:
- Blend melted butter and sugar until smooth then beat in eggs and vanilla
- Add the dry ingredients:
- Sift in cocoa flour salt and baking powder stirring just until combined
- Fill the mini cups:
- Spoon batter about two thirds full into each mini muffin cup
- Bake until perfectly set:
- Bake 14 to 16 minutes until tops are set and a toothpick comes out with moist crumbs
- Cool completely:
- Let them rest 5 minutes in the pan then move to a wire rack
- Make the mint frosting:
- Beat butter until creamy then gradually add powdered sugar peppermint extract and milk
- Add the color and finish:
- Tint frosting with green food coloring then pipe or spread onto each cooled brownie bite
 Save to Pinterest
 These have become my go-to contribution for any gathering where green is involved. There's something magical about that chocolate mint combination that makes people smile before they even take a bite.
Getting That Perfect Fudgy Texture
The trick is in not overmixing the batter once you add the flour. I learned this after making hockey puck versions my first few attempts. Now I stir until just combined even if I can still see tiny streaks of flour they disappear during baking.
Frosting Like A Pro
Piping the frosting looks impressive but a simple knife spread tastes just as good. I usually keep a small offset spatula handy for smoothing any peaks that get too enthusiastic. The mini size is very forgiving so don't stress perfection.
Make Ahead Strategy
I bake the brownie bites up to three days ahead and store them in an airtight container. The morning of the event I whip up the fresh frosting and decorate. This saved me when I realized at 10pm the night before a party that I had forgotten to make them.
- Freeze unfrosted bites with wax paper between layers for up to two months
- Let frozen ones thaw completely before frosting or the moisture makes the frosting slide right off
- If you're transporting them use a flat container and avoid stacking more than two layers
 Save to Pinterest
 Hope these bring a little chocolate mint joy to your St. Patrick's Day celebration or any Tuesday that needs brightening up.
Recipe FAQs
- → How do I achieve a fudgy texture in these brownie bites?
-
Using melted butter and not overmixing the batter ensures a dense, fudgy texture. Baking until just set keeps them moist inside.
- → Can I adjust the mint flavor intensity?
-
Add peppermint extract gradually to taste or mix in chopped mint chocolate for a stronger mint presence.
- → What is the best way to pipe the mint frosting?
-
Use a piping bag or small offset spatula to apply a dollop of smooth, spreadable frosting once the bites have fully cooled.
- → Are these brownie bites freezer-friendly?
-
Yes, unfrosted brownie bites freeze well for up to two months. Frost after thawing for best results.
- → Can I substitute gluten-free flour?
-
Absolutely, swapping all-purpose flour with gluten-free flour works well, ensuring it’s suitable for gluten-free diets.
