 Save to Pinterest
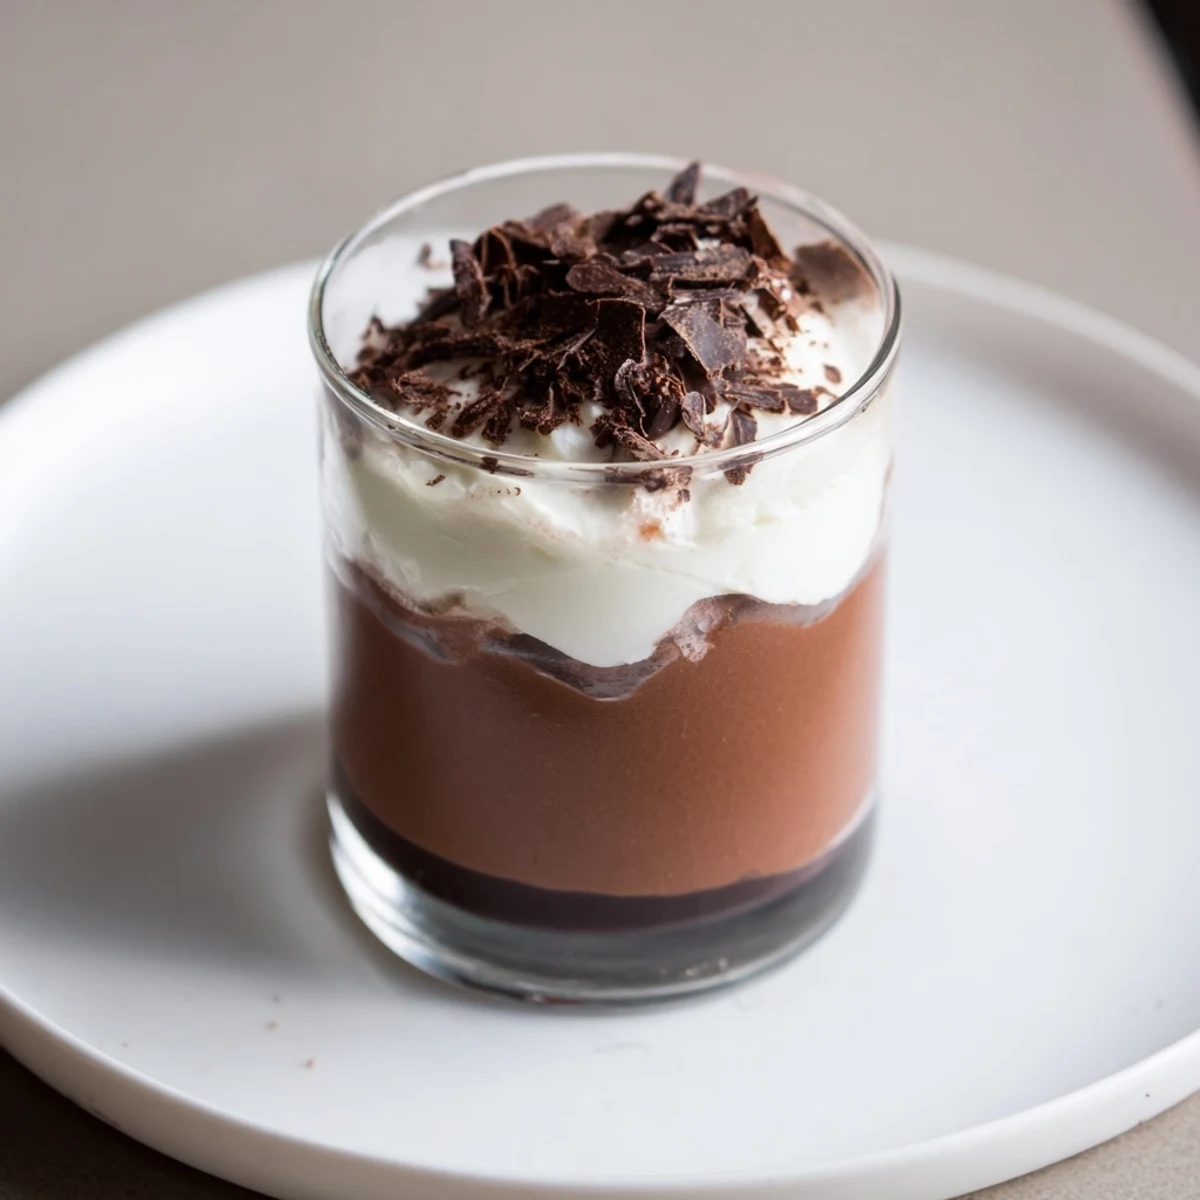
 Layer three mousses—dark, milk and white—by melting each chocolate, folding it into beaten egg yolk and sugar, then gently incorporating softly whipped cream. Spoon the dark layer into cups, chill briefly, add the milk layer, chill again, then finish with the white chocolate layer and chill until set.
Use a bain-marie or short microwave bursts to melt chocolate, keep cream cold for stable peaks, and chill between layers for clean separation.
The first time I decided to make triple chocolate mousse cups, I could hear the faint pop of jazz music from the living room while I sorted my chocolate—dark, milk, and white—on the countertop. There&aposs something slightly rebellious about prepping three types of mousse for one dessert, especially when it&aposs just for a quiet Saturday night. The clatter of spoons and the faint sweetness of melted chocolate felt like a celebration, even though it was just me in my pajamas. Layering each mousse, I kept peeking into the fridge as if waiting for a secret to reveal itself.
One rainy afternoon, I brought these mousse cups to a friend&aposs small birthday gathering—no fanfare, just close friends and mismatched mugs. My hands trembled as I spooned the last layer, but the collective silence and wide eyes after the first taste felt like the best kind of applause. We spent the evening trading chocolate preferences and laughing about who would get the last cup.
Ingredients
- Dark chocolate (minimum 60% cocoa): The bittersweet intensity cuts through the richness—use bars, not chips, for a smooth melt.
- Egg yolks: They give each mousse structure and silkiness, but make sure they&aposre room temperature for easiest mixing.
- Sugar: A sprinkle is enough to balance the cocoa in each layer, so don&apost be tempted to overdo it.
- Heavy cream: Cold cream whips up fluffiest—chill your bowl for a cloudlike finish.
- Milk chocolate: This layer is where you can get playful—a dash more sweetness and comfort between dark and white.
- White chocolate: Don&apost rush the melting, or it may seize—a low gentle heat does wonders here.
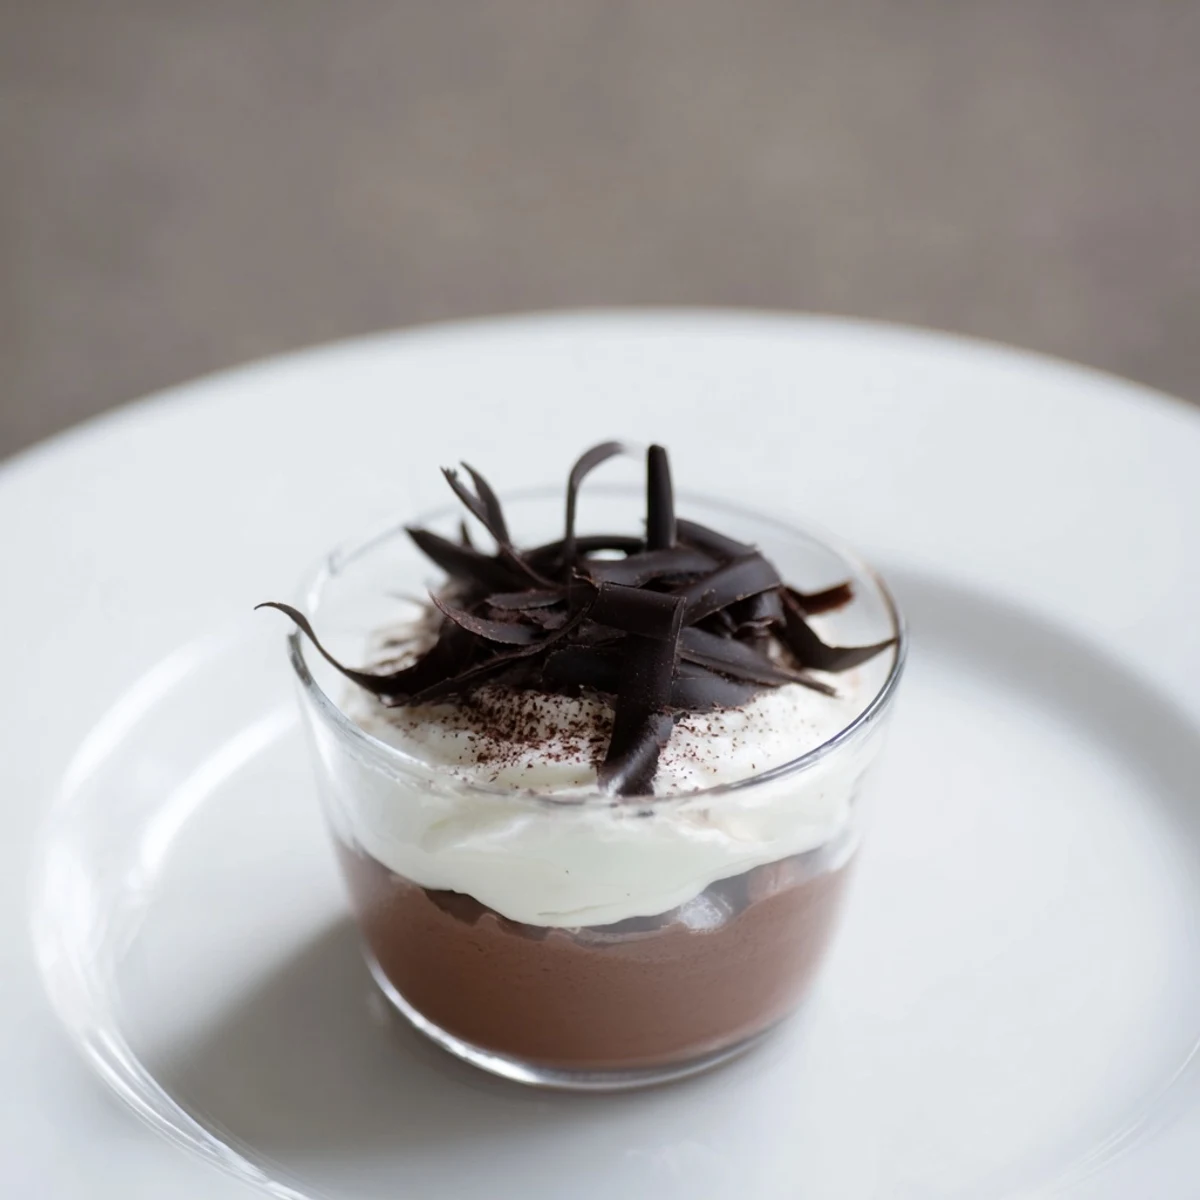
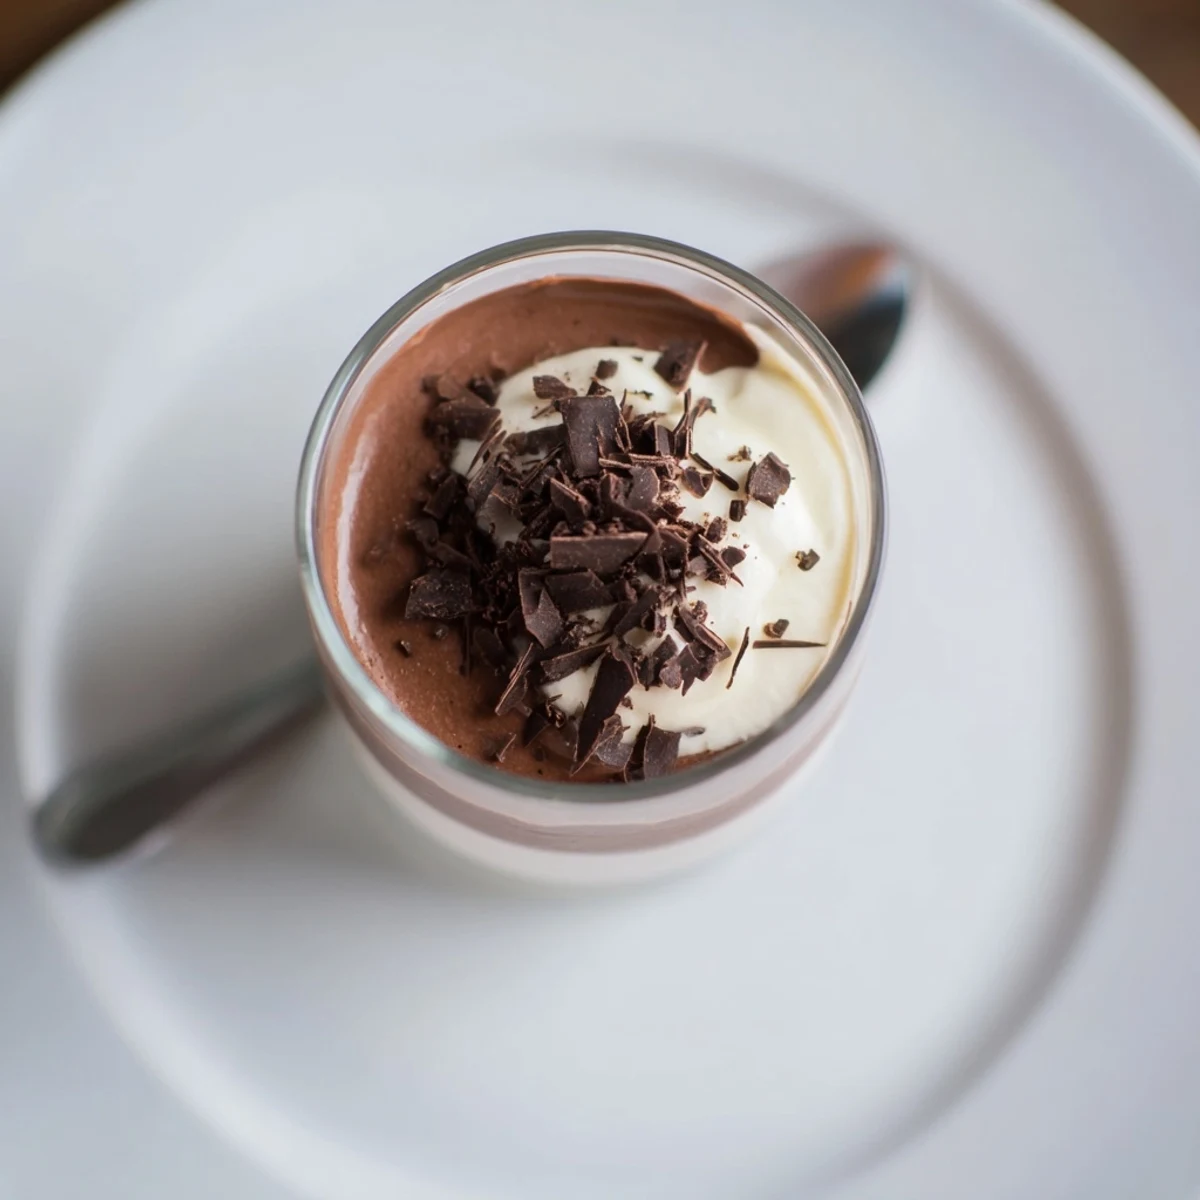
- Shaved chocolate or cocoa powder (for garnish): Just before serving, a flurry on top makes the layers pop and adds texture.
Instructions
- Make the dark chocolate base:
- Melt the dark chocolate slowly until just smooth, enjoying the aroma as it thickens slightly before you let it cool.
- Whisk and blend:
- Whisk the egg yolk and sugar until pale and creamy, then gently mix in the cooled chocolate—it should feel like making edible velvet.
- Whip the cream:
- Whip the cream to soft peaks that barely hold their shape; fold it into the chocolate with a light hand so you keep all the airiness.
- Layer and chill:
- Spoon the dark mousse evenly into six glasses, then let them chill as you start the next layer—waiting is half the fun here.
- Repeat for milk and white chocolate:
- For each remaining mousse, repeat the process: melt, whisk, fold, and carefully layer on top, chilling between each addition for that picture-perfect look.
- Garnish before the big reveal:
- Just before serving, top with chocolate shavings or a dusting of cocoa, and try not to eat one before the others see them.
 Save to Pinterest
 Sharing these mousse cups taught me that watching someone dig through the chocolate strata with their spoon is almost as satisfying as eating them yourself.
Getting the Layers Just Right
I learned that the key is patience—never pour warm mousse onto a cold one, or you&aposll melt through your hard-won layers. If you chill your serving glasses in advance, the first mousse sets a bit faster, giving you a stable base. Sometimes, an uneven hand with the spoon makes for a stunning, rustic look that feels totally homemade.
Choosing the Best Chocolate
After trying different brands, I found that using chocolate bars instead of chips makes all the difference—bars melt smoother and create a more luxurious texture. If you can, splurge on real couverture chocolate for at least one layer. White chocolate can burn fast, so melt it in gentle increments and stir often.
Make-Ahead Magic and Serving Tricks
These mousse cups love a little extra time to chill—overnight resting deepens the flavors, and the layers firm up beautifully for the next day. When serving for a crowd, I sometimes prep them in mason jars for easy stacking and a bit of charm.
- If you accidentally overwhip cream, add an extra splash of unwhipped cream to loosen it up.
- Clear glasses show off the layers best, but tea cups work in a pinch.
- Always wait until just before serving to add the garnish for the freshest look.
 Save to Pinterest
 May every spoonful of these mousse cups bring a bit of quiet delight, whether served on a busy night or as the sweet ending to a long day. Here's to making dessert memories one layer at a time.
Recipe FAQs
- → How do I melt chocolate without seizing it?
-
Use a bain-marie or short microwave bursts at 20–30 second intervals, stirring between each. Avoid any water contact and remove from heat when a few unmelted bits remain; they will melt as you stir.
- → How can I get a light, airy mousse texture?
-
Whip the cream to soft peaks and fold gently into the chocolate mixture to preserve air. Whisk egg yolks and sugar until pale to add structure without deflating the mixture.
- → Can I speed up the setting time between layers?
-
Chill the cups in the freezer for 25–30 minutes between layers to firm them faster, but monitor closely to avoid freezing the mousse.
- → Any tips for clean, distinct layers?
-
Cool each chocolate slightly before combining with the yolk mixture to prevent melting the previous layer. Spoon gently or pipe each layer and chill between additions to keep separation crisp.
- → What substitutions work for dietary needs?
-
For an egg-free approach, use stabilized whipped cream with melted chocolate and a little gelatin or agar as a binder. Choose dairy-free cream and soy-free chocolate if avoiding milk or soy—check labels carefully.
- → How long do the cups keep and how should they be stored?
-
Store covered in the refrigerator for up to 2–3 days. For firmer texture, keep chilled until just before serving; avoid leaving them at room temperature for extended periods.
